Brief
This exercise builds on the previous ‘Cut Ups’ exercise, but instead of using found material from newspapers or magazines, you will need to generate your own visual material, either by drawing, designing or photographing your own images.
First you will need to create the following ‘pool’ of images from coloured paper and your own drawings, designs or photographs.
Visual Skills 2: Visual Exploration p67
- A group of coloured shapes, like a yellow circle, green triangle, black square etc.
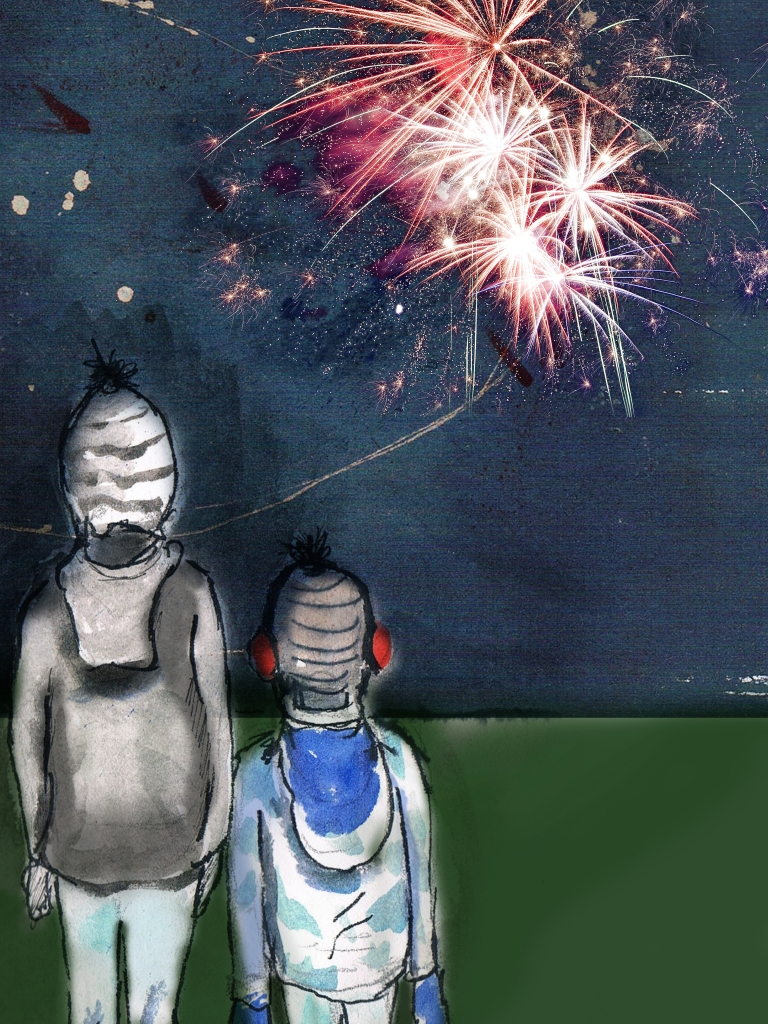
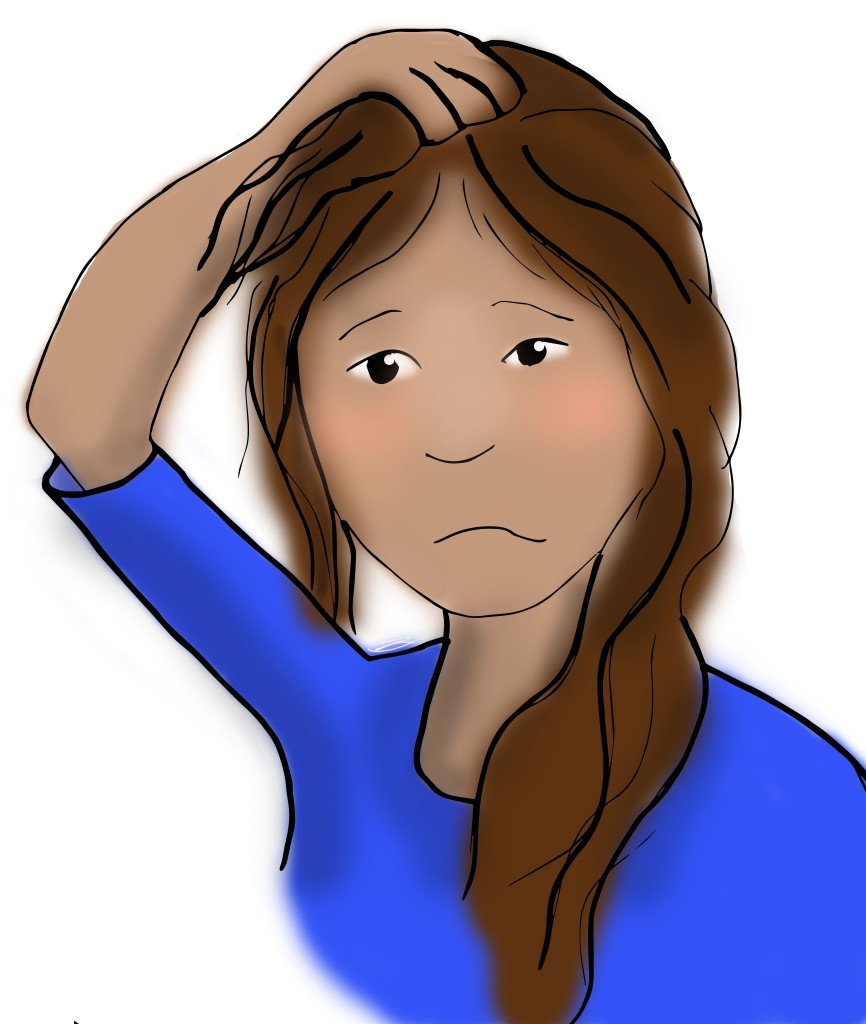
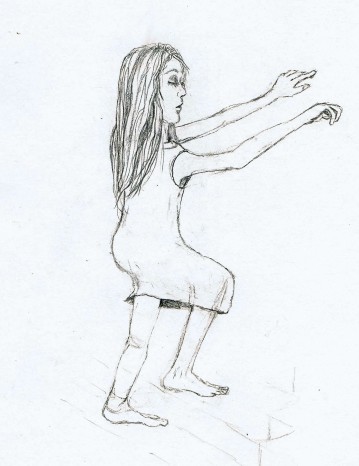
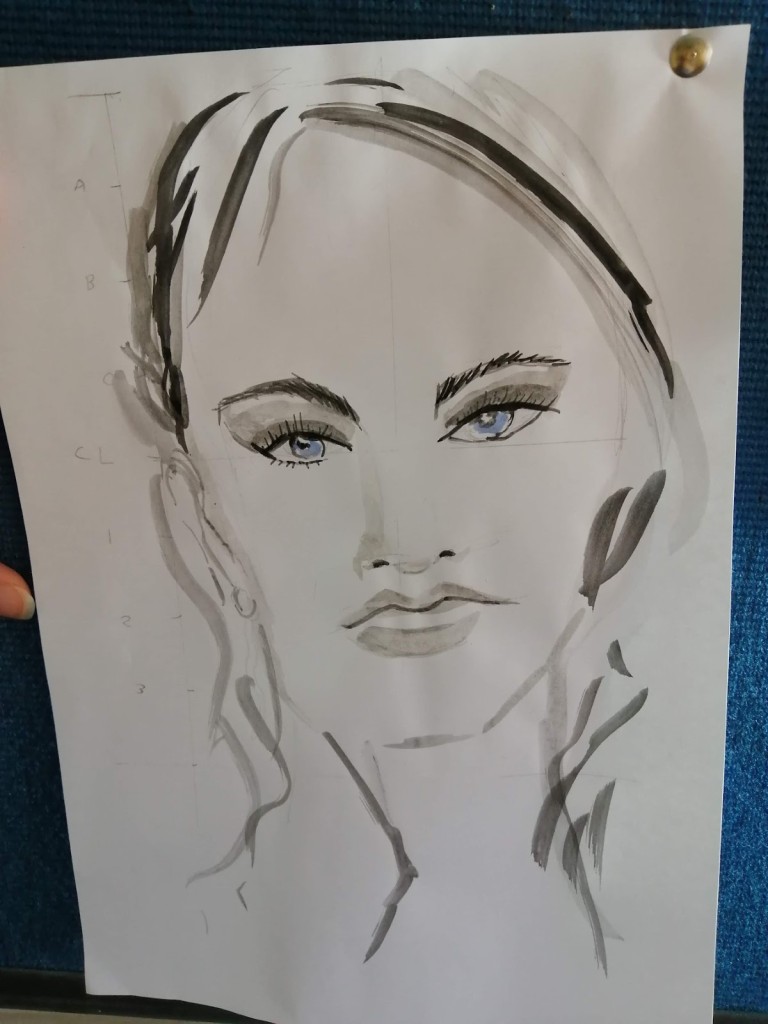
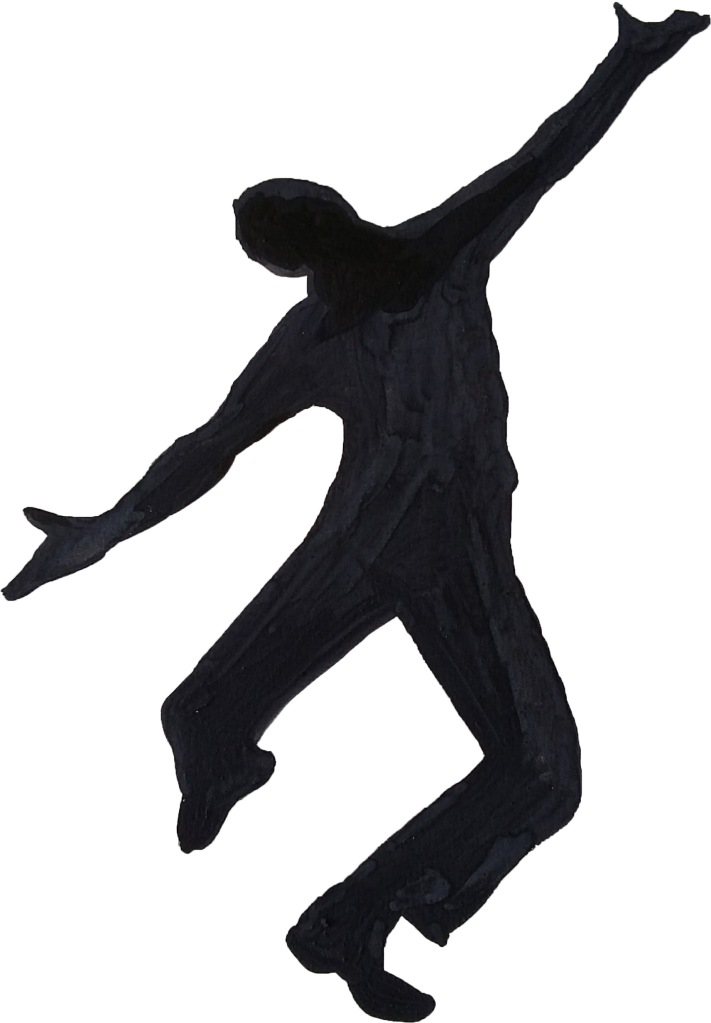
- Images of 5-10 figures; these could be ordinary people, superheroes, characters from history or celebrities, depending on the sort of images you want to create.
- A group of 5-10 background landscapes, for example a city street, country road, mountain-scape, famous landmarks or the surface of the moon.
- A group of other random visual elements like objects (a bus, a building, dinner table, a bunch of flowers, etc).Photocopy these at different scales and sizes so that you have several versions of each image.Cut them into individual items with which to work. These will all then be separate pieces of paper or cut-outs that you can incorporate into a single image space.Working with an A3 format, arrange some of your cut-outs to create 10 composite images. These could be either representational or fantastical, they could be single images or they could form a visual narrative. You could make your images physically by sticking them on sheets of paper or card or scan them and make digital collages. You can be implausible, satirical, political, comical, horrific or polemical, or all of these approaches together!
Keywords from the brief
- Generate your own visual material, either by drawing, designing or photographing your own images.
- Create a ‘pool’ of images from coloured paper, my own drawings, designs or photographs.
- A group of coloured shapes
- Images of 5-10 figures
- A group of 5-10 background landscapes
- A group of other random visual elements
- Photocopy these at different scales and sizes so that you have several versions of each image. Cut them into individual items with which to work. These will all then be separate pieces of paper or cut-outs that you can incorporate into a single image space.
- Working with an A3 format
- Create 10 composite images.
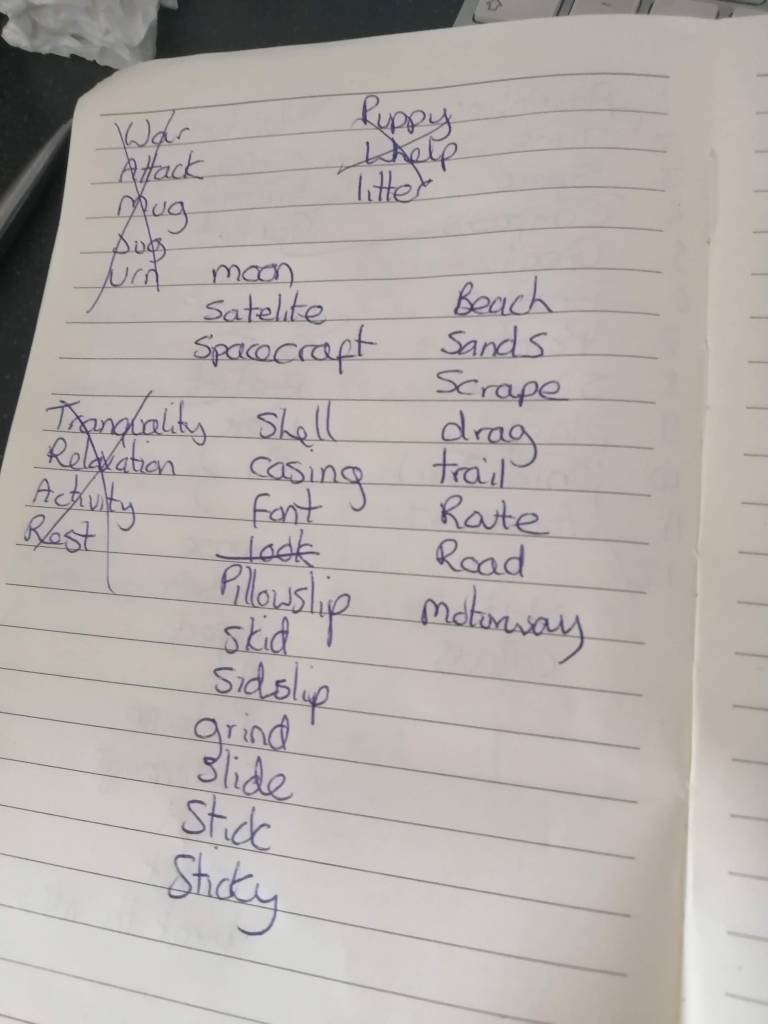
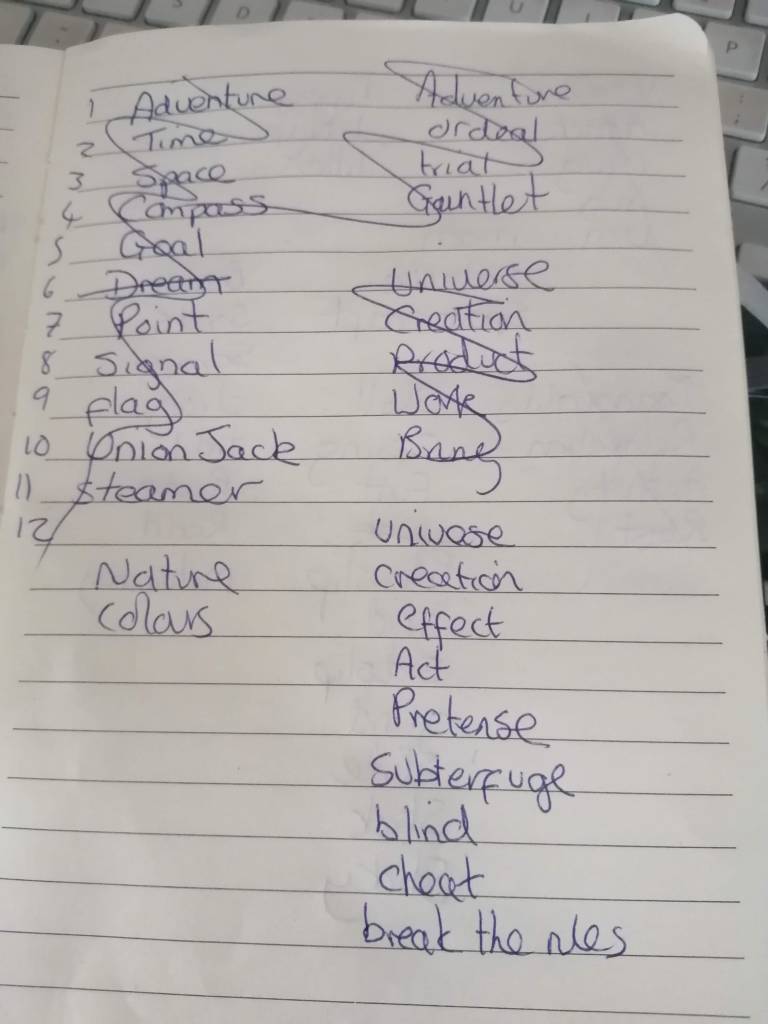
Pool of images
It has been said many times during the degree how valuable keeping sketchbooks is. For that reason rather than generate any new illustrations I decided to look back at all my past work including the very first module I did. Next, I selected any work that I thought may be used for this exercise and put them into categories.
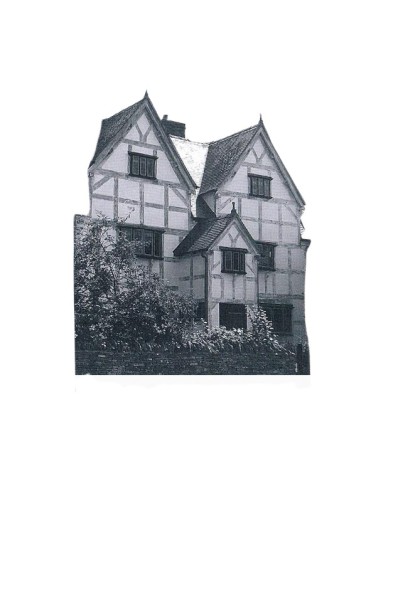
Backgrounds


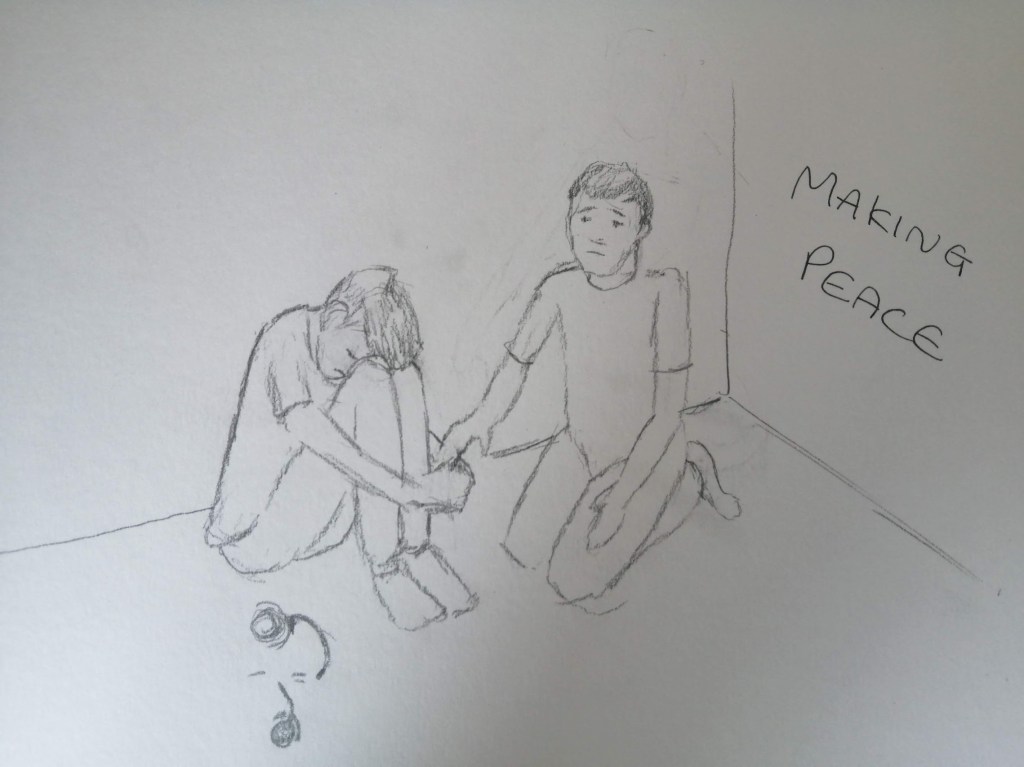
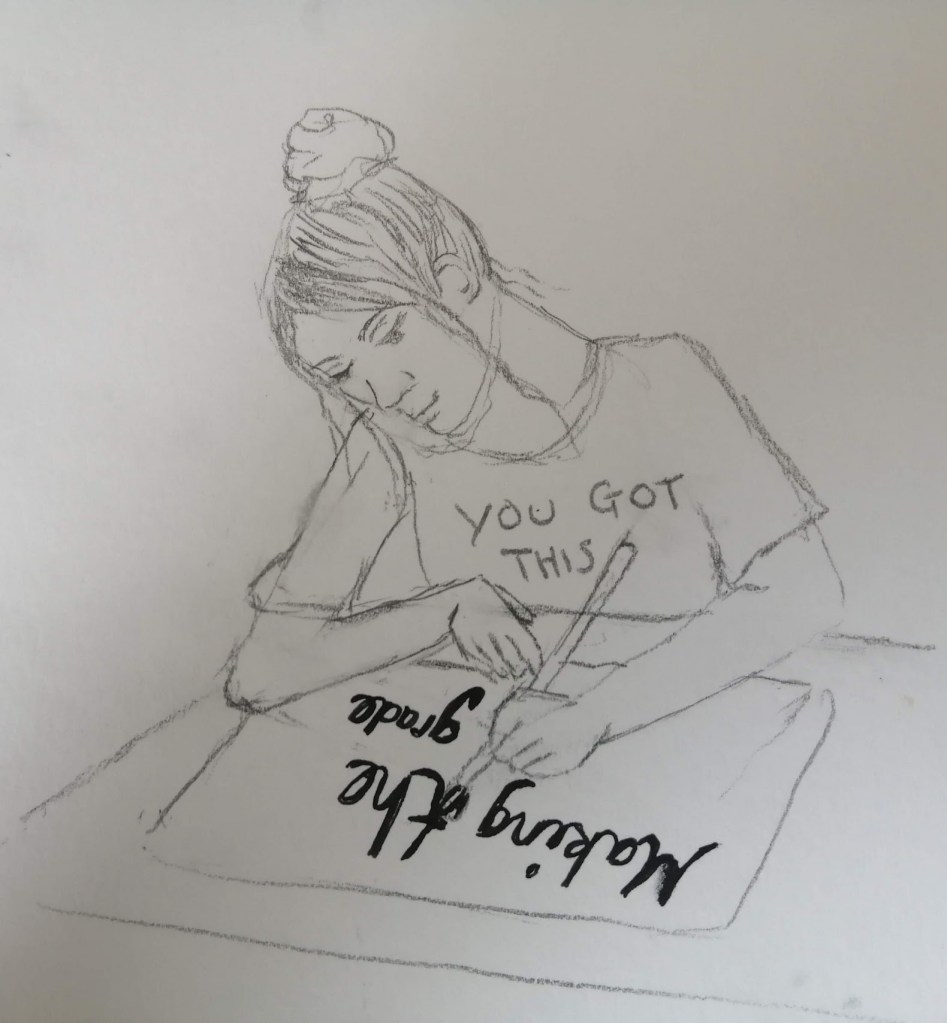
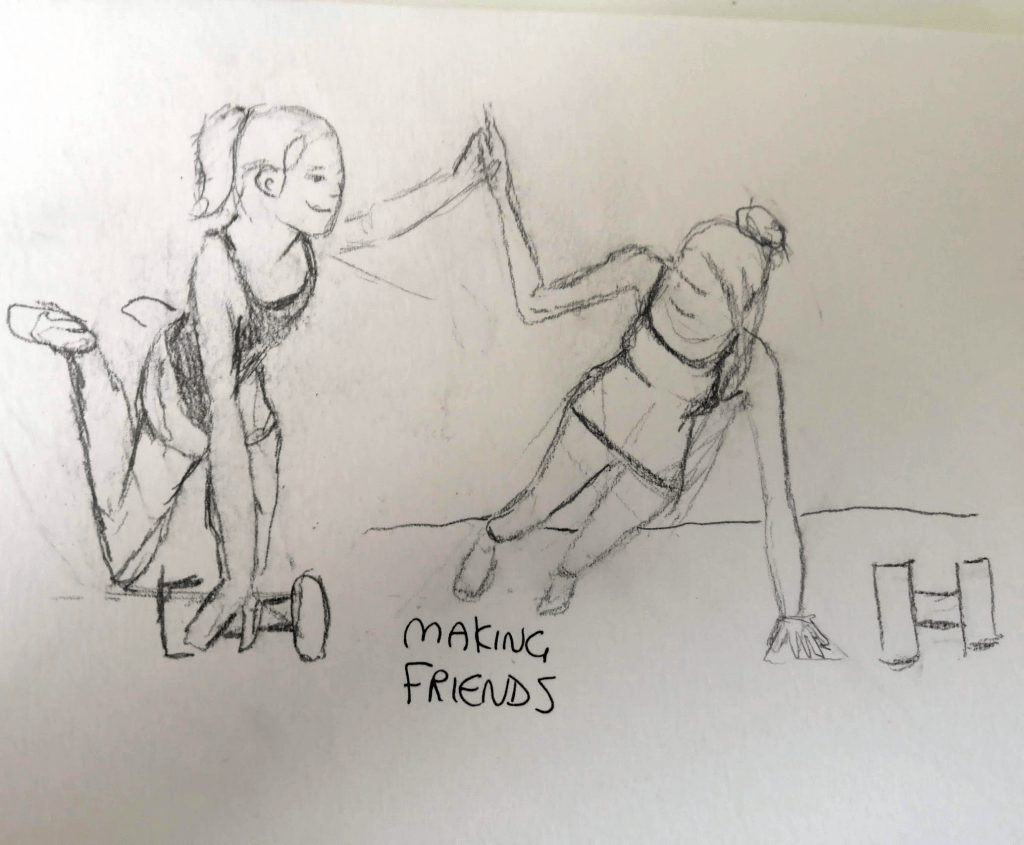
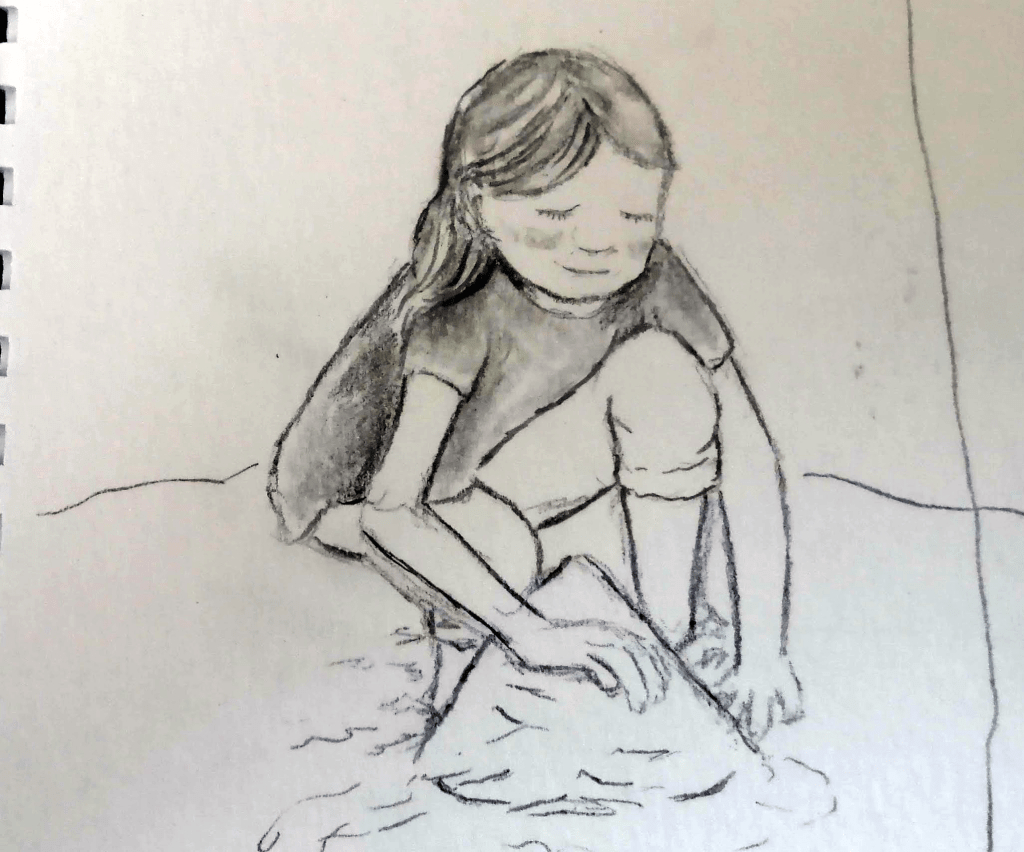
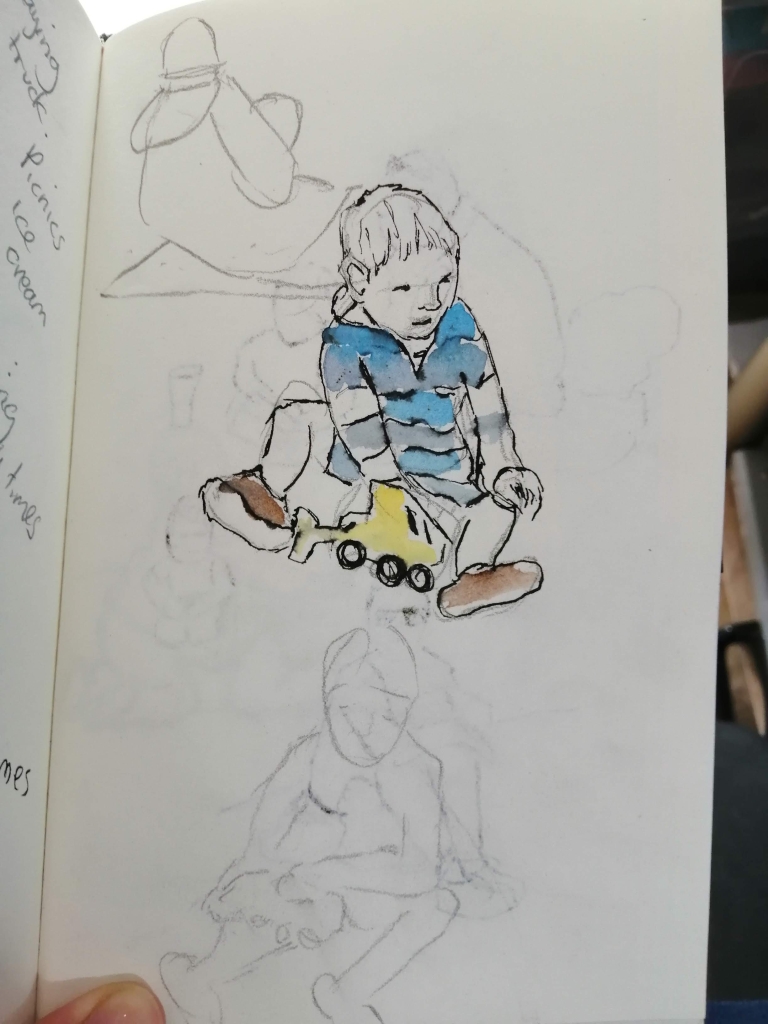
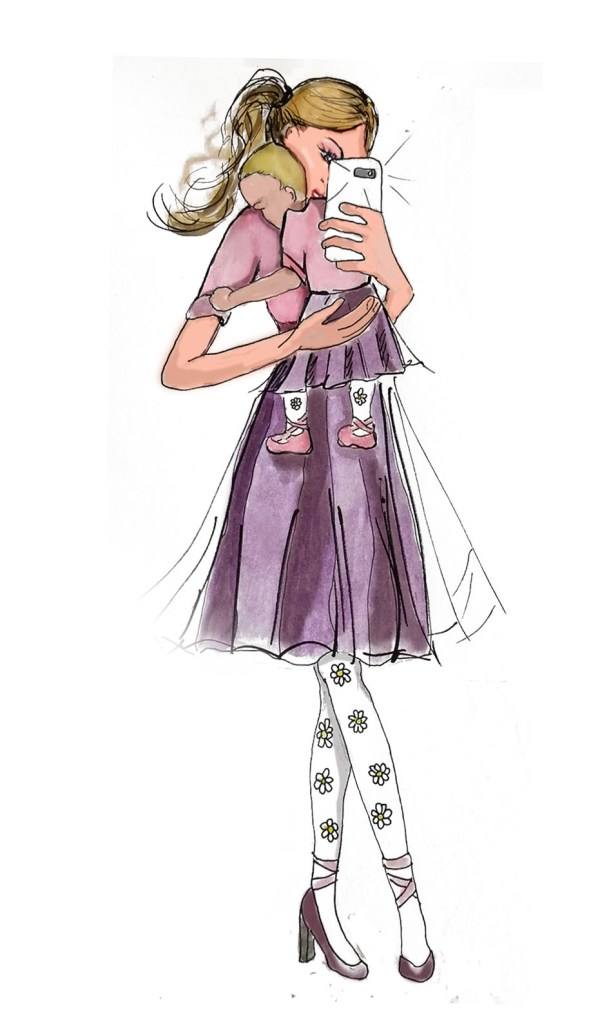
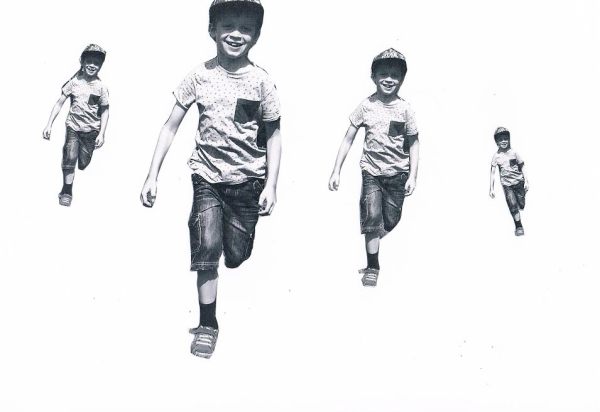
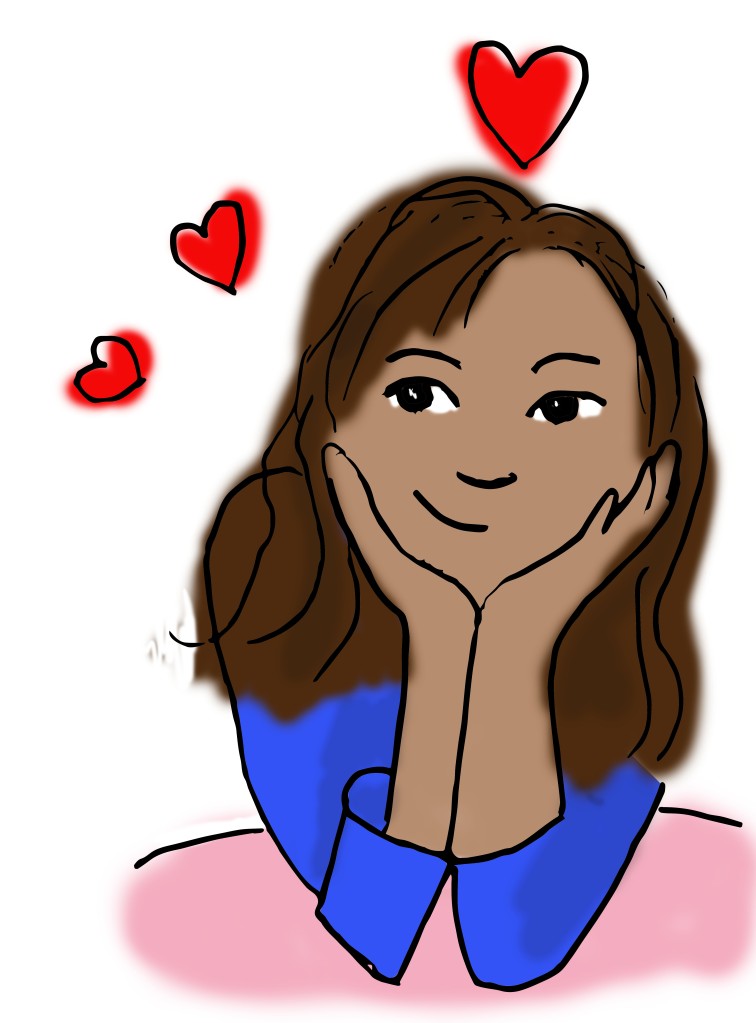
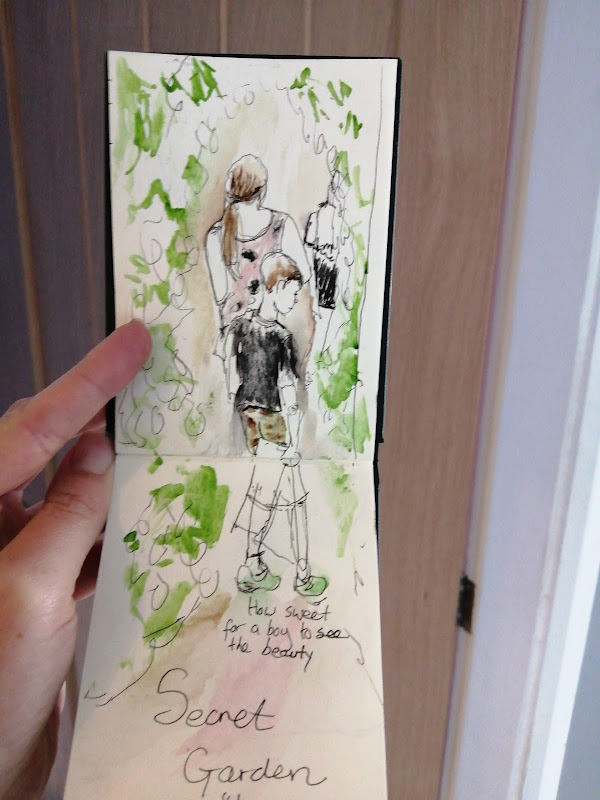
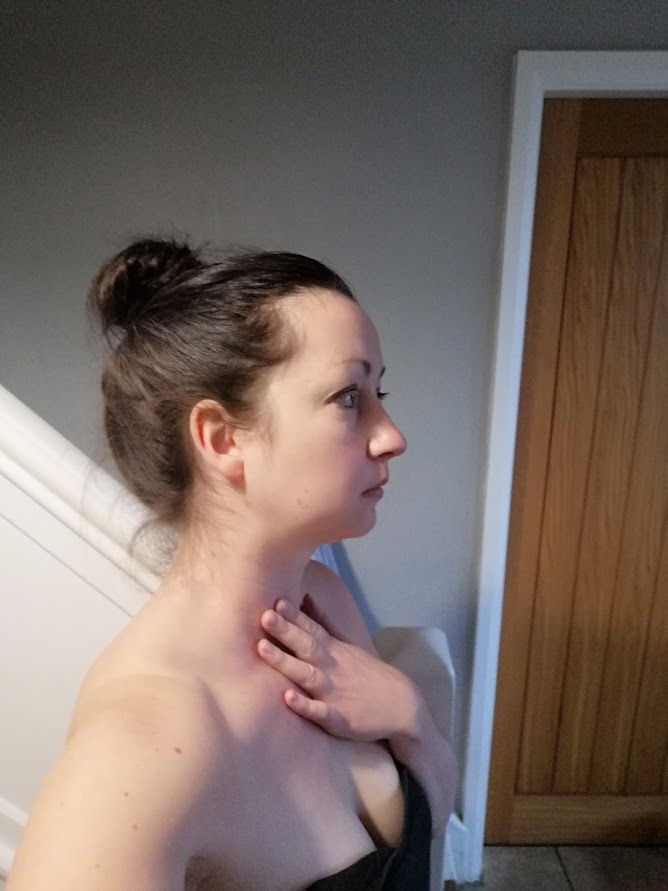
People


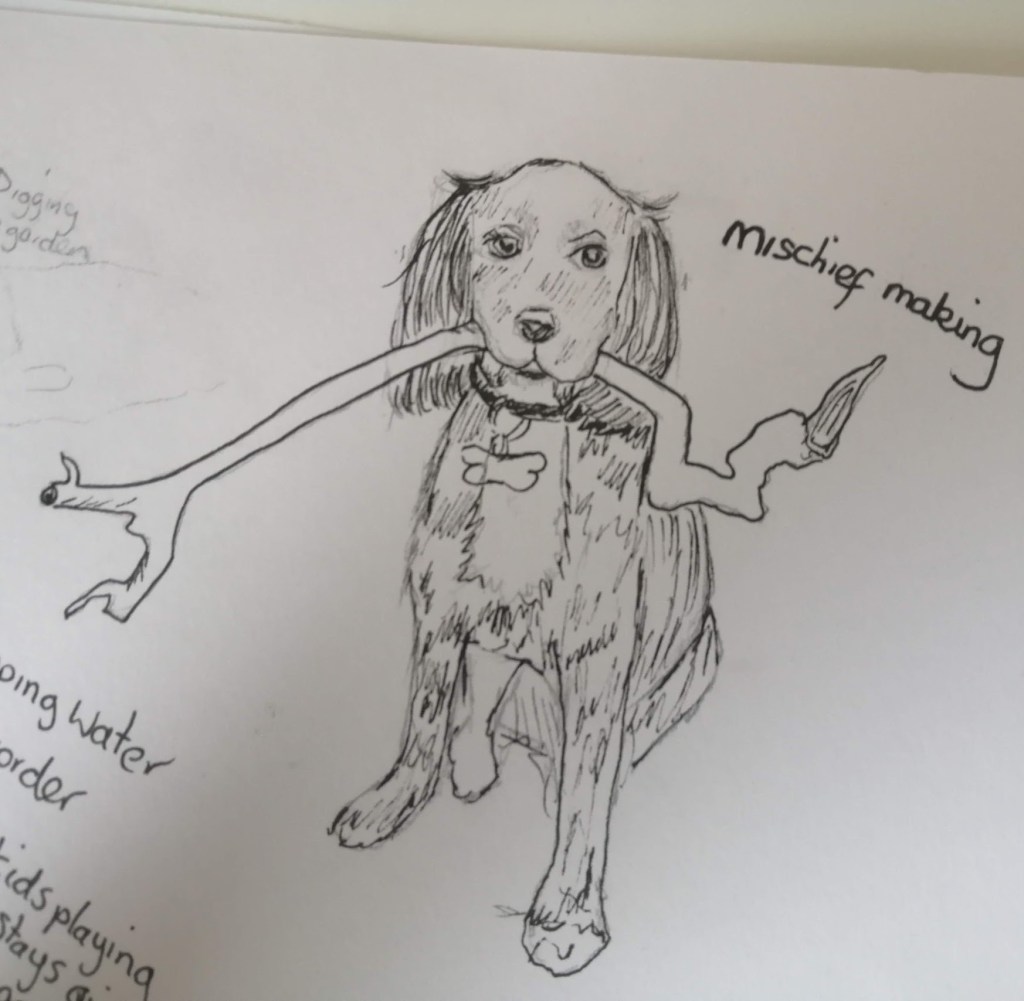
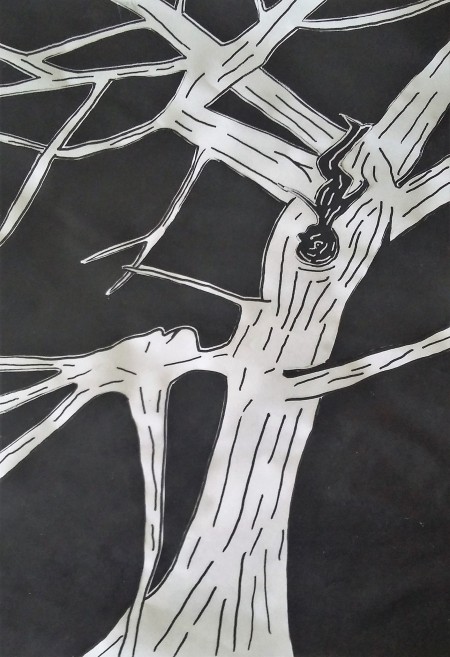
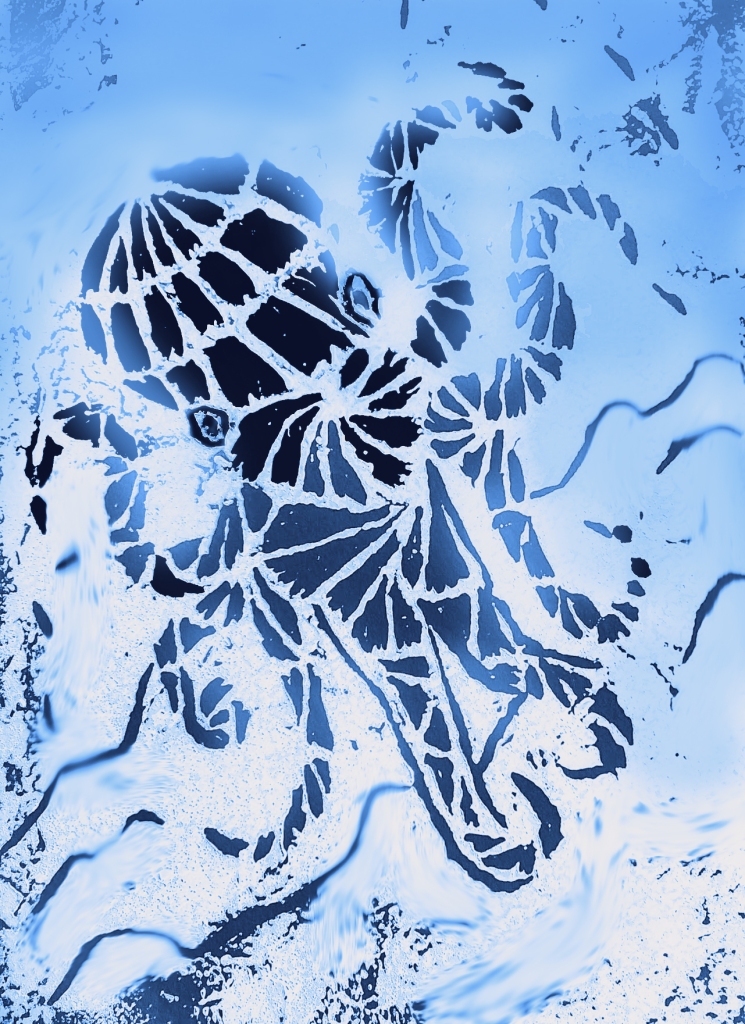
Visual Elements


One of the challenges with this exercise is to play with various scales and sizes. To simplify this process, I decided to scan all the artwork and manipulate them digitally. This approach allowed me to easily and quickly scale the different elements according to their specific requirements.
Coloured Shapes
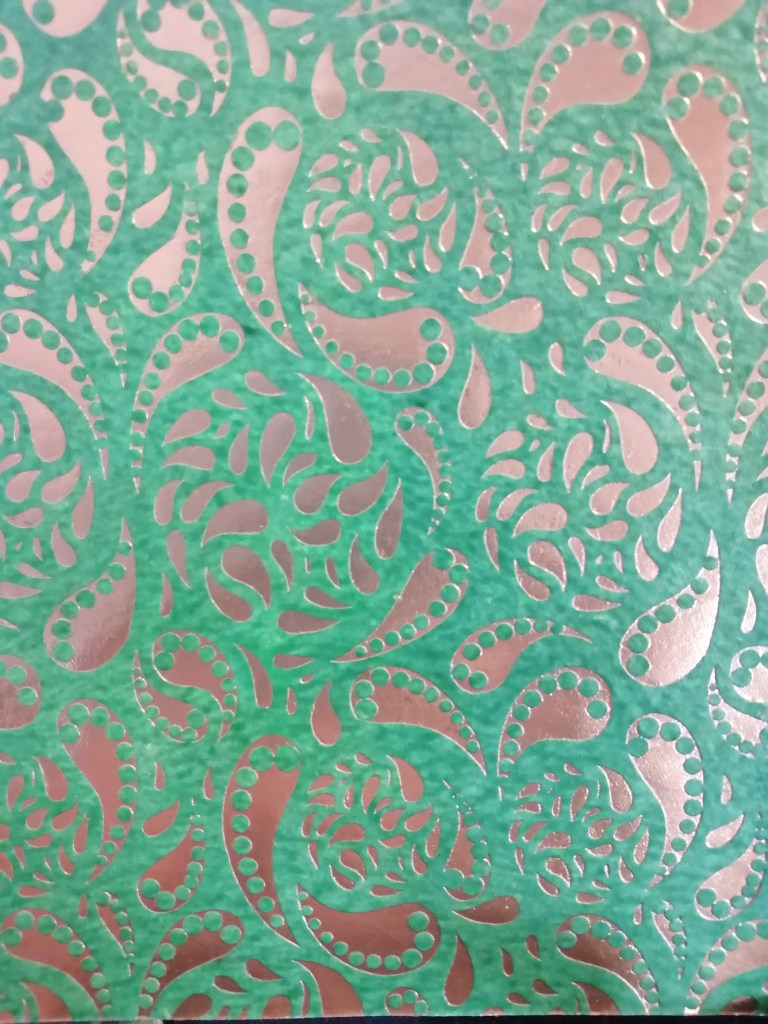
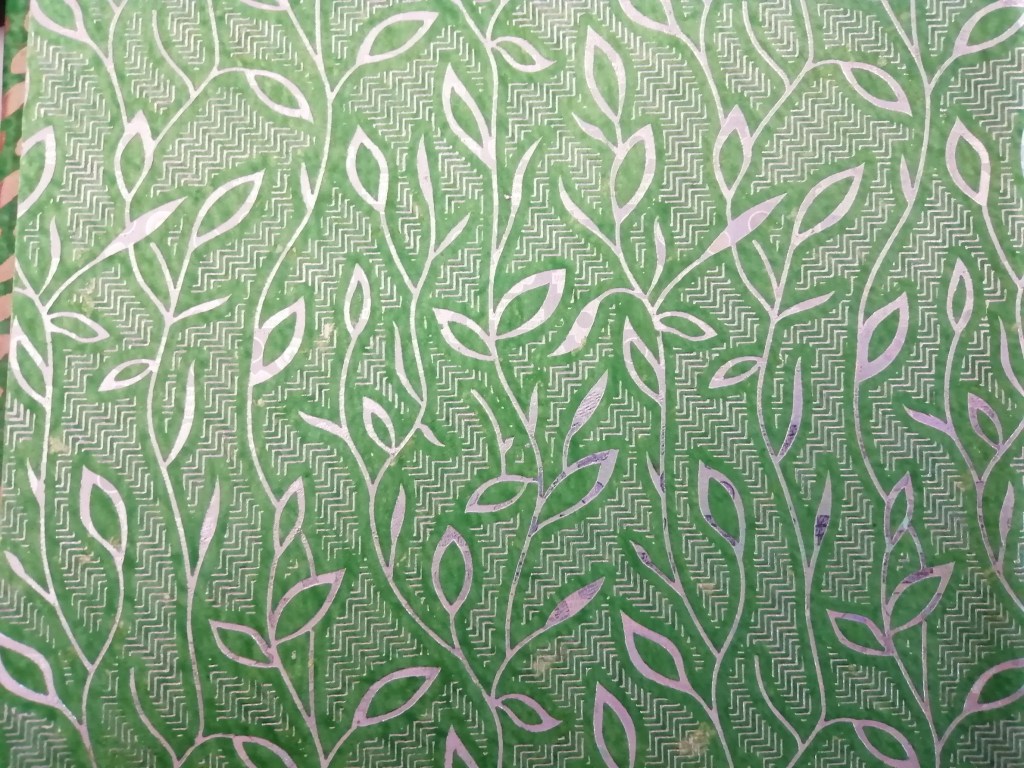
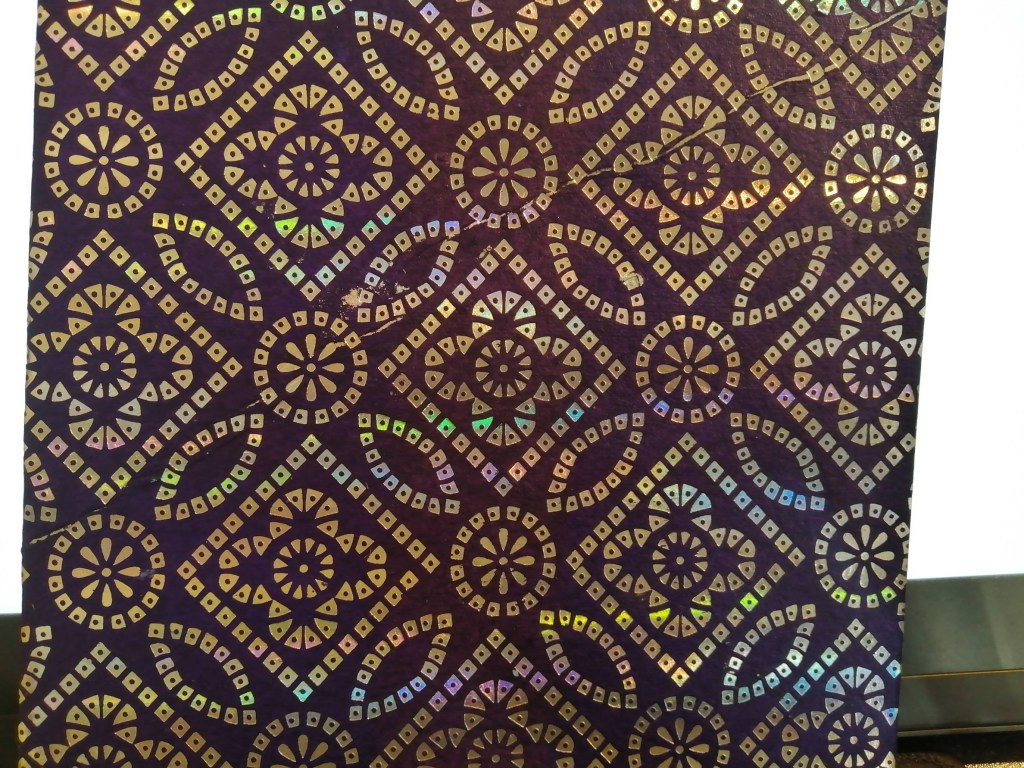
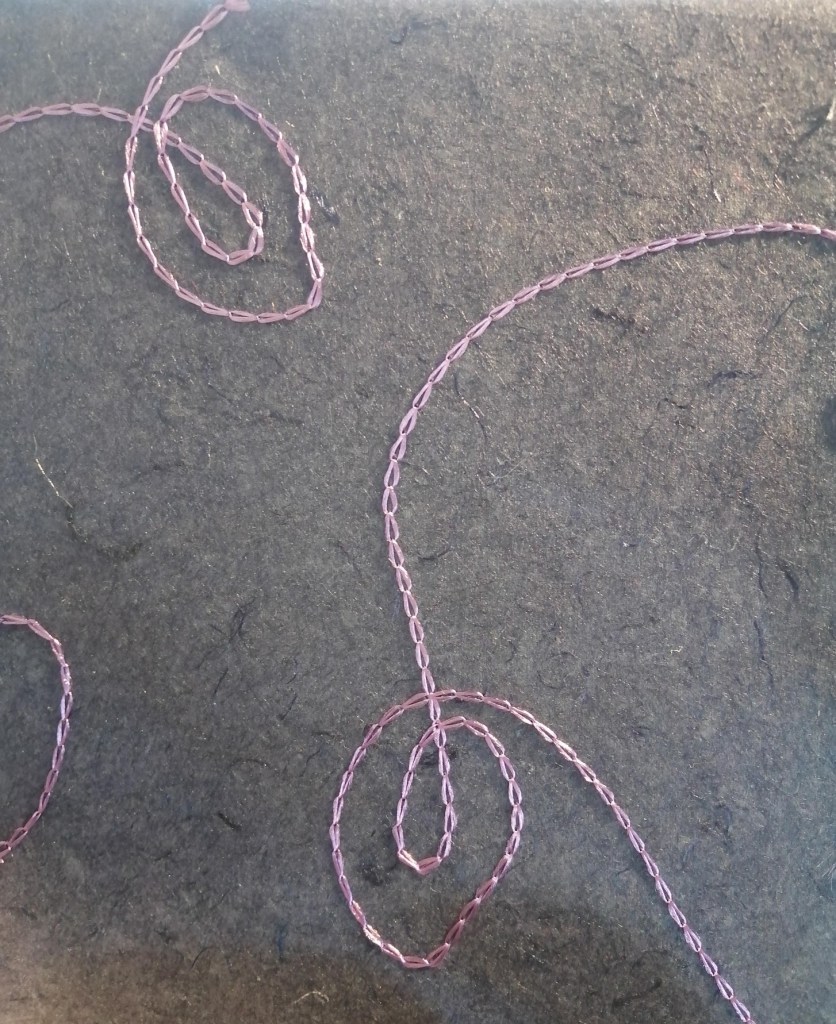
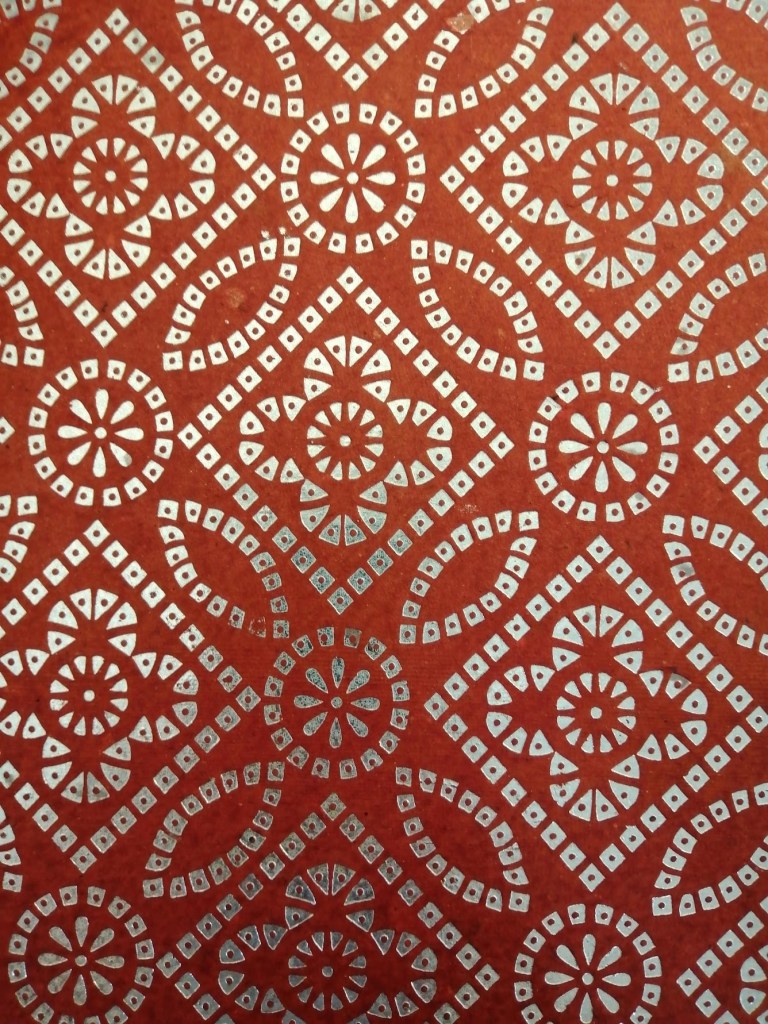
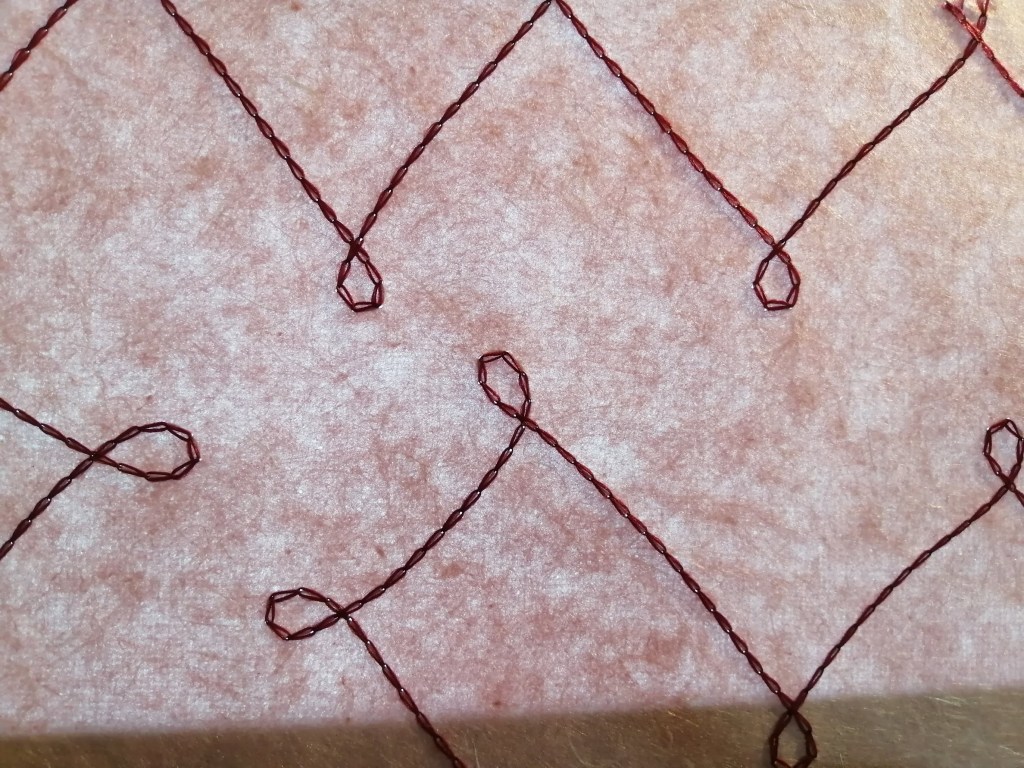
The coloured shapes in each of the collages were made from various coloured and textured papers that I had collected for this exercise. Each paper was scanned into the computer and digitally cropped into various shapes and sizes to use in each of the collages. This method allowed me to create a diverse range of visual elements for my collages, adding depth and uniqueness to each piece.
Below are photos of the papers collected.


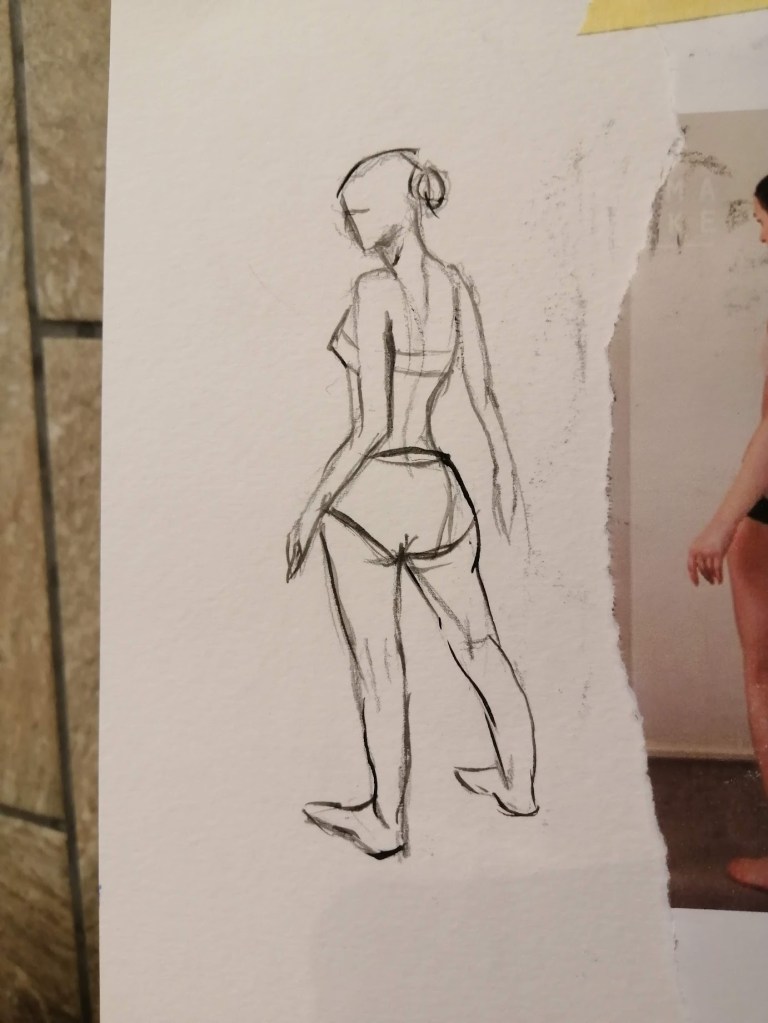
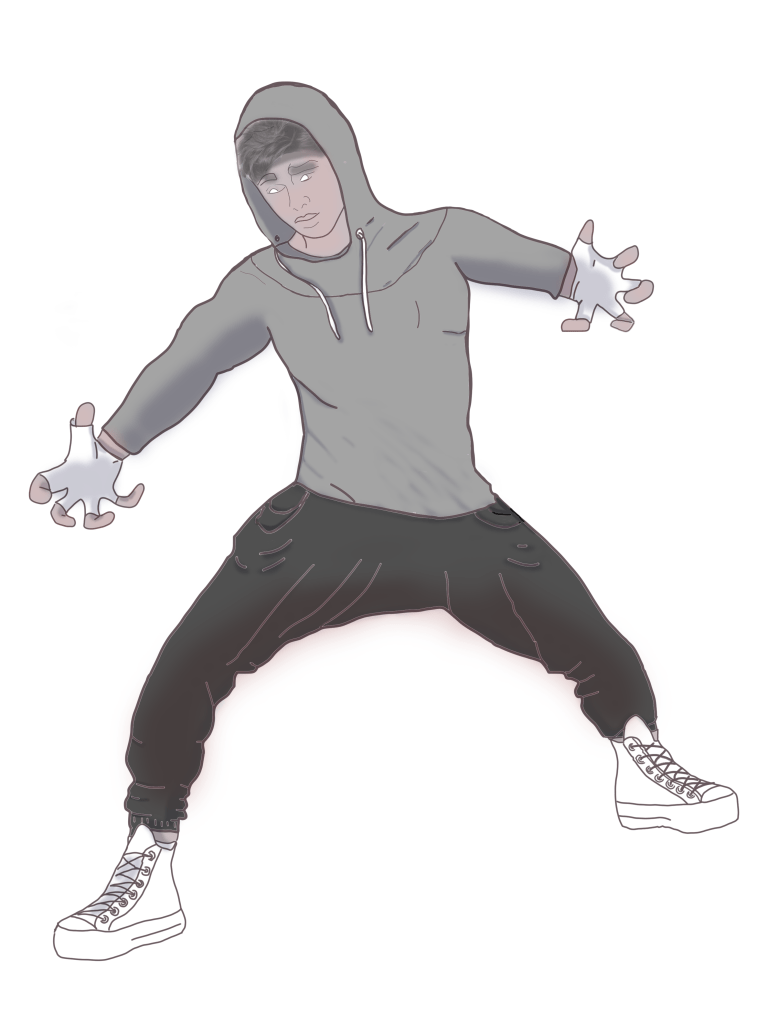
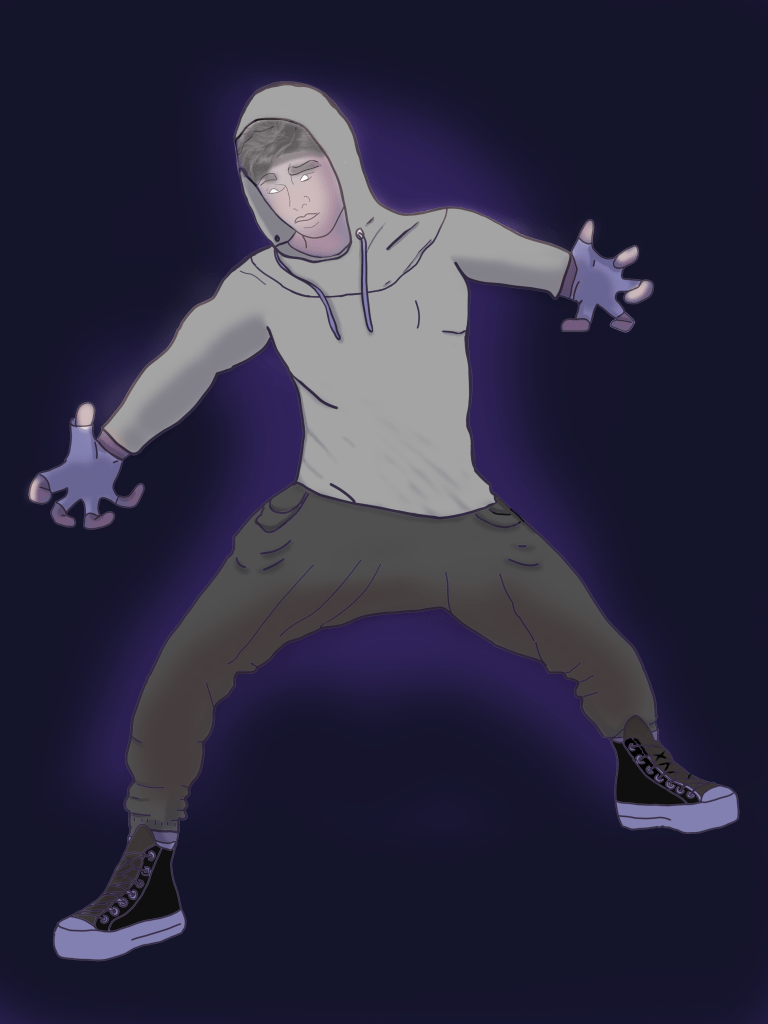
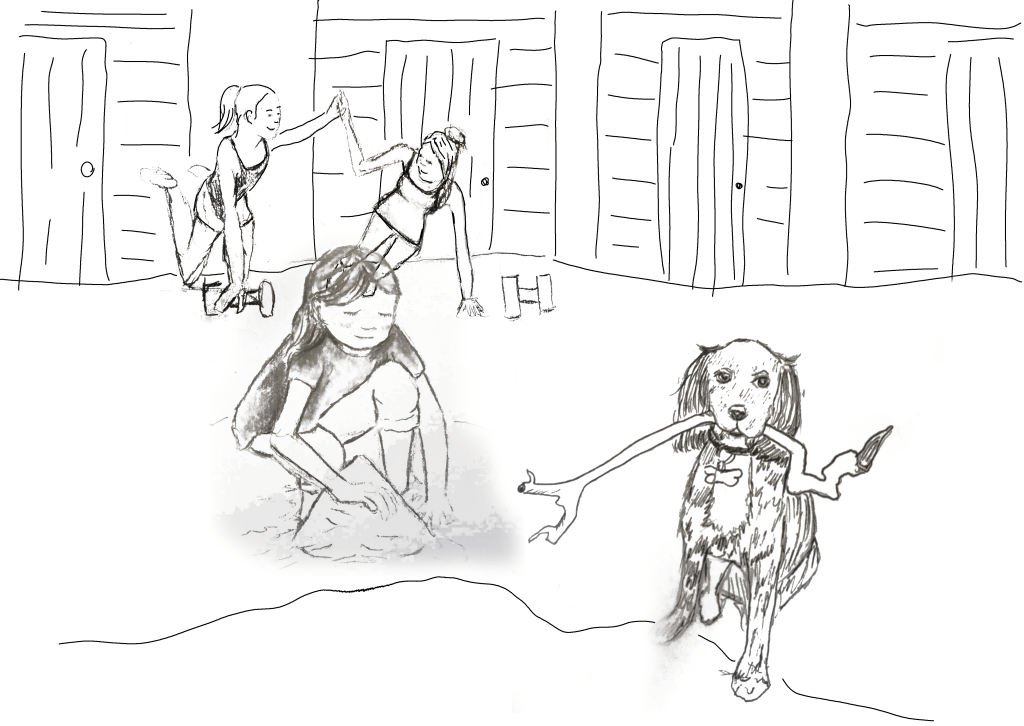
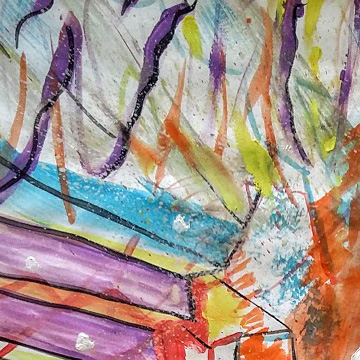
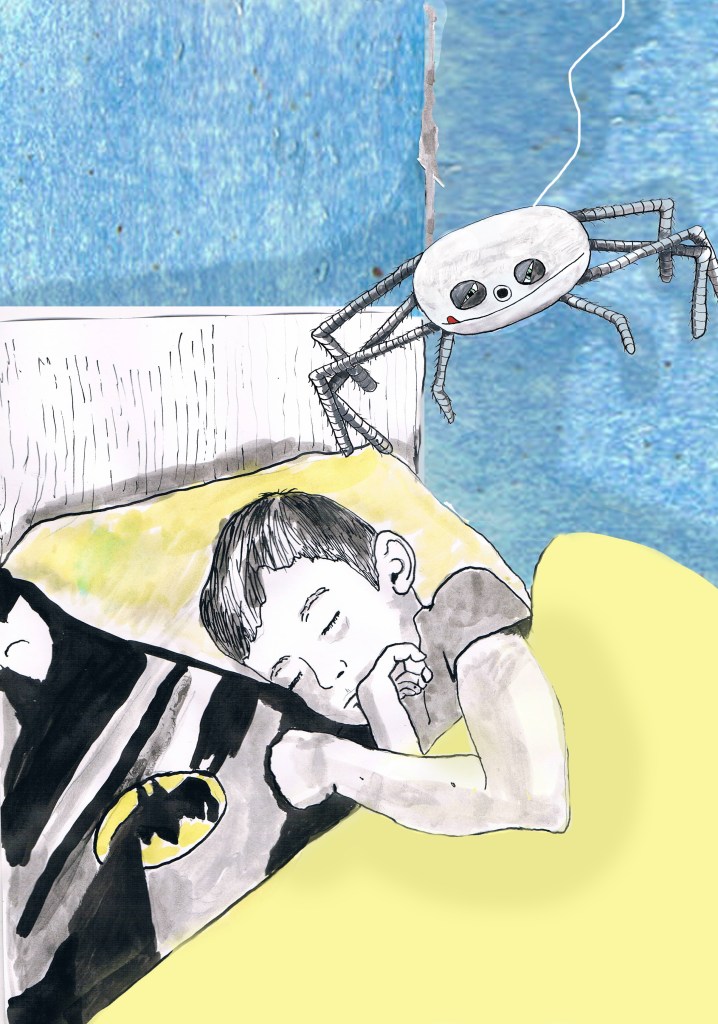
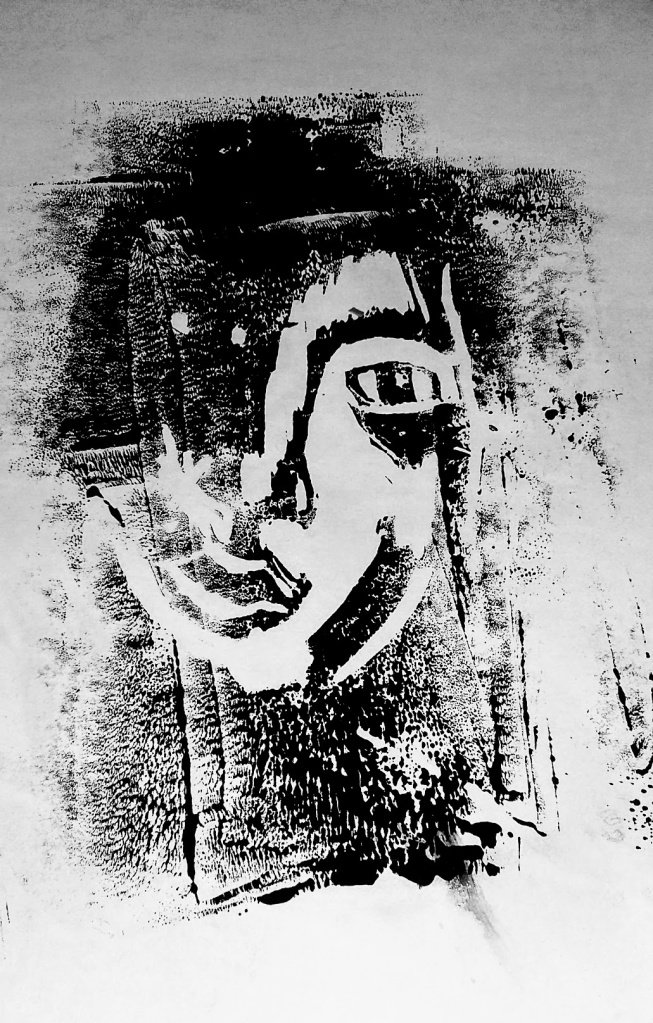
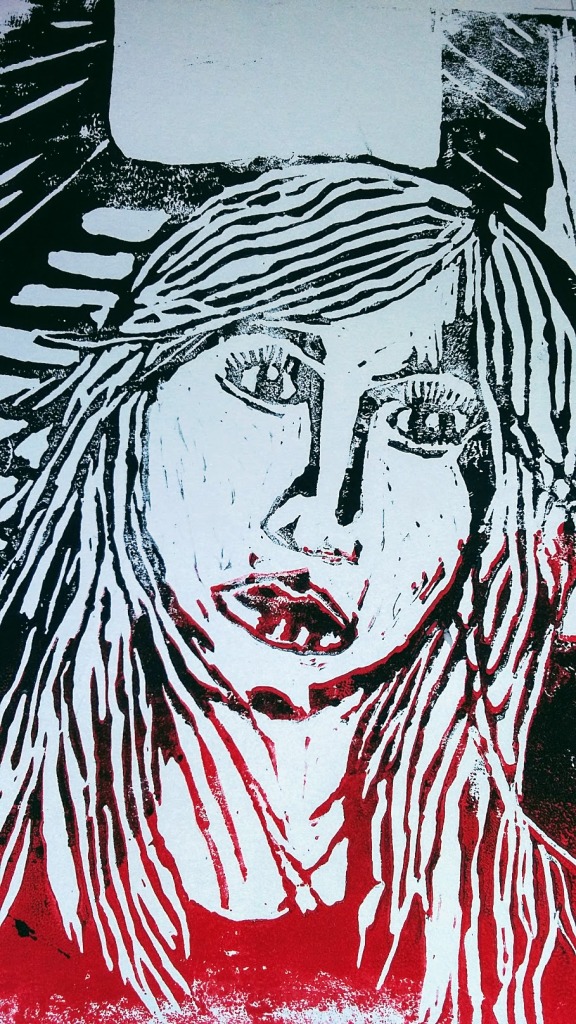
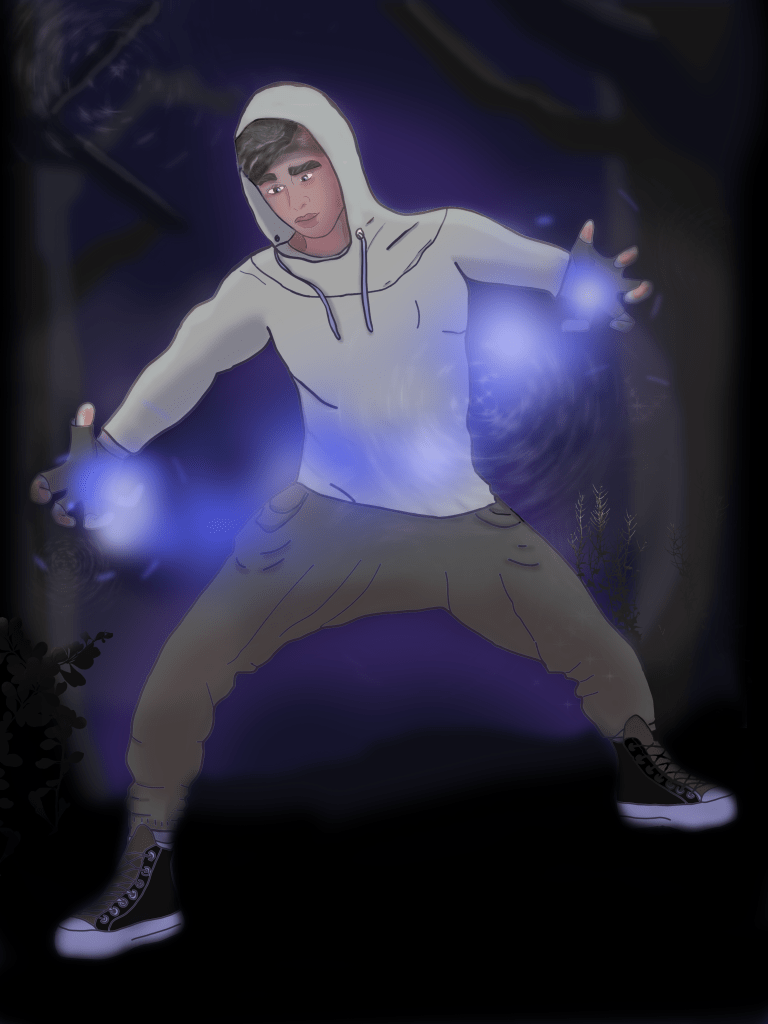
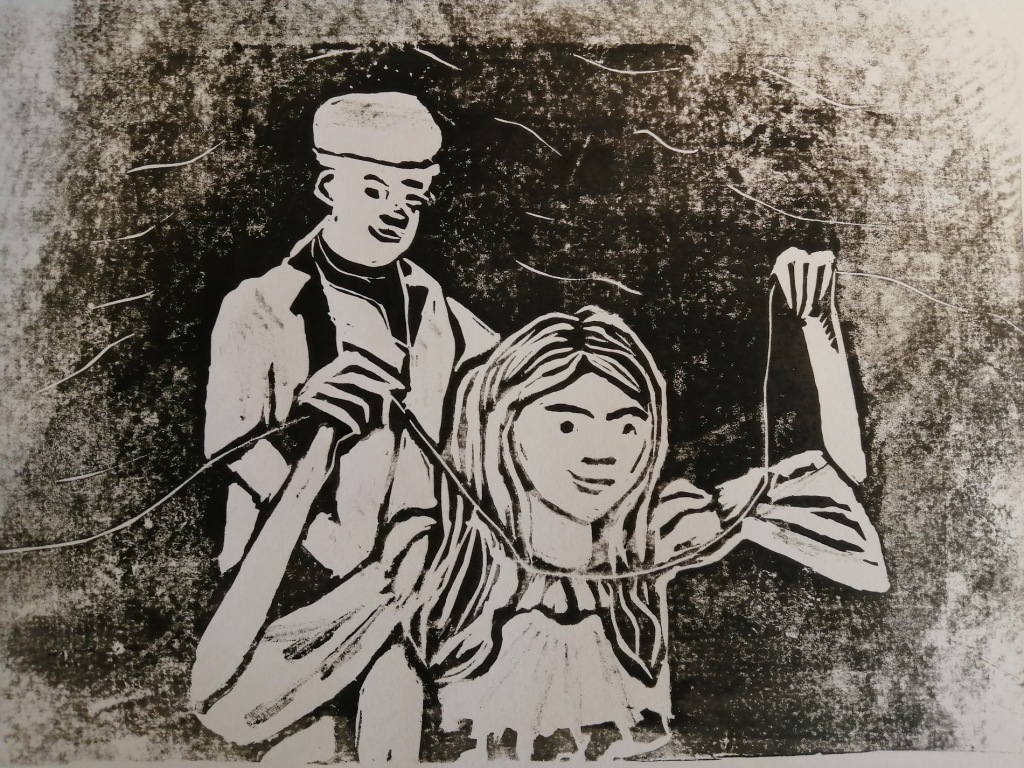
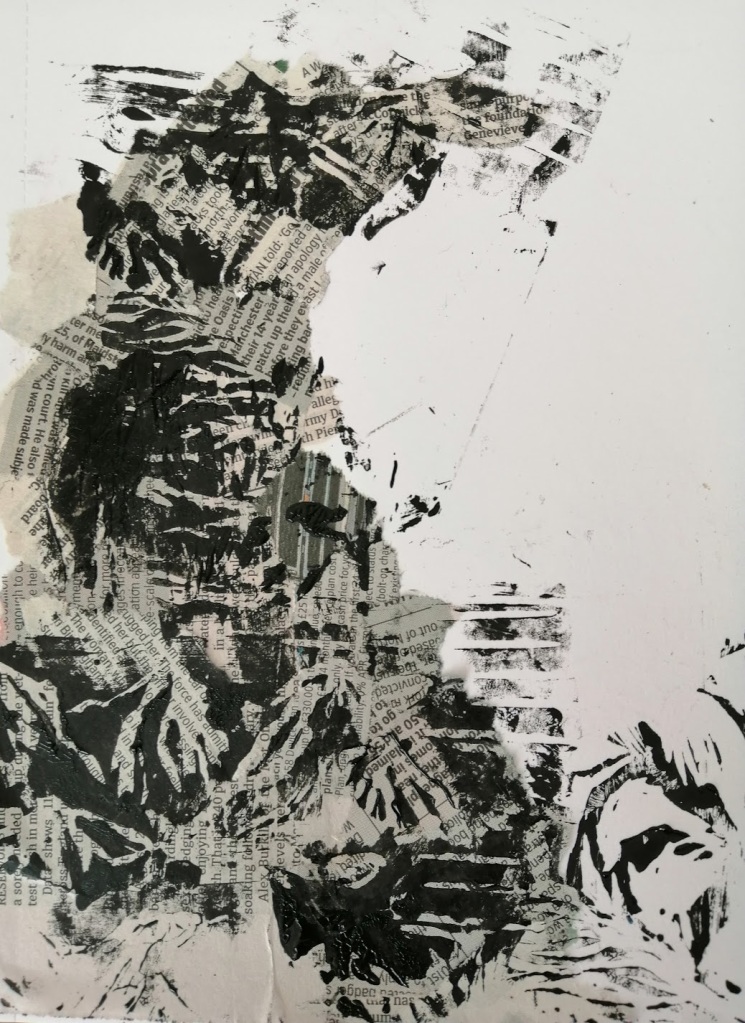
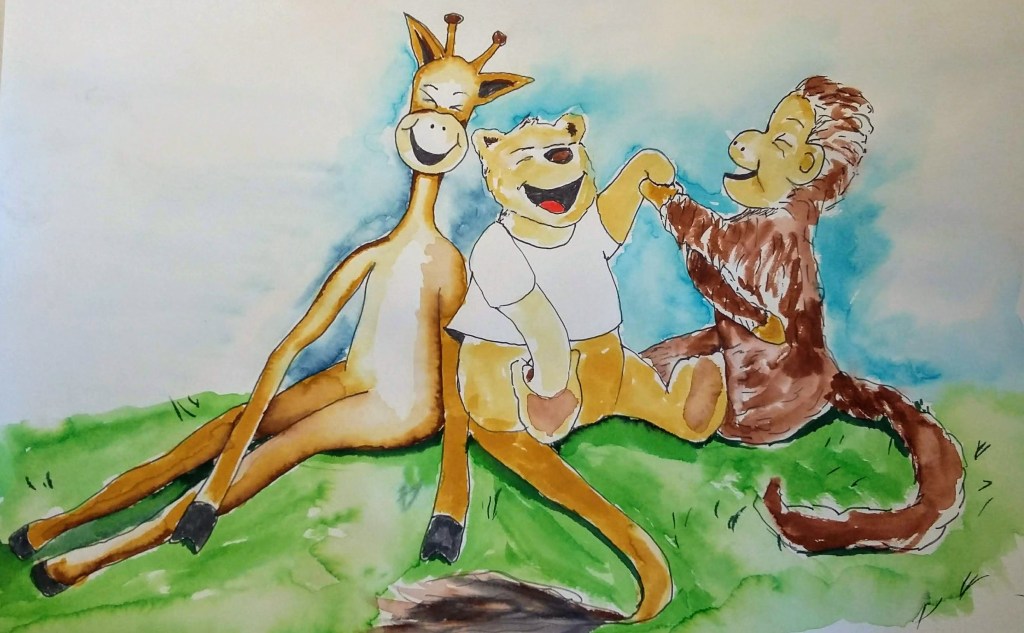
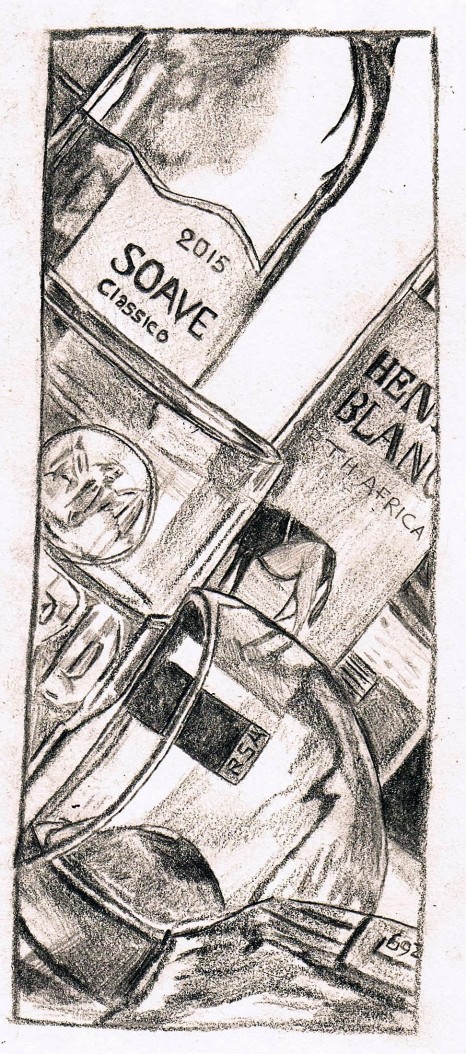
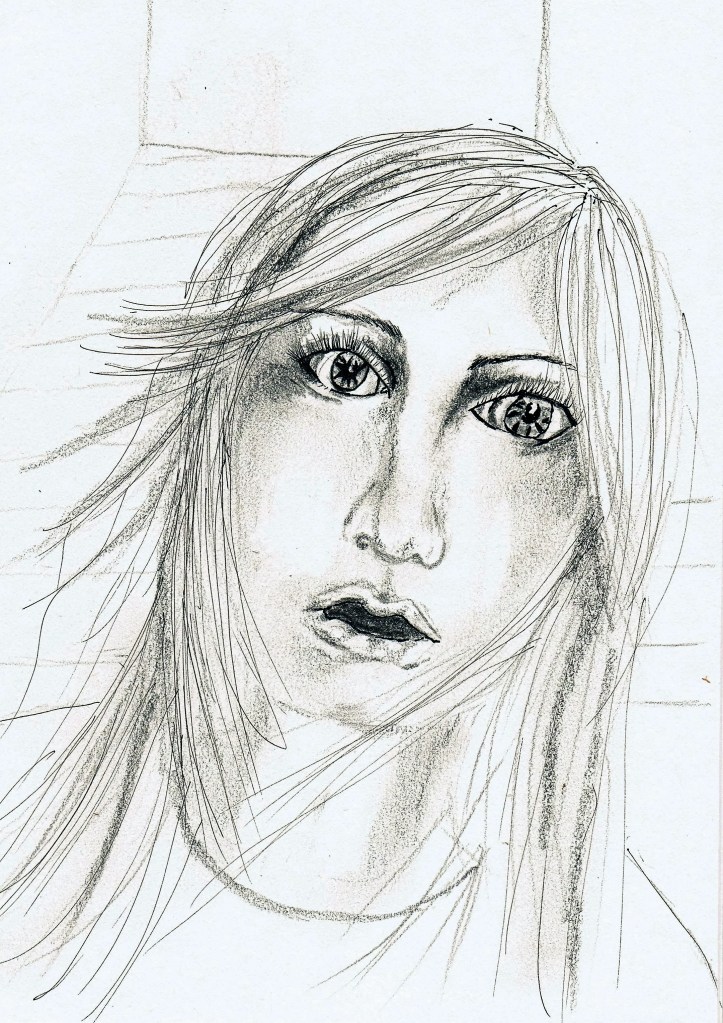
Other Characters
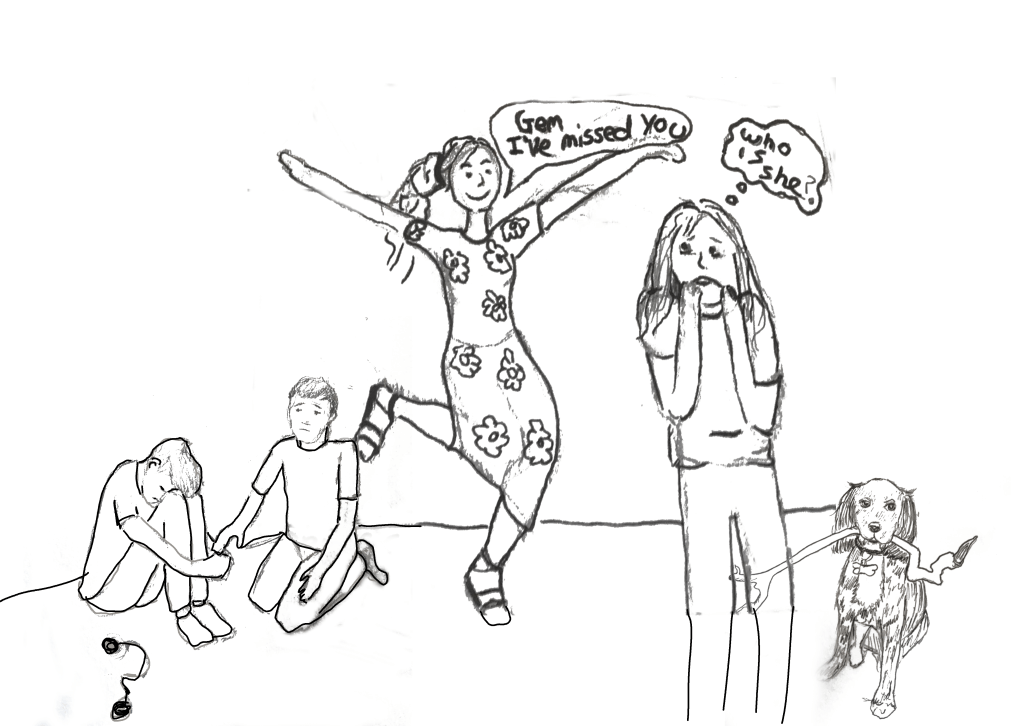
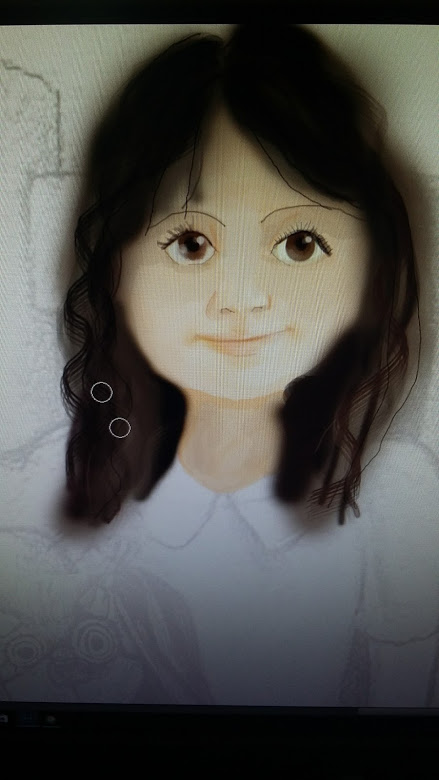
There were a few characters I came across that I thought may come in useful so I put these into a separate folder.


Collages
One
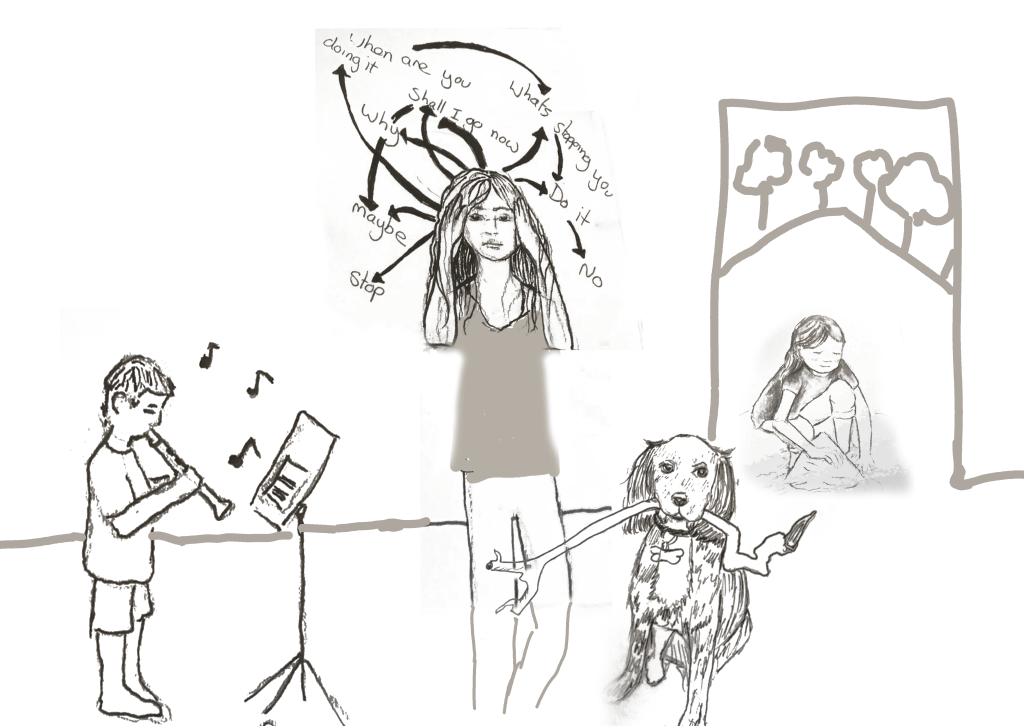
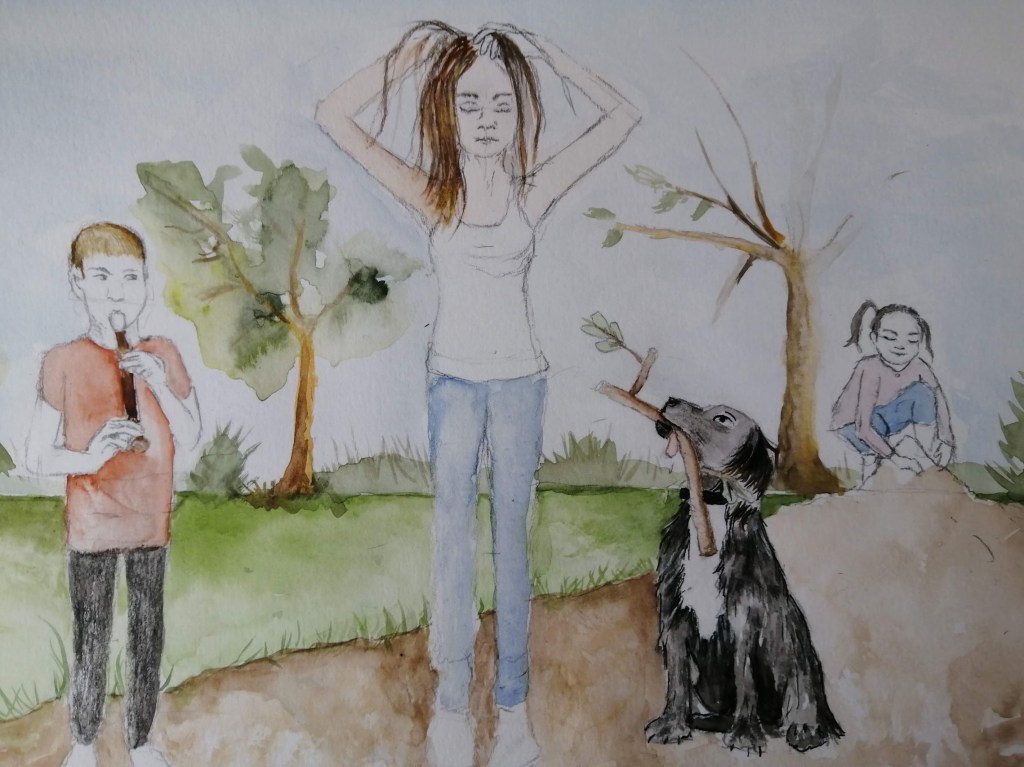
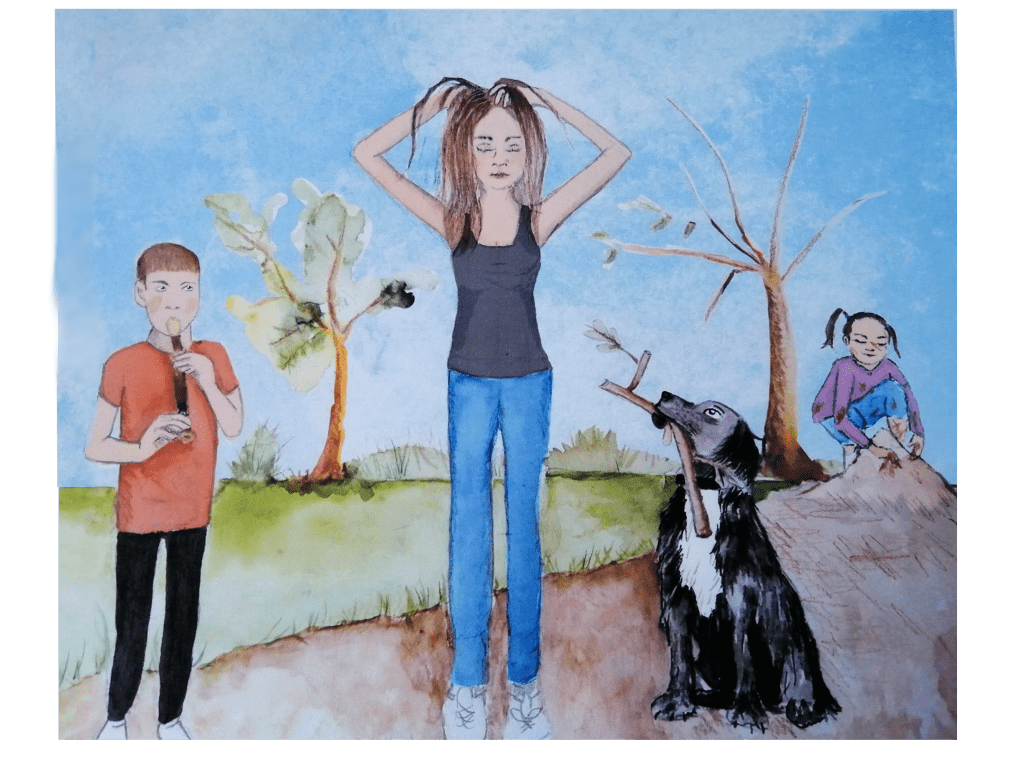
For the first collage, the following images were used.


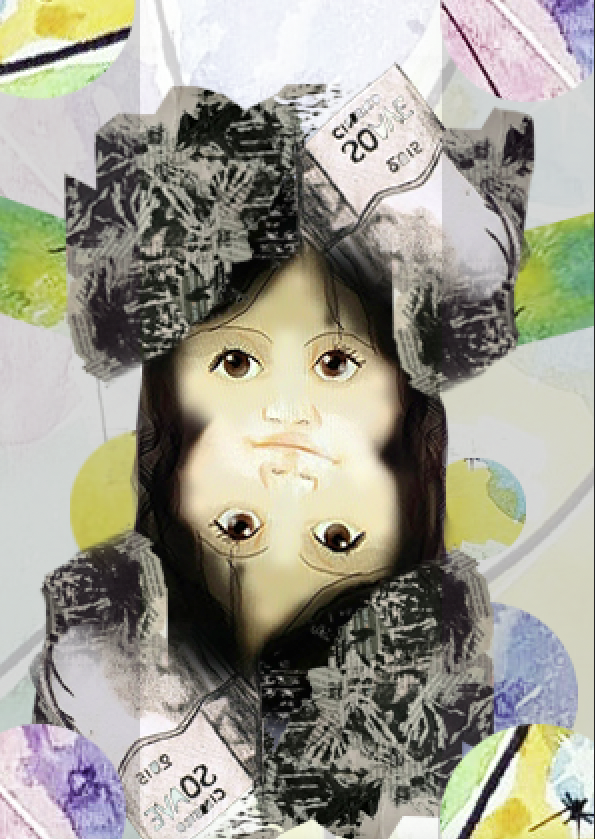
I also used cut-out circles from the coloured background. Below is the final collage.
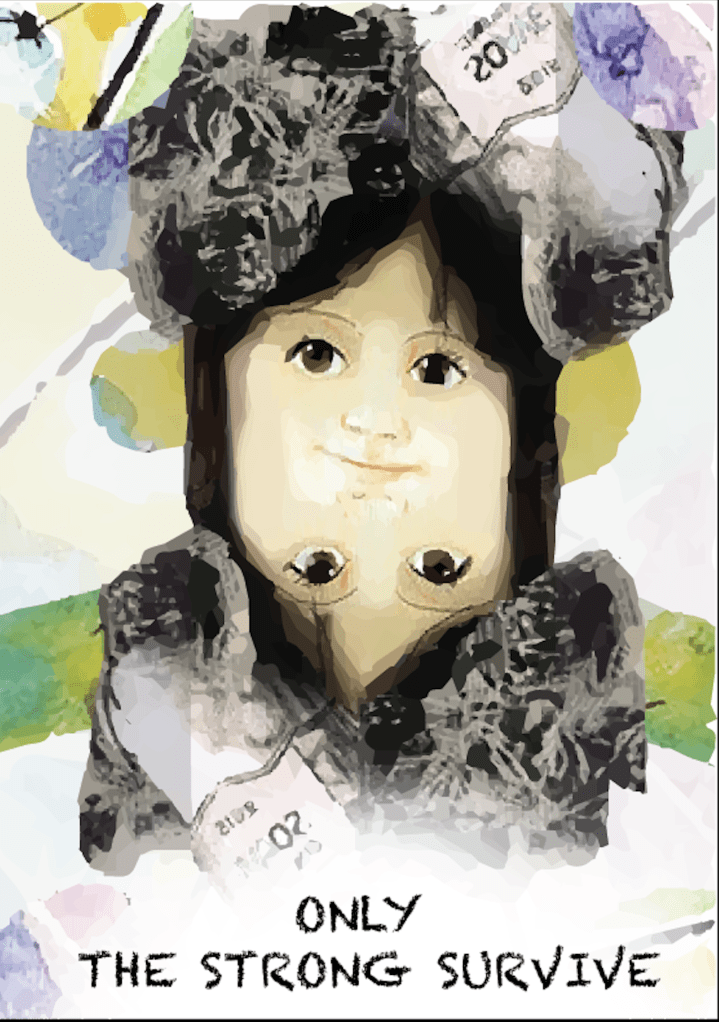
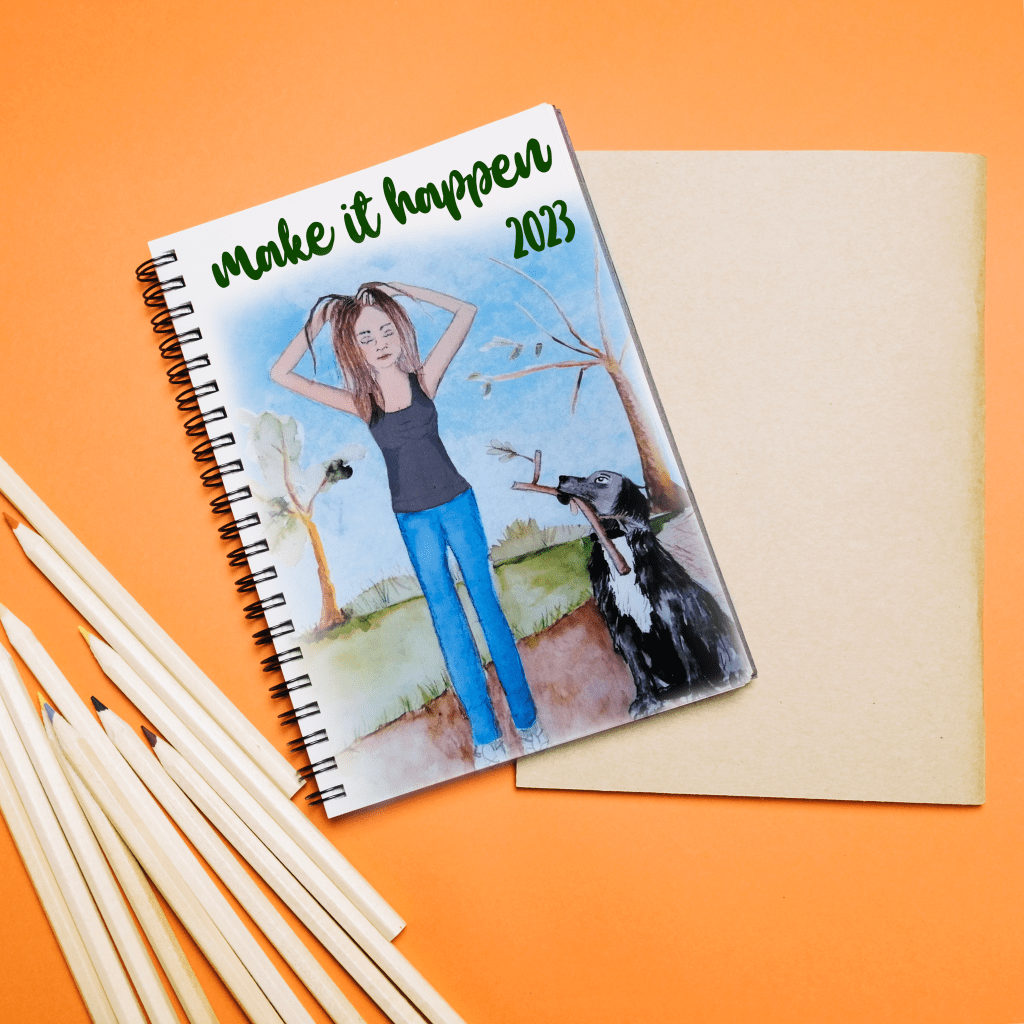
I enjoyed making this collage as I felt it expressed a lot of emotion. The content in this collage was intended to express the emotional struggle of individuals with depression, highlighting the stark contrast between their outward appearance and their inner troubles. It also made me think about the deceptive nature of social media, where people often portray a facade of happiness despite internal struggles. I hoped this collage conveys this concept through using an illustration of a girl appearing happy at one angle, but appearing sad when the image is rotated. I hoped it emphasised the importance of truly seeing and understanding others.
Two
For the second collage, the following images were used.

Below is the final collage.
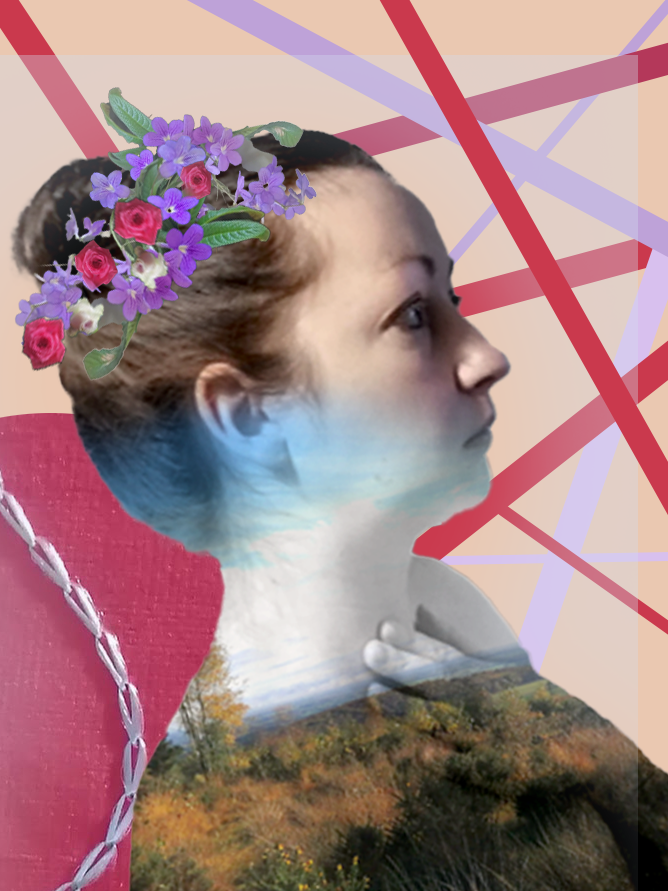
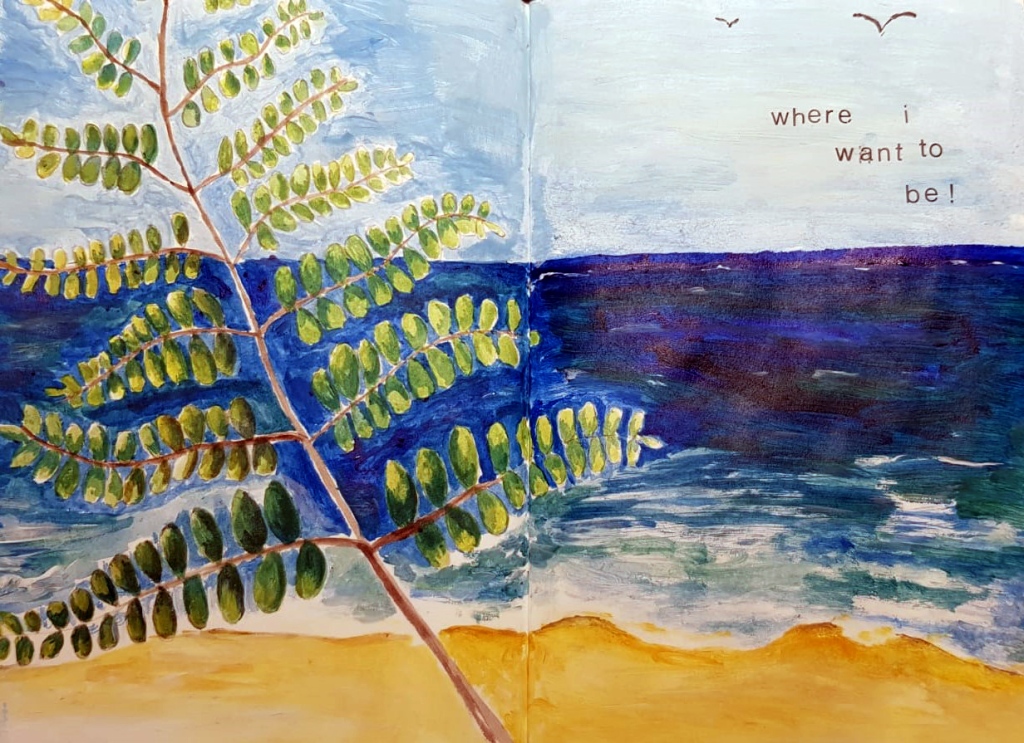
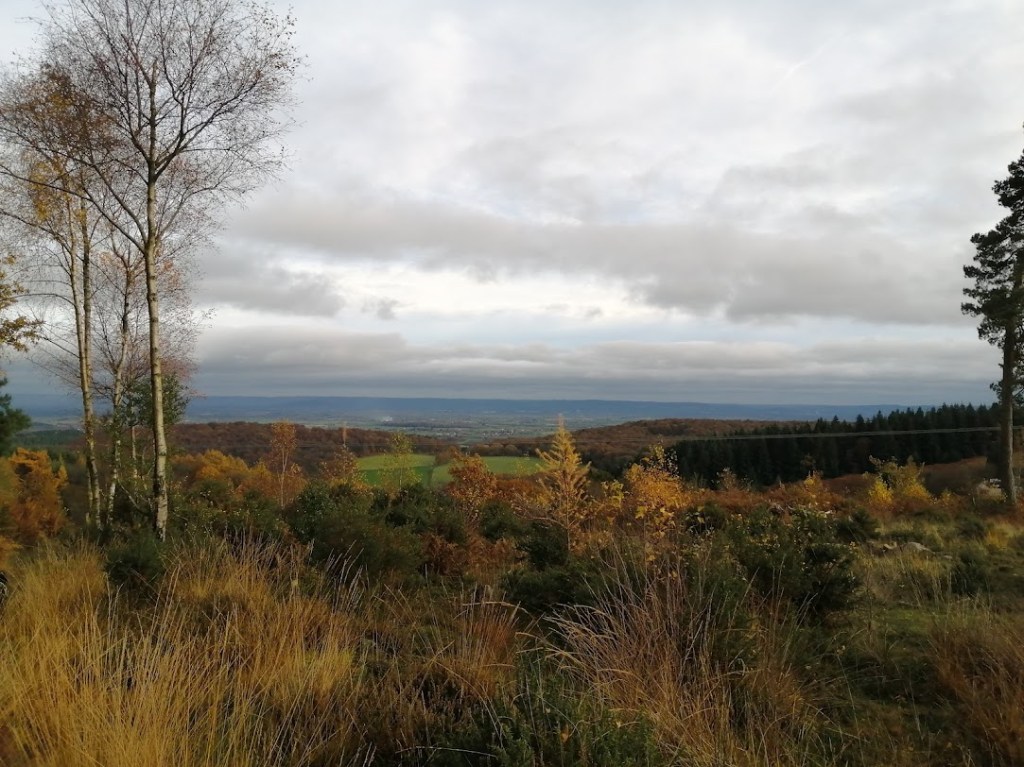
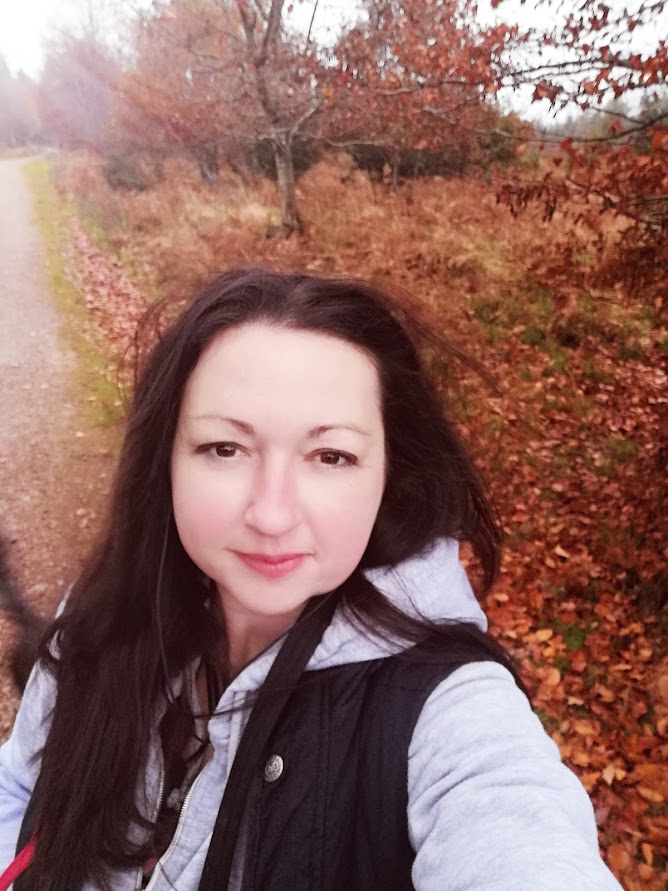
This collage is a personal piece. Each image holds a special significance, representing different aspects of my life and experiences. The flowers were given by my closest friends and the autumn view is a photograph of my favourite place to walk with my dog, it is tucked away and not widely known about. The coloured lines represent the people I have crossed paths with during my life and the journey I have taken.
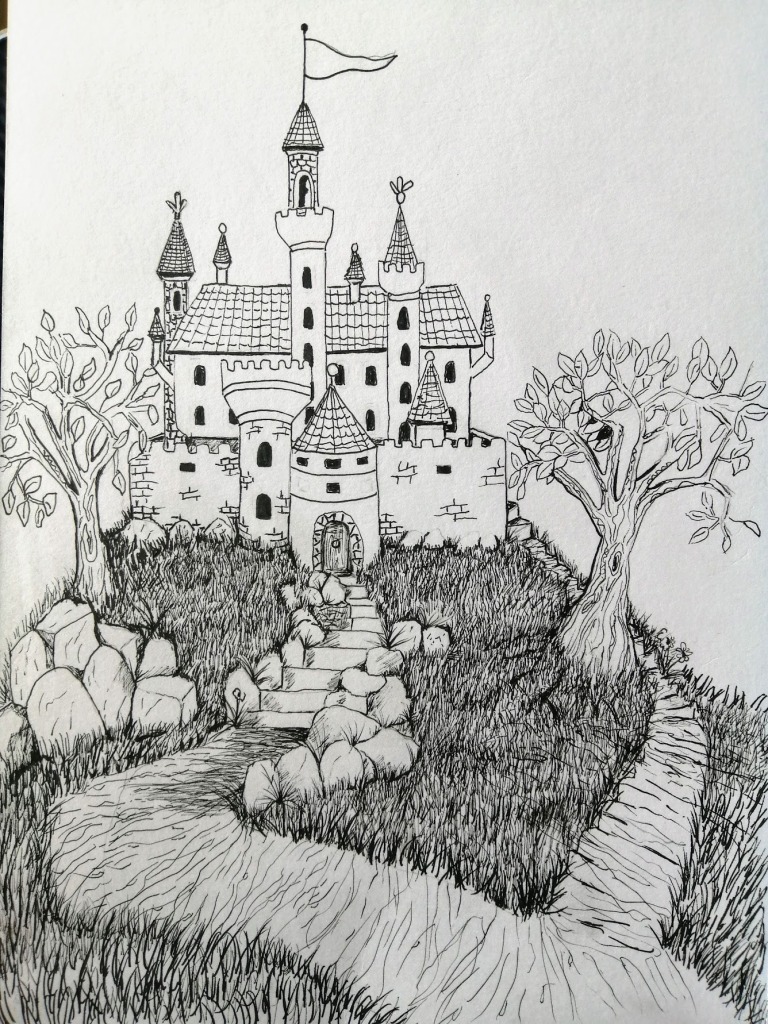
Three

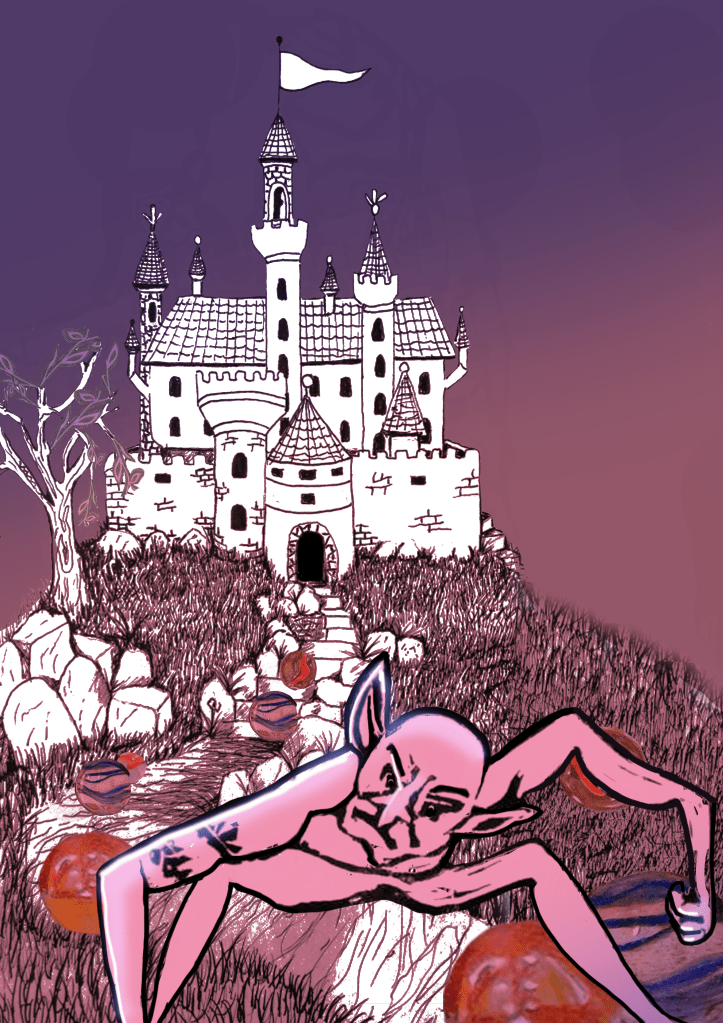
This collage was a more playful one and I tried to think of it as an image taken from a children’s fantasy book so perhaps wasn’t really creating a true collage. Still, I managed to combine an image of a castle, a troll and rolling marbles into an eerie composition.
I wanted to capture the essence of a children’s fantasy book, where anything is possible and the surreal comes to life. By blending the image of a castle a troll and rolling marbles, I aimed to evoke a sense of wonder and adventure.
Four

Below is the final collage.
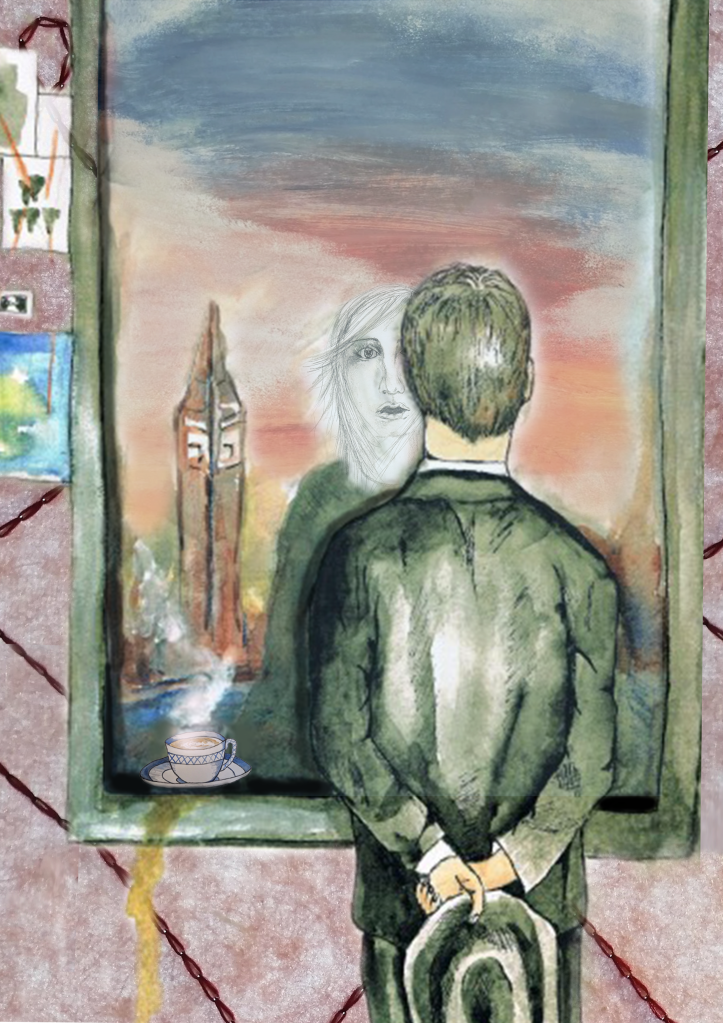
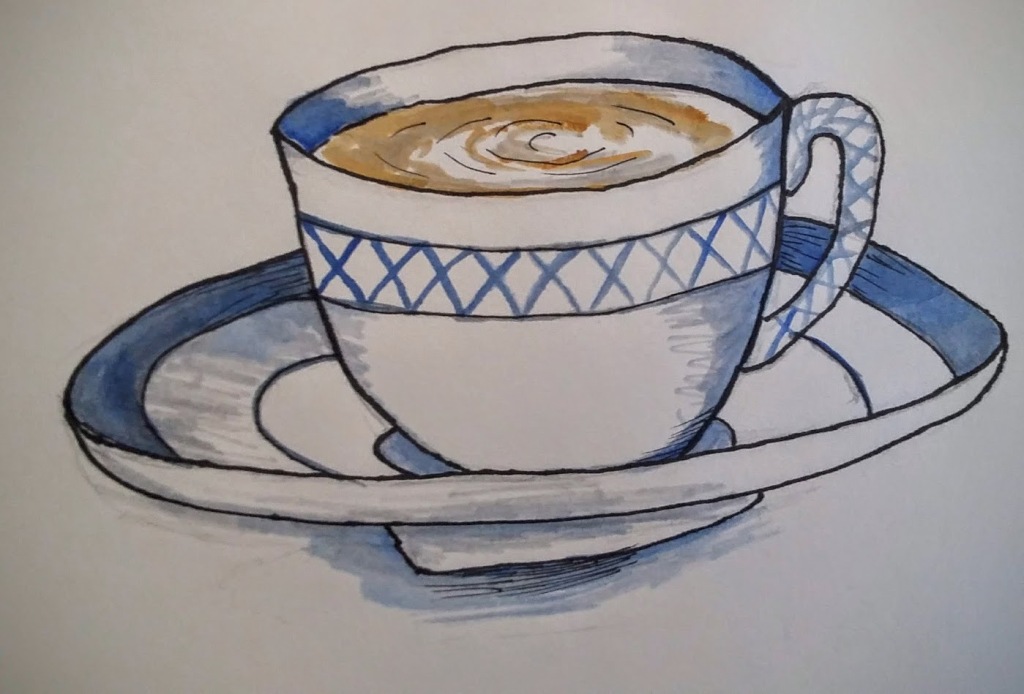
At first, when creating this collage, I carefully arranged the different elements: the man in a suit gazing out at the city through the window, the teacup, the troubled expression of the woman, and the textured paper. I experimented with various sizes for each element, thinking about how to incorporate the woman’s face into the collage. As I got further into the process, my thoughts turned to transgender individuals and those who struggled with their desire to embrace a different gender. Considering how some may struggle, denying and concealing their inner thoughts. In this collage, as the man looks out the window, he is met by his reflection as a woman, appearing fearful.
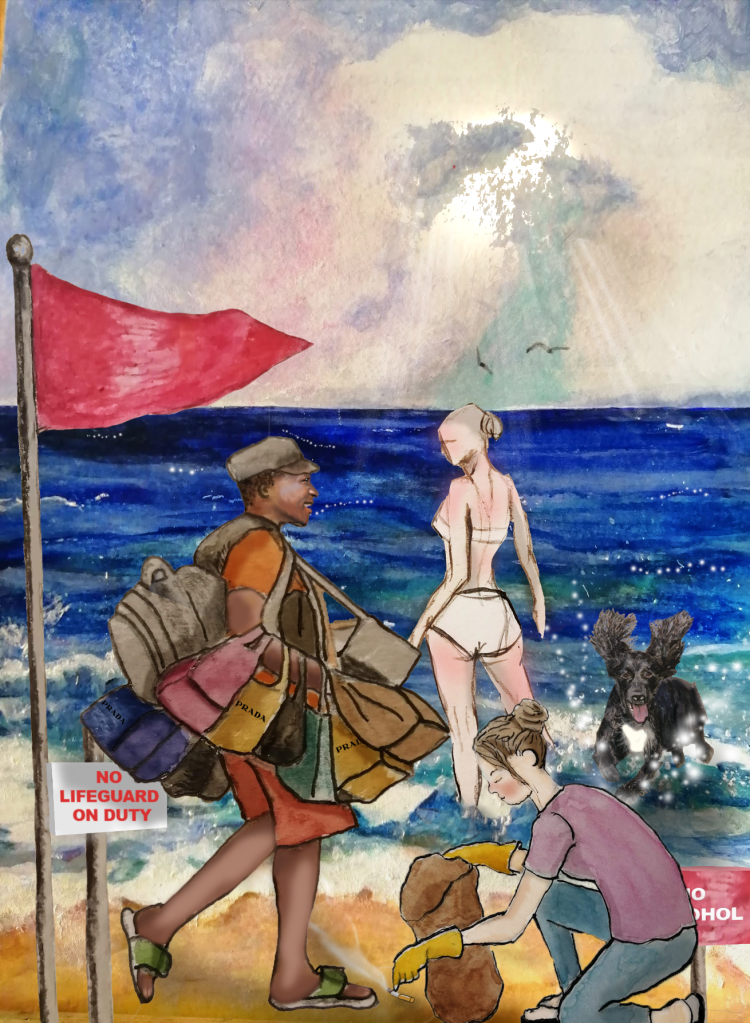
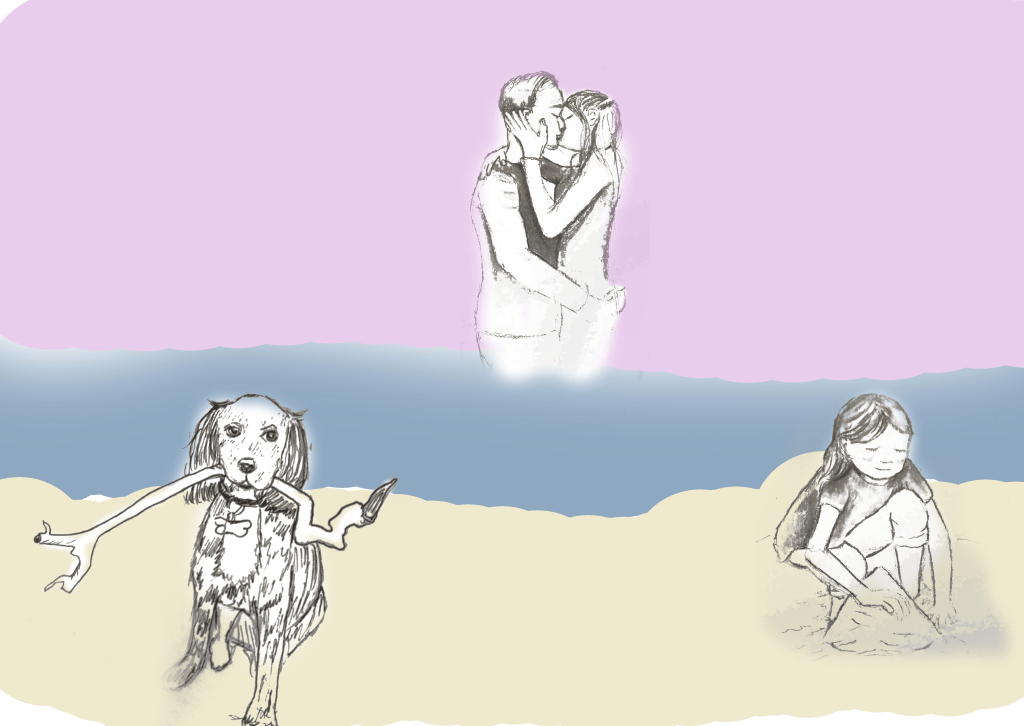
Five


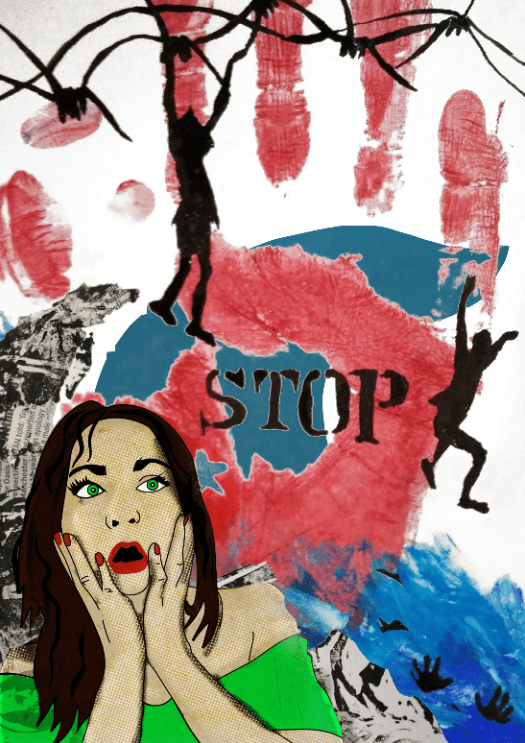
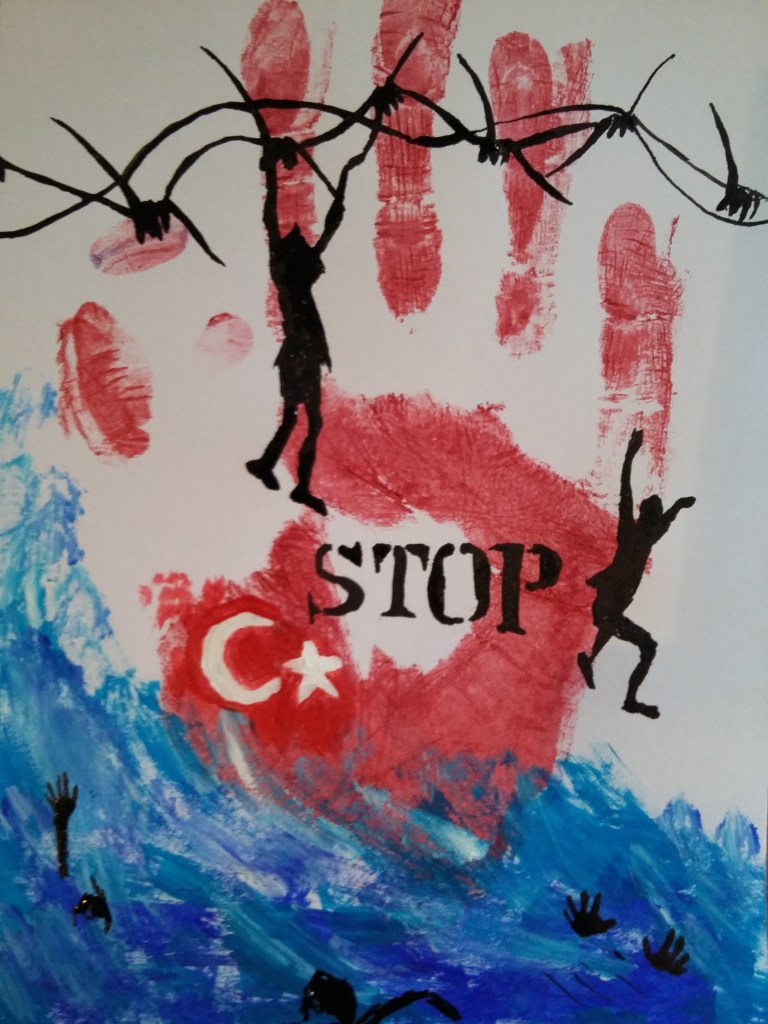
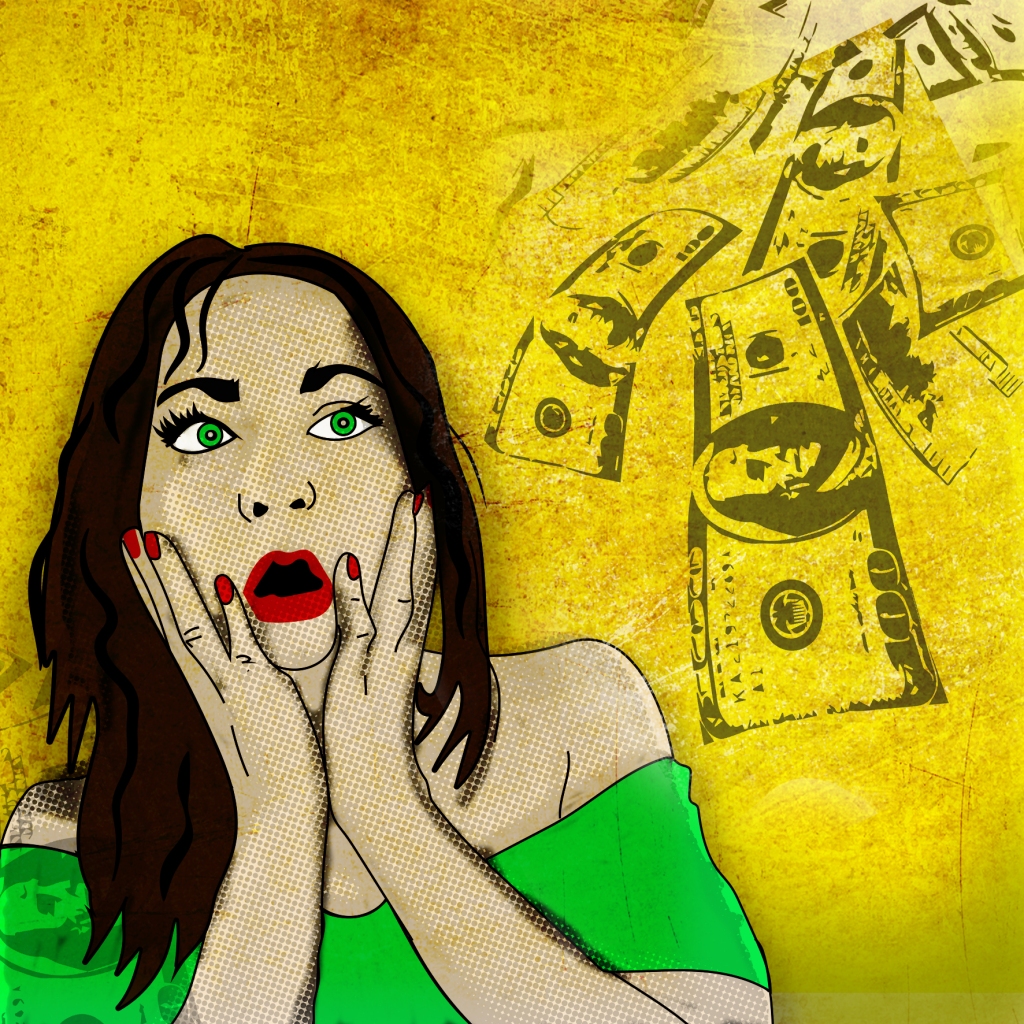
With this collage, the composition came more quickly than the others. The elements of the shocked woman, the textured waves, and the background illustration of innocent refugees trying to escape war but falling into the ocean fit together nicely.
The contrast of these different elements, I hoped, would create a powerful message about the human cost of war and displacement.
Six


Below is the final collage.
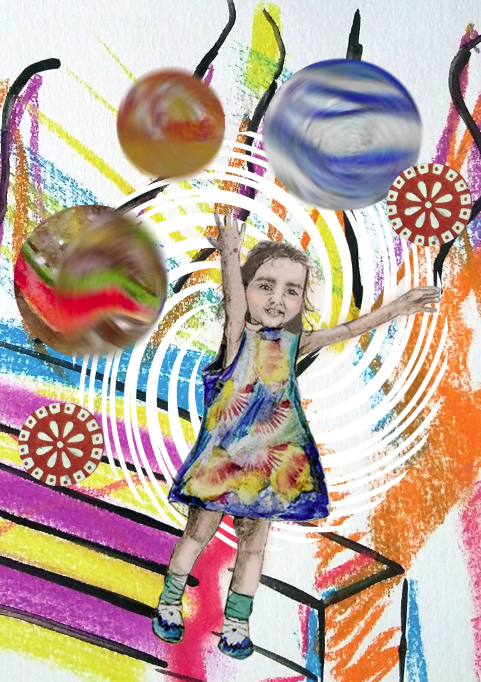
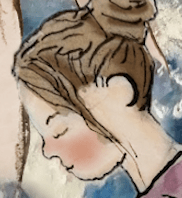
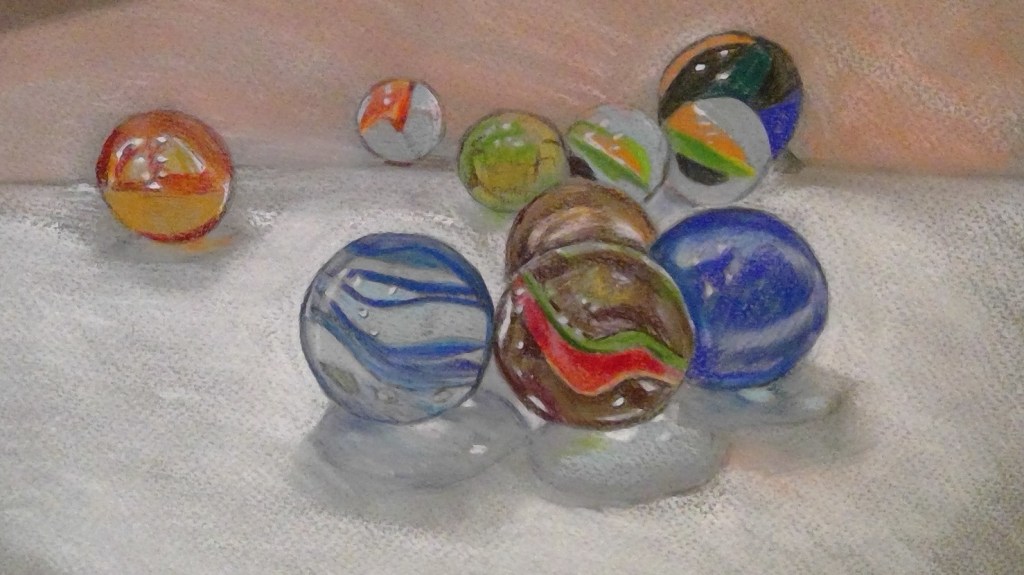
I enjoyed creating this collage as it was a much more lighthearted collage than some of the others I’ve worked on. The image of the young girl is actually a drawing I did of my best friend’s daughter. I wanted to capture her joyful personality, which is why I opted for a colourful background. The added marbles in the collage were meant to convey the feeling of them spinning in the air after she had thrown them, adding an element of movement and playfulness to the overall composition.
Seven

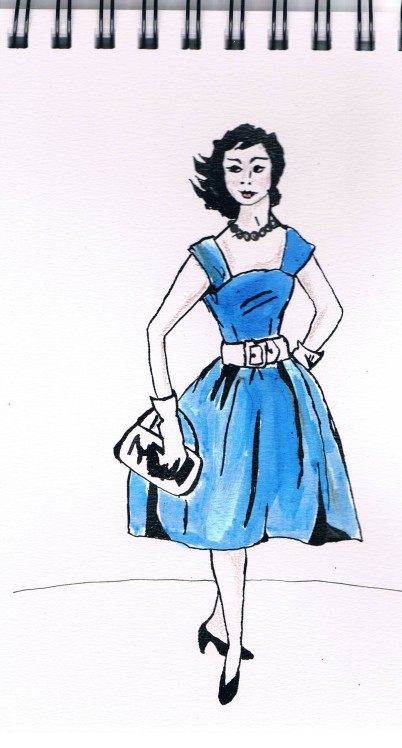


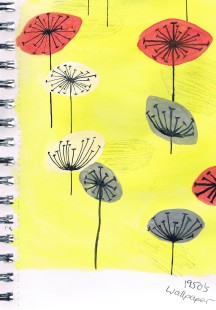
For this collage, I really wanted to push myself out of my comfort zone and create something a little zany. Many of the collages I researched seemed quite unusual, and I found that aspect to be intriguing. I was determined to break away from the conventional and try and create something a little more eccentric. To achieve this, I selected a drawing of a 1950s lady, a 1950s television, an autumn background, and textured red, round patterned circles. I decided to use the television to replace the lady’s head with a falling apple inside, introducing a surreal and thought-provoking element into the artwork.
Eight


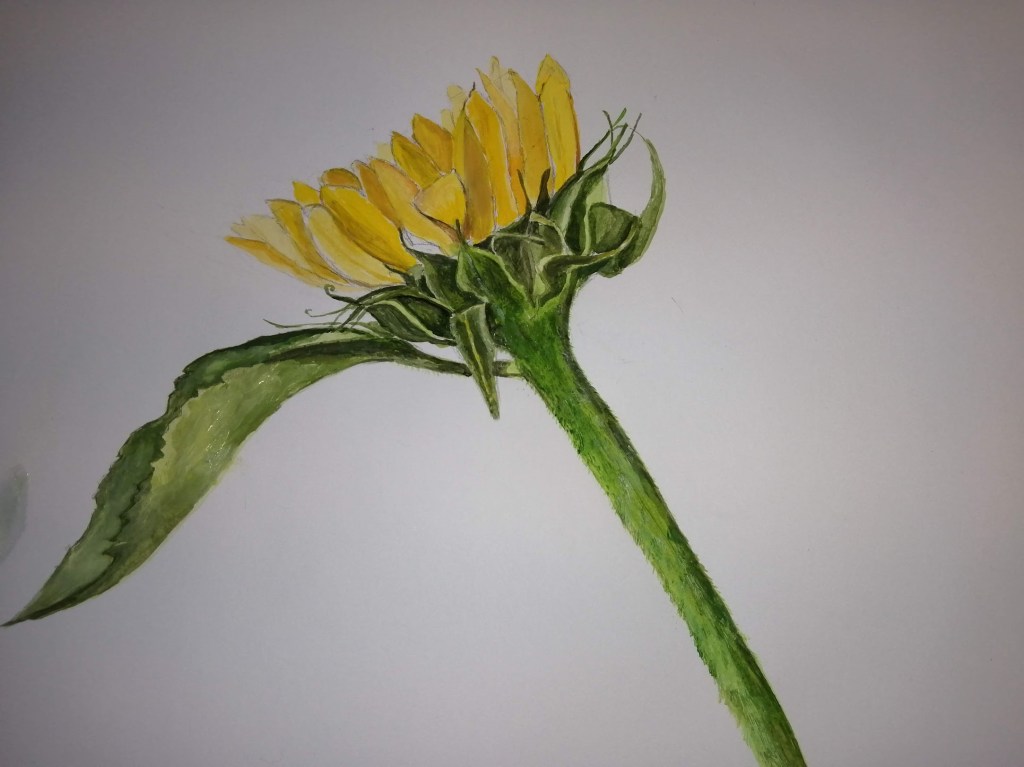
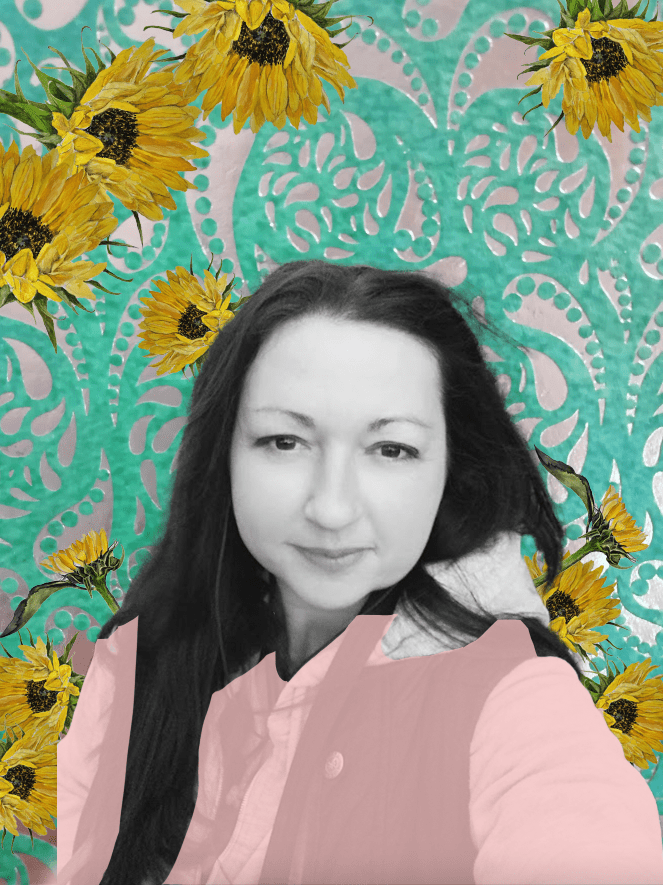
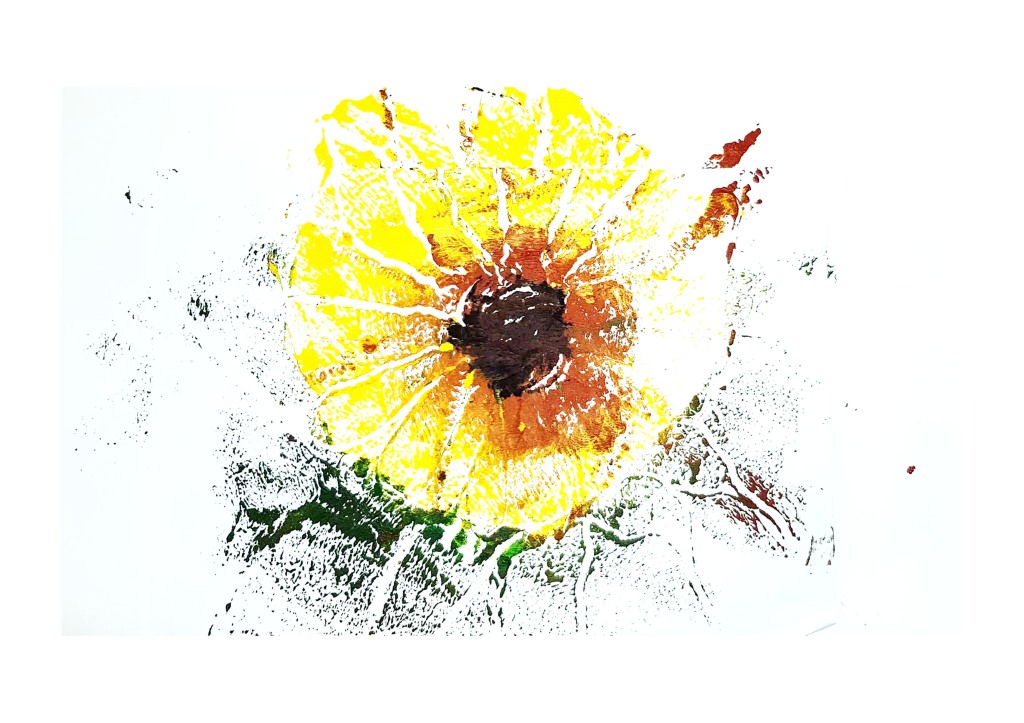
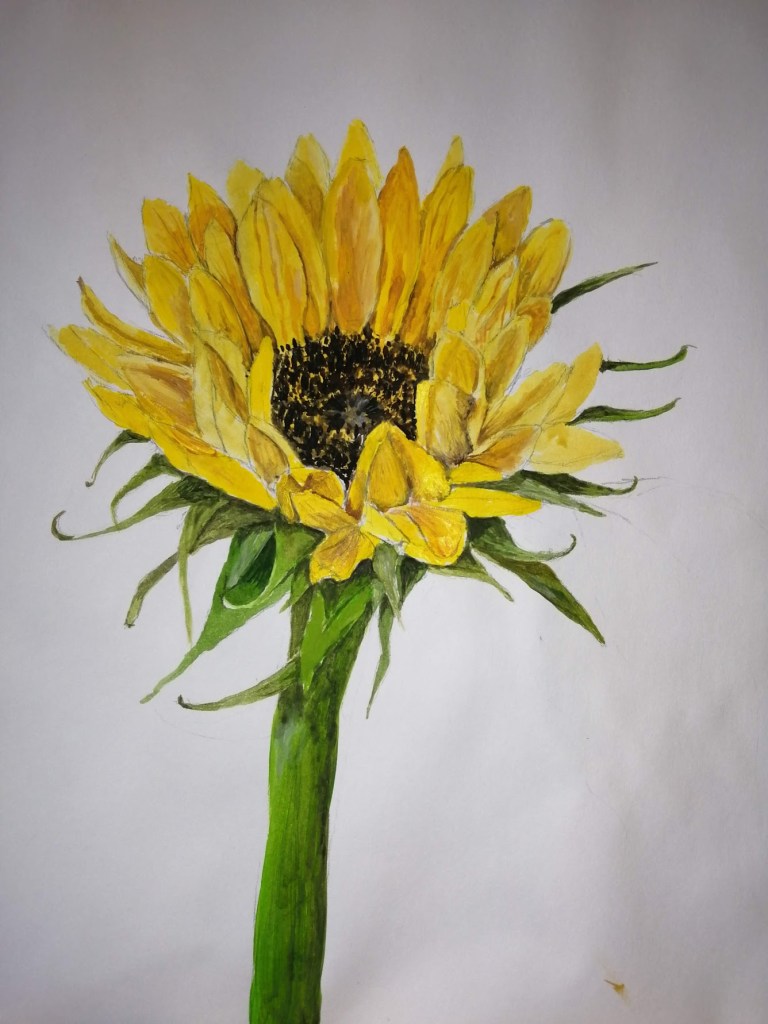
For this collage, I tried to create an artwork that is more about creating something aesthetically pleasing. To do this I used a pattern green background, illustrations of sunflowers that I had previously painted and an image of myself taken on one of my favourite walks. I also added a pastel pink shape lowered the opacity of it and layered it over my top. I felt this added a soft and gentle contrast to the vibrant green and added a visual interest.
Nine


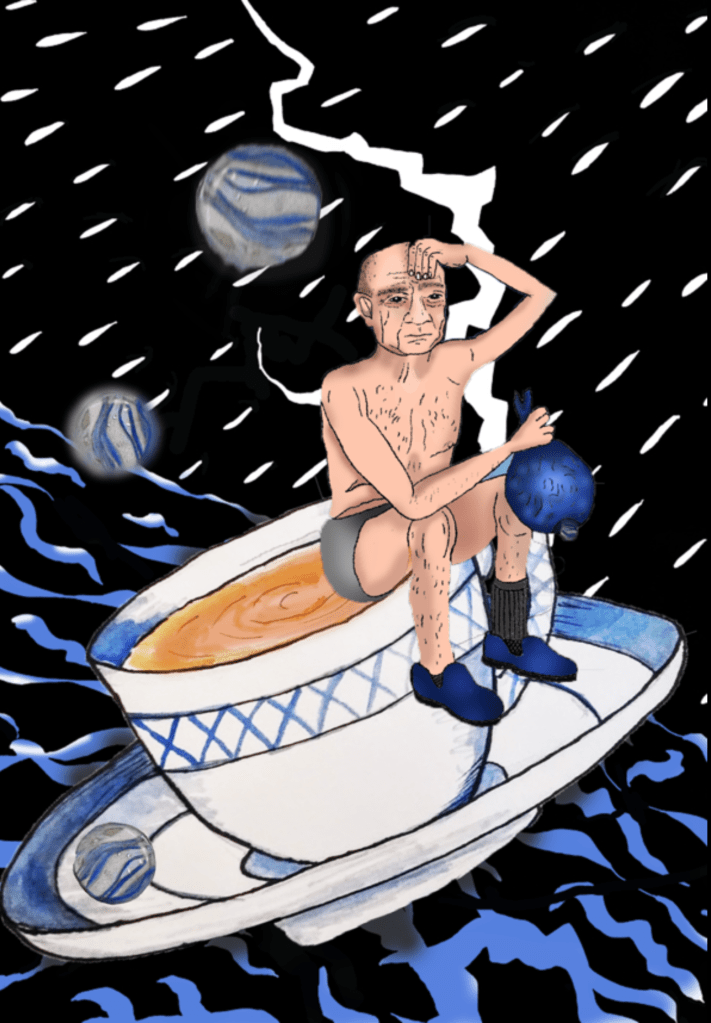
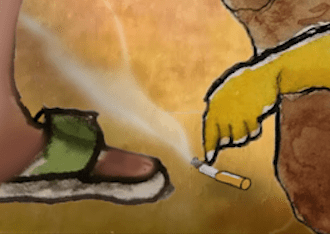
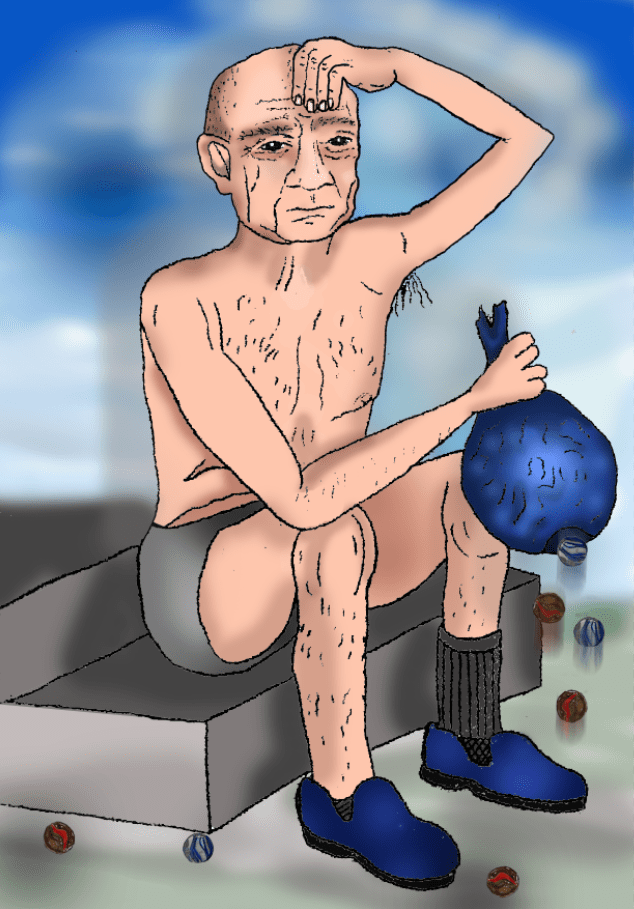
For this collage, I just tried to be playful and see what the outcome would be. It includes a man sitting in his underwear and slippers, perched on the edge of a flying teacup soaring through the sky. With the addition of marbles swirling through the air and escaping from the man’s bag to add a little humour. I found this collage amusing as friends and family think the man I drew in the picture is my husband which was not intentional.
Ten


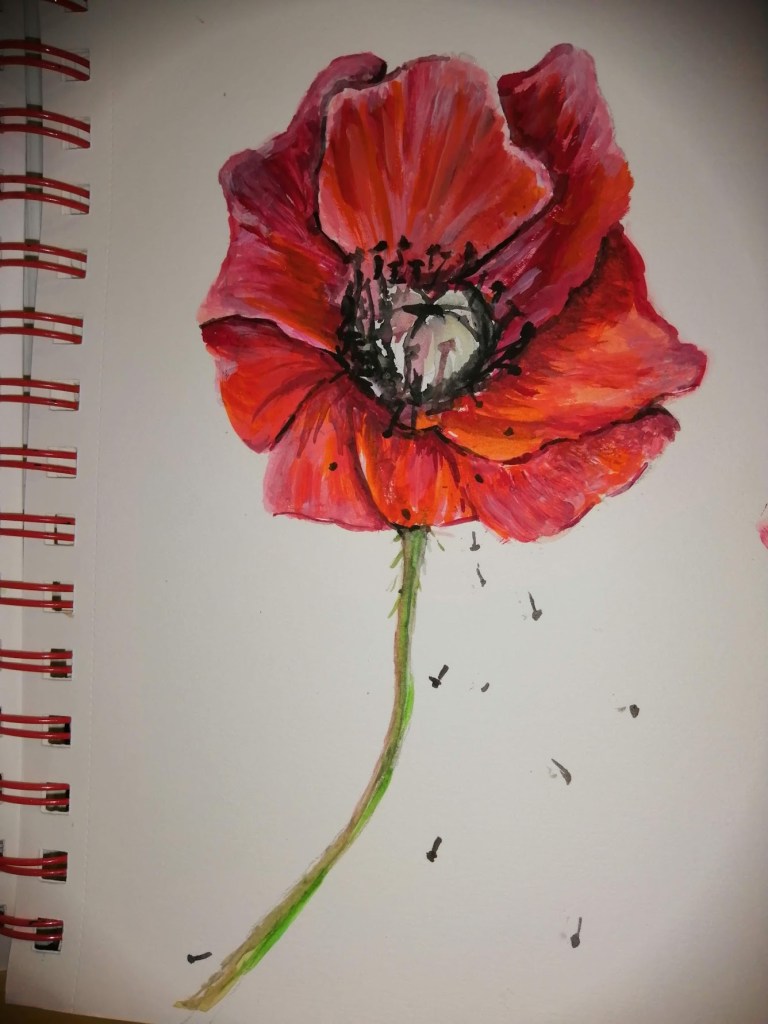
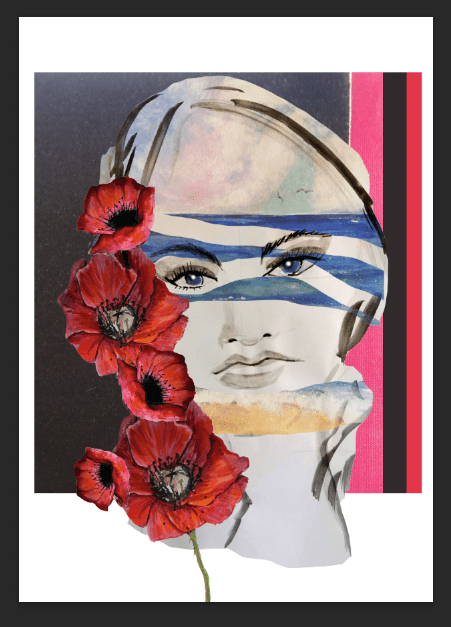
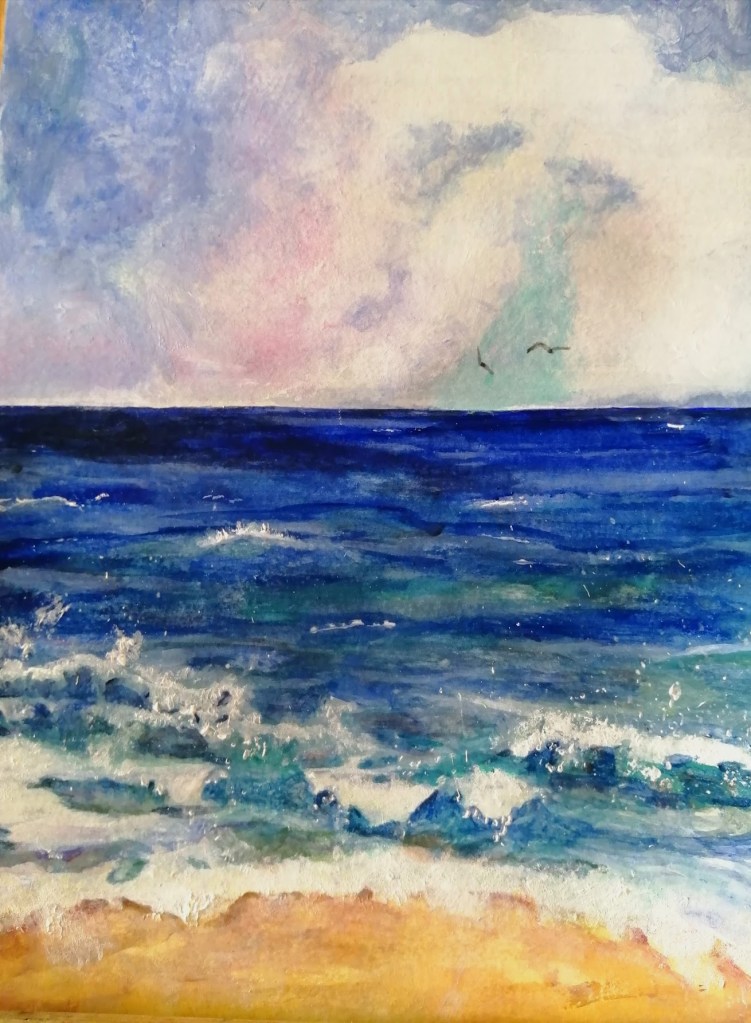
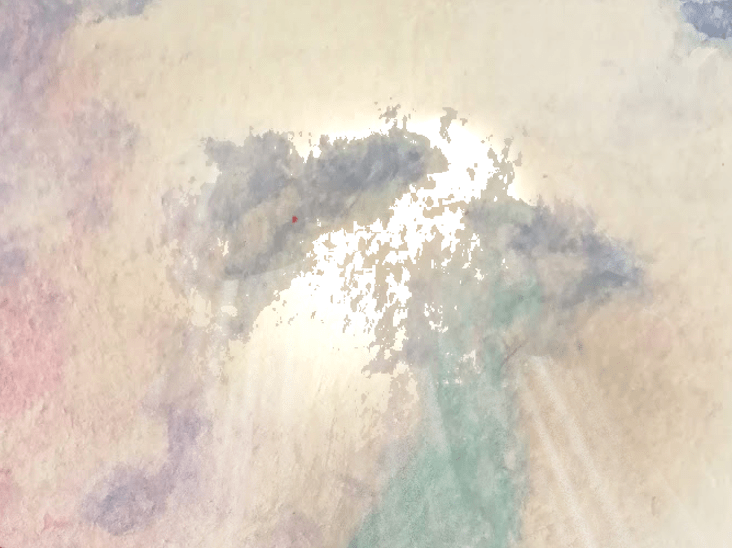
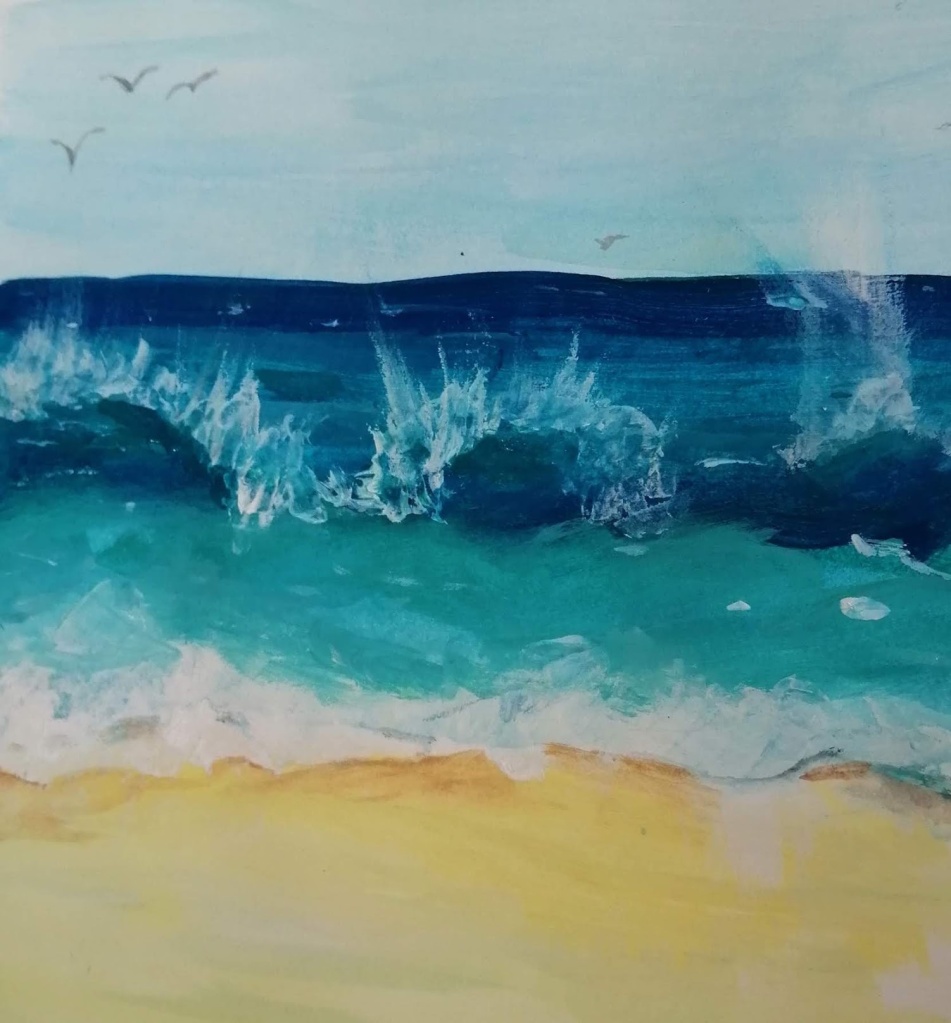
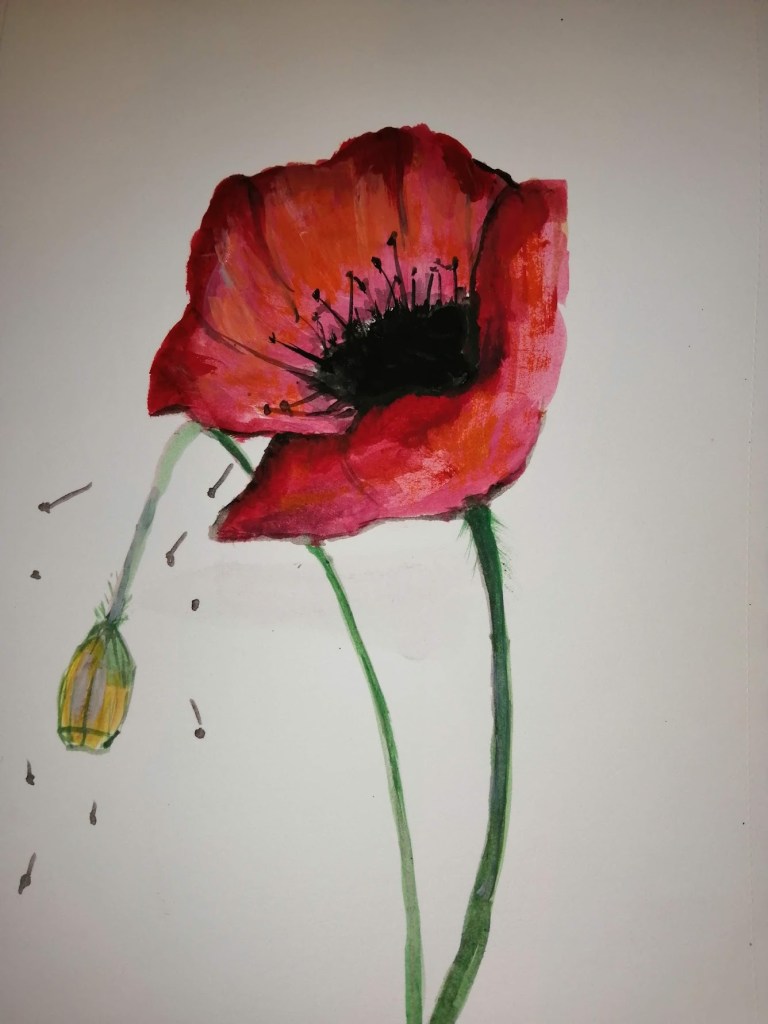
For the last collage, I wanted to be experimental and chose to use a lady’s face I painted with black Indian ink, a sea scene I painted in acrylics, poppy flowers I painted in acrylics and a black and pink background.
Using a clipping mask in Photoshop I merged the sea scene into the lady’s face and erased some parts of the sea. To the side of the woman’s face, I placed a number of the poppy flowers which I thought would add an intriguing and contrasting element. These elements were then placed against the black and pink background.
I am not quite sure why but I really like the outcome of this collage. The composition works well and the black and pink background works as a striking backdrop. The result of the final composition is quite mysterious.
Reflection
This exercise has been difficult as it is very much out of my comfort zone. I have never been interested in collage artwork or creating it myself. However, as I began to play with the different elements, I found myself embracing the freedom to explore different combinations and push myself artisticly. It was also fun to allow my imagination to run wild and I was surprised at how I was able to express different thoughts and messages in my artwork. This exercise has inspired me to keep trying new media and experimenting with different forms of artistic expression.