This assignment is an open brief but challenges me to produce a body of work that explores a starting point of my thoughts through different stages of development, materials and processes.
Keywords from the brief:
- Think unconventionally
- An open-theme example is improving my drawings
- Consider sizes, shapes, forms and materials
- Have an idea, test it, develop it unusually and take it somewhere further.
- A minimum of three finished pieces
- Document what you do as you go along
- This project should take 90hours
- Write a final reflective statement
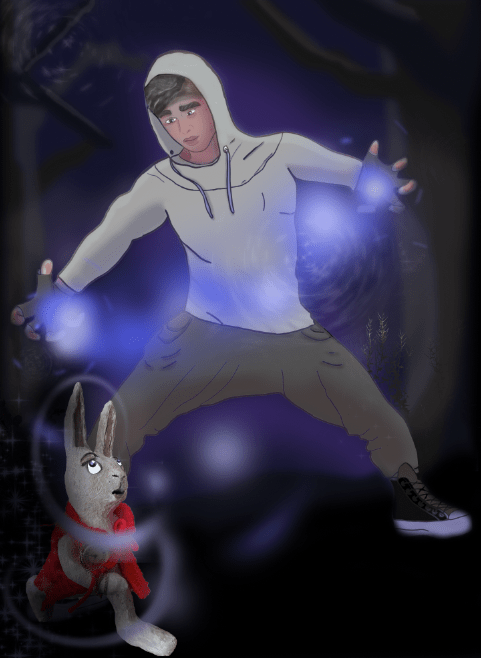
Previously, in assignment four, I created 3D clay sculptures and hand-painted backdrops around the theme of imagination, focussing my work on the story of Alice in Wonderland. These artworks included 3D clay sculptures of Alice and the white rabbit, which I photoshopped into hand-painted backdrops. These can be seen here:
For this new project, I intend to elaborate on the artwork done in assignment four, with a focus on the sequel to Alice in Wonderland, Through the Looking Glass which was first published in 1865. As a result, new challenges will arise, hopefully leading to fresh and different artworks. I’m excited to explore the numerous characters and places depicted in Through the Looking Glass and incorporate them creatively into my illustrations. By delving into this story, I hope to boost my creativity and create a collection of visually appealing and thought-provoking artwork.
Project Proposal: Exploring “Through the Looking Glass”
Brief
Building on my previous work inspired by Alice in Wonderland, this new project will focus on the sequel, Through the Looking Glass. My aim is to develop and refine my creative process by exploring different characters, settings, and themes from the book. The emphasis will be on thinking unconventionally and pushing the boundaries of my artistic practice.
Project Goals
- Expand on previous themes: Using my prior experience with clay sculptures and painted backdrops, but take the ideas further by exploring new materials, forms, and scales.
- Create at least three final pieces: These should reflect the development of my ideas and demonstrate my experimentation with either different materials and techniques or both.
- Document the process: Keep a detailed record of my work at each stage, from initial sketches to finished pieces.
- Reflect on my practice: Write a final reflective statement that evaluates my process, challenges, and outcomes.
Initial Ideas and Research
First, I downloaded the book ‘Through the Looking Glass’, which I learnt was free to read on Google Play (Google.com, 2024). Due to my dyslexia, I found it helpful to listen to an audio version of the book too (Reads, 2024). While reading the book, I took notes on specific paragraphs that I felt would create interesting pictures.

Once completed, I reduced the selection to thirteen possible illustrations.

I then produced a list of these thirteen ideas, explaining the story for each one, and asked friends and family which three they would most like to see in a book.

It was interesting as ideas numbered two and eight were the favourites and I selected number one as I was keen to make that particular illustration.
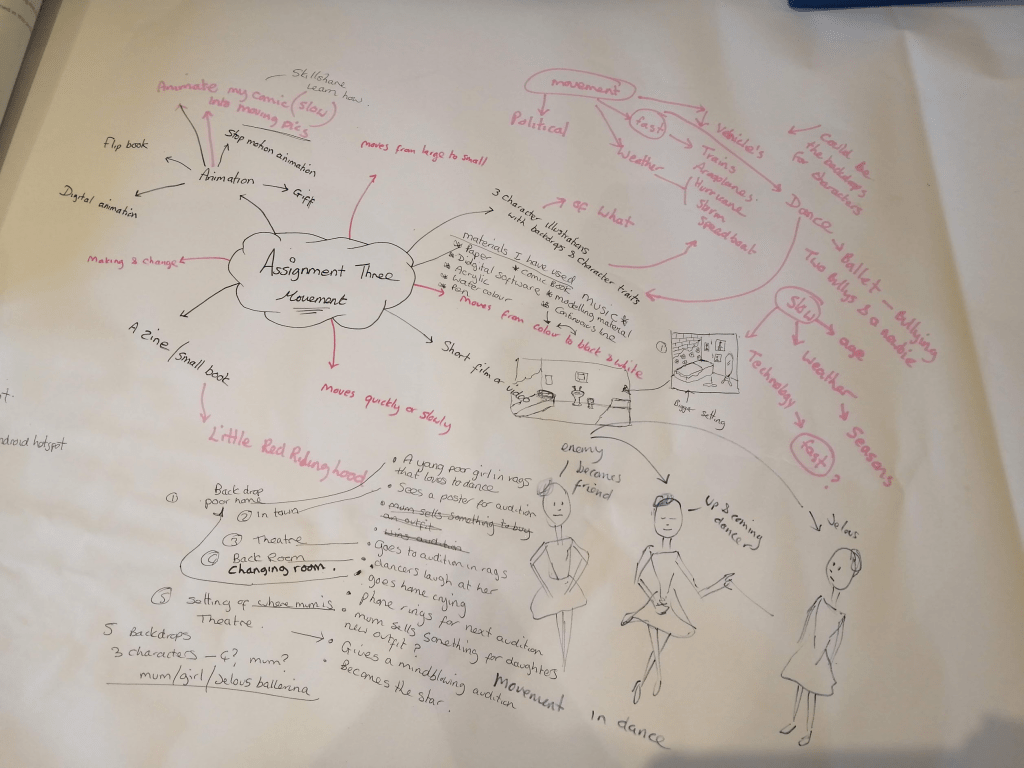
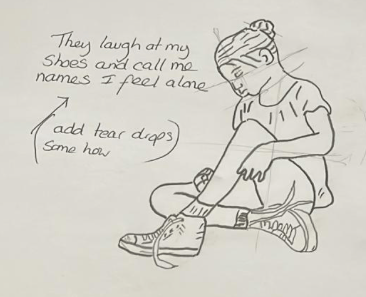
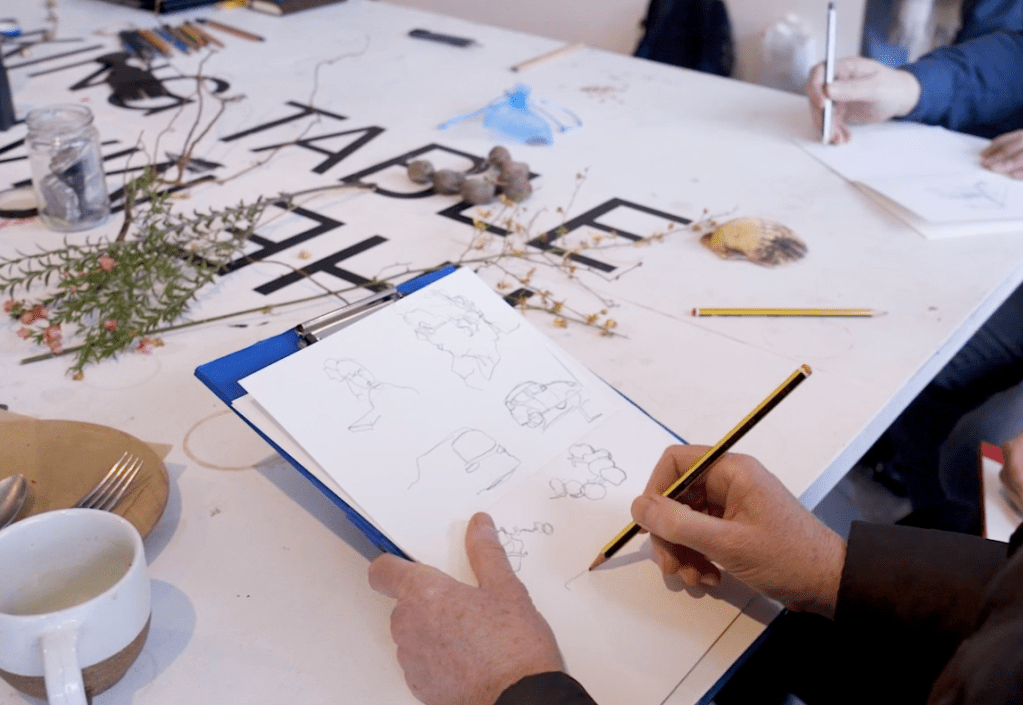
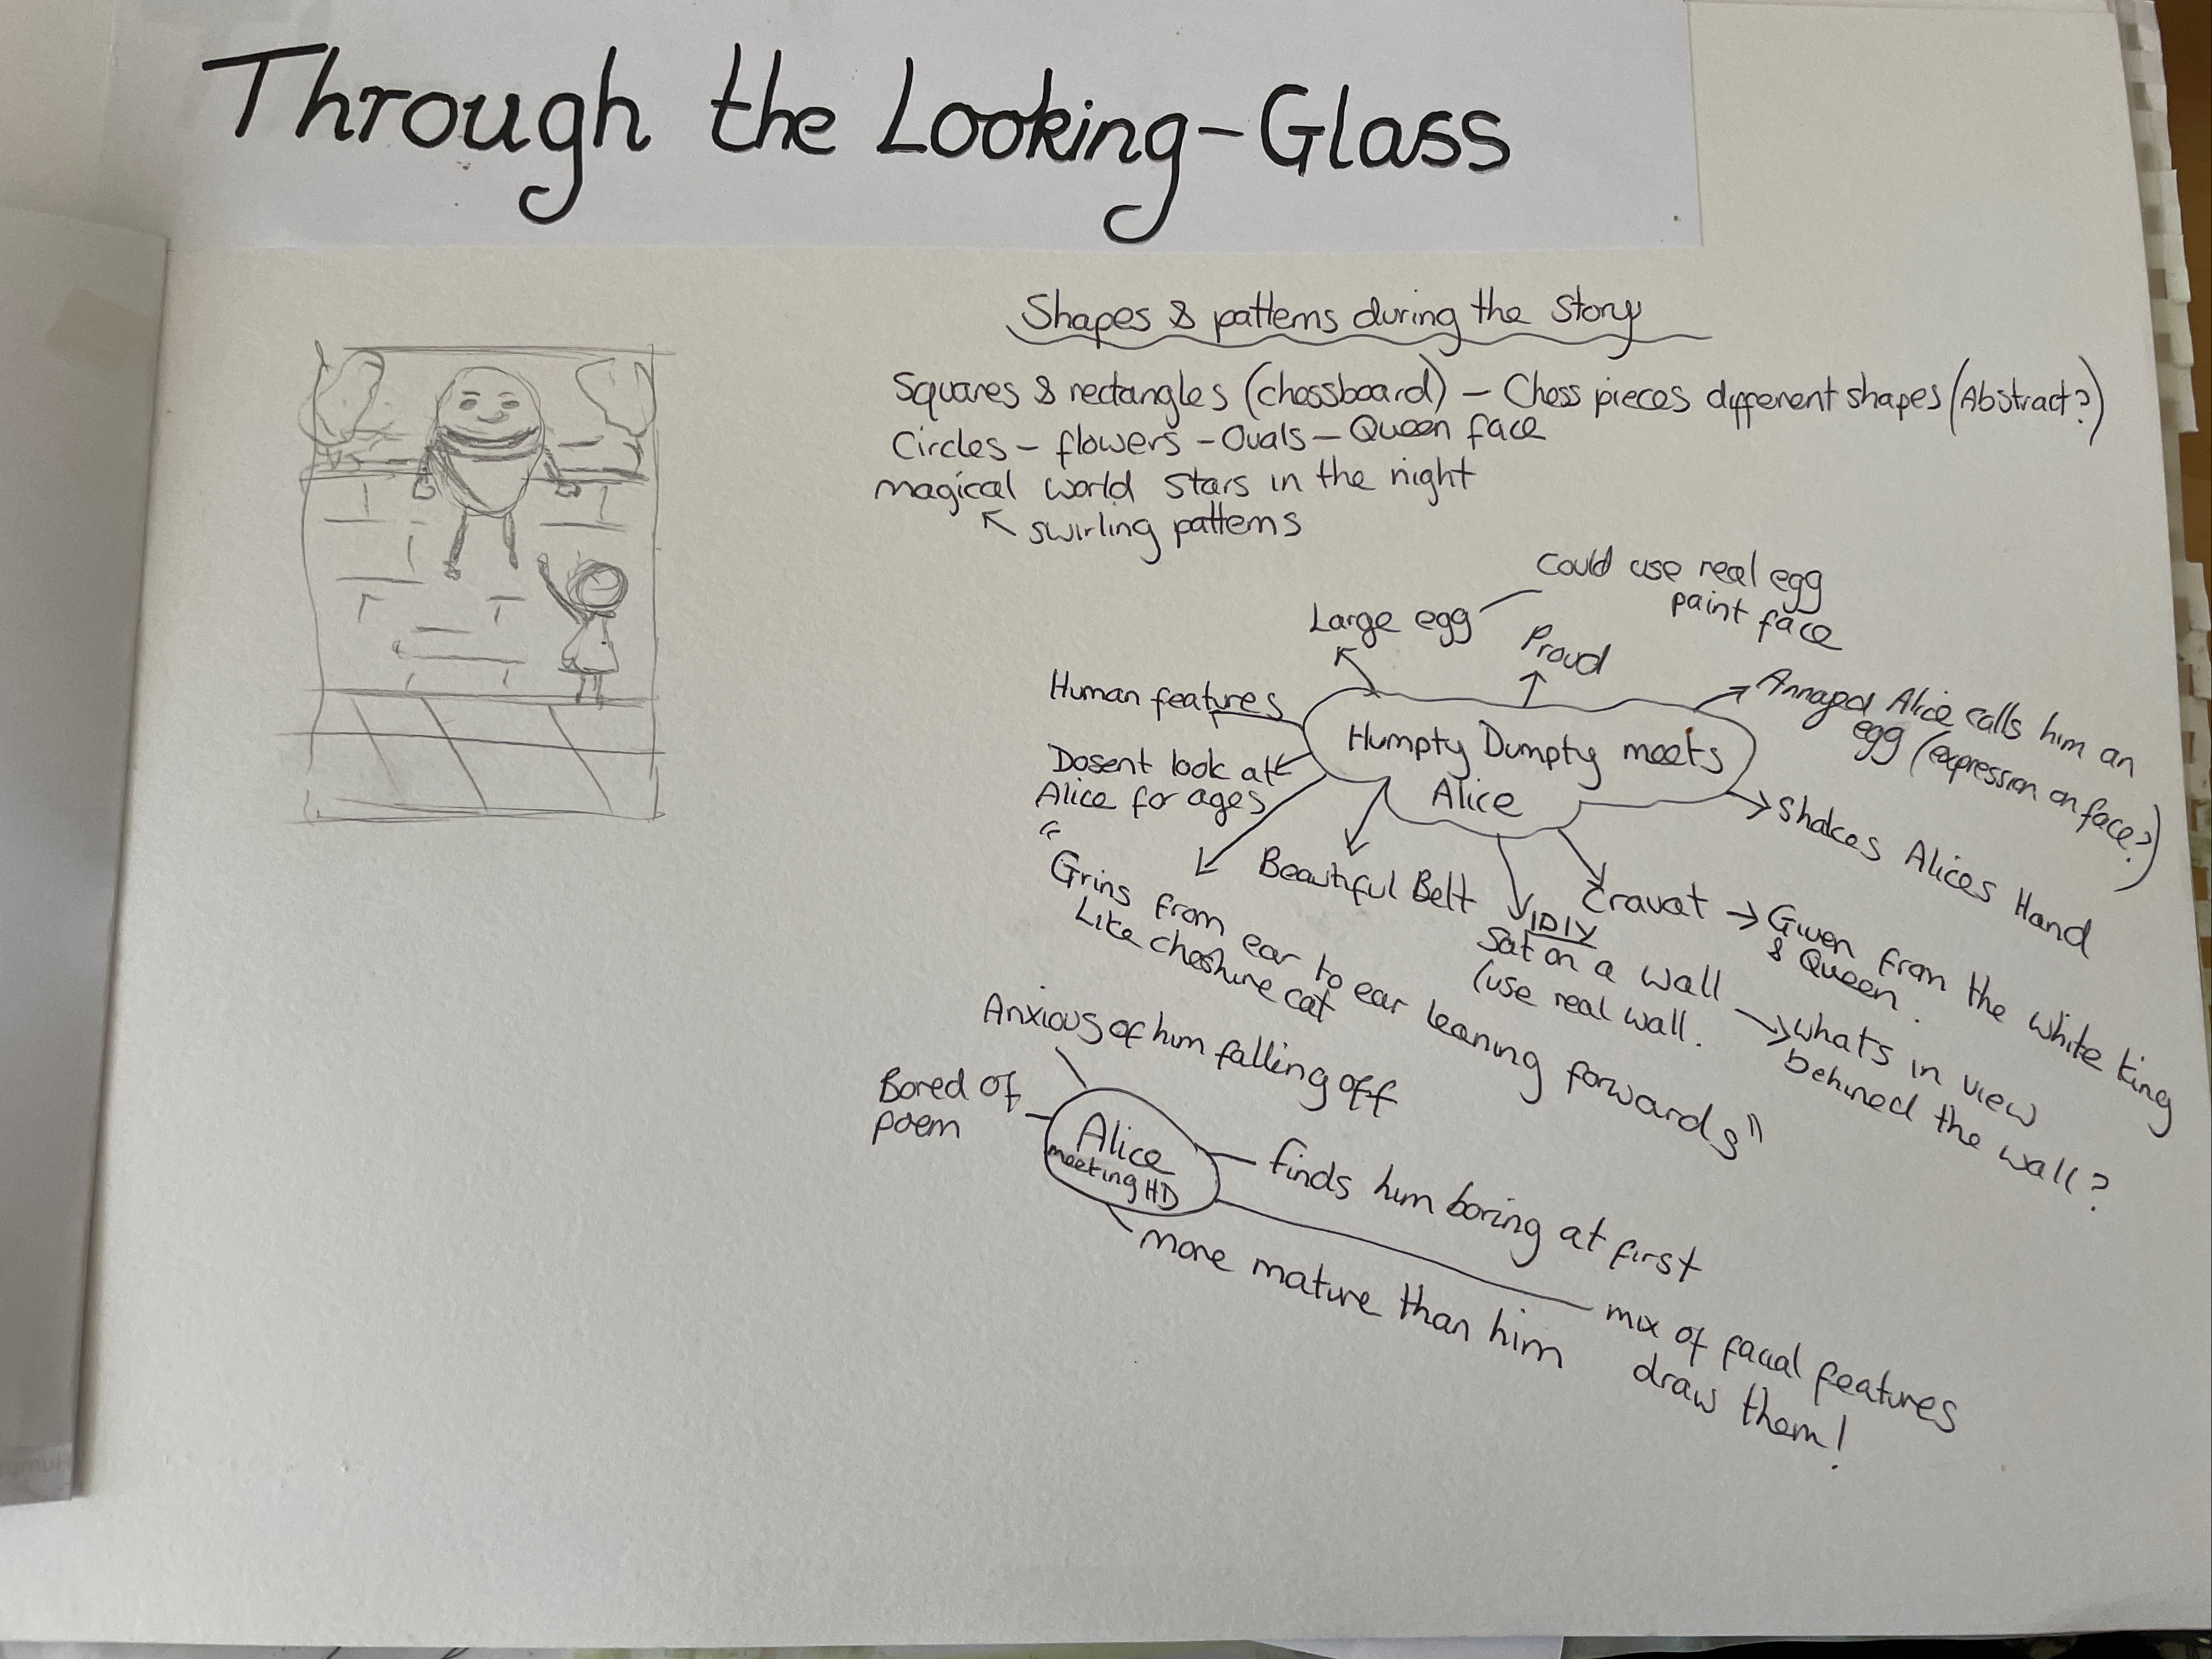
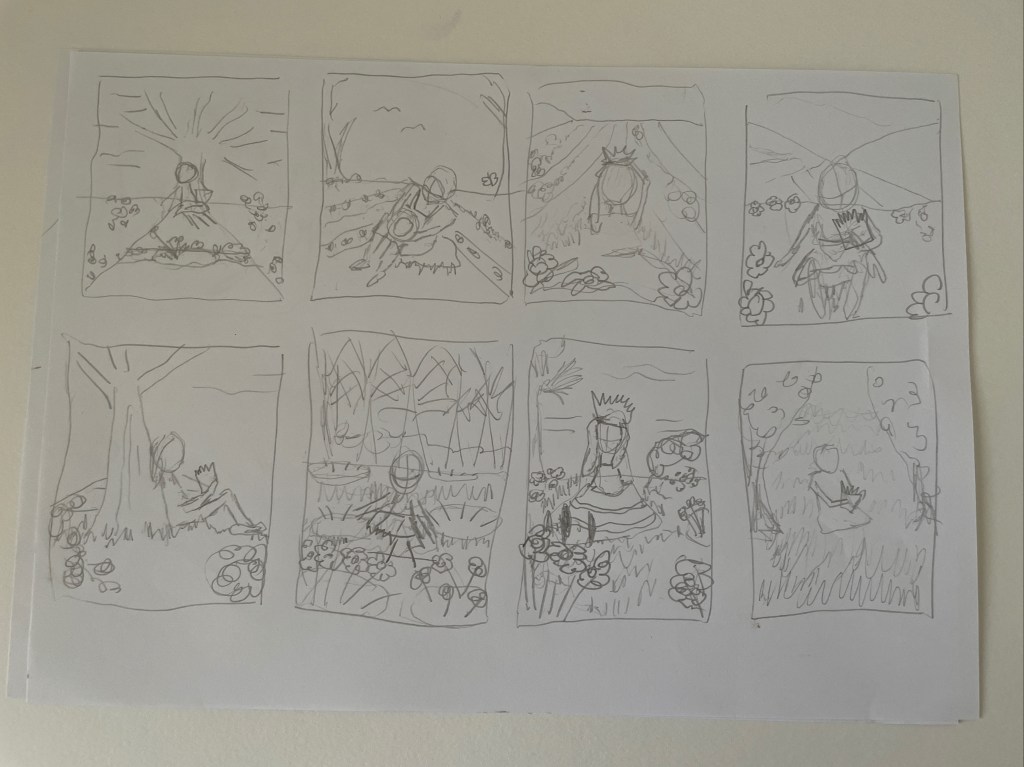
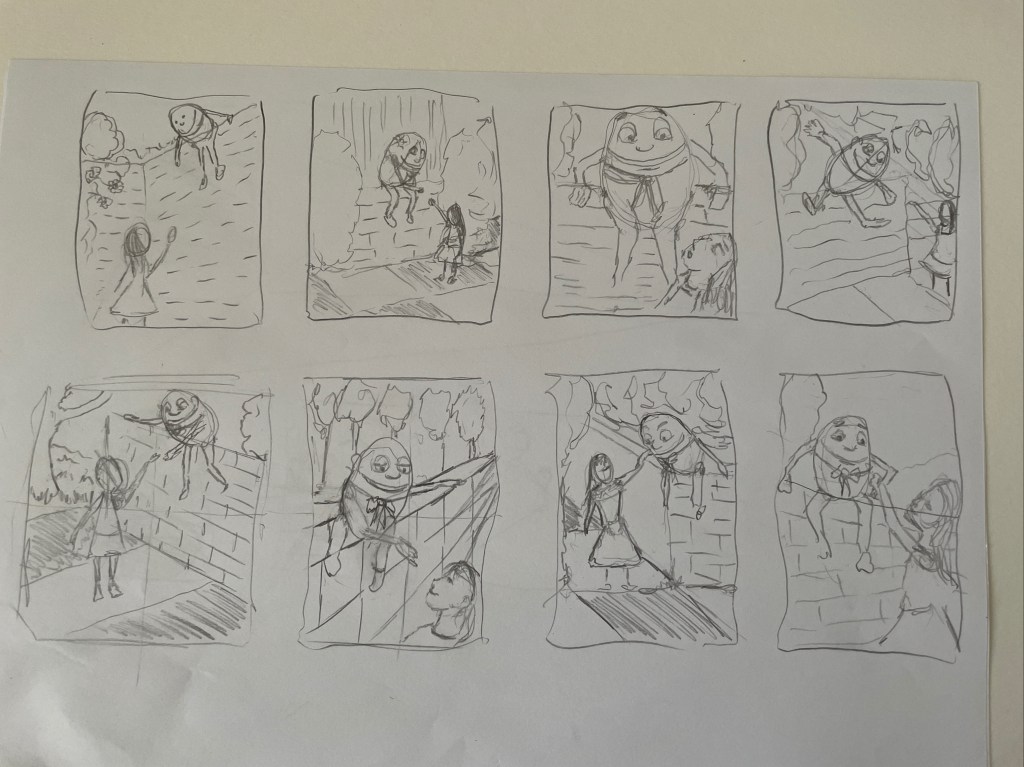
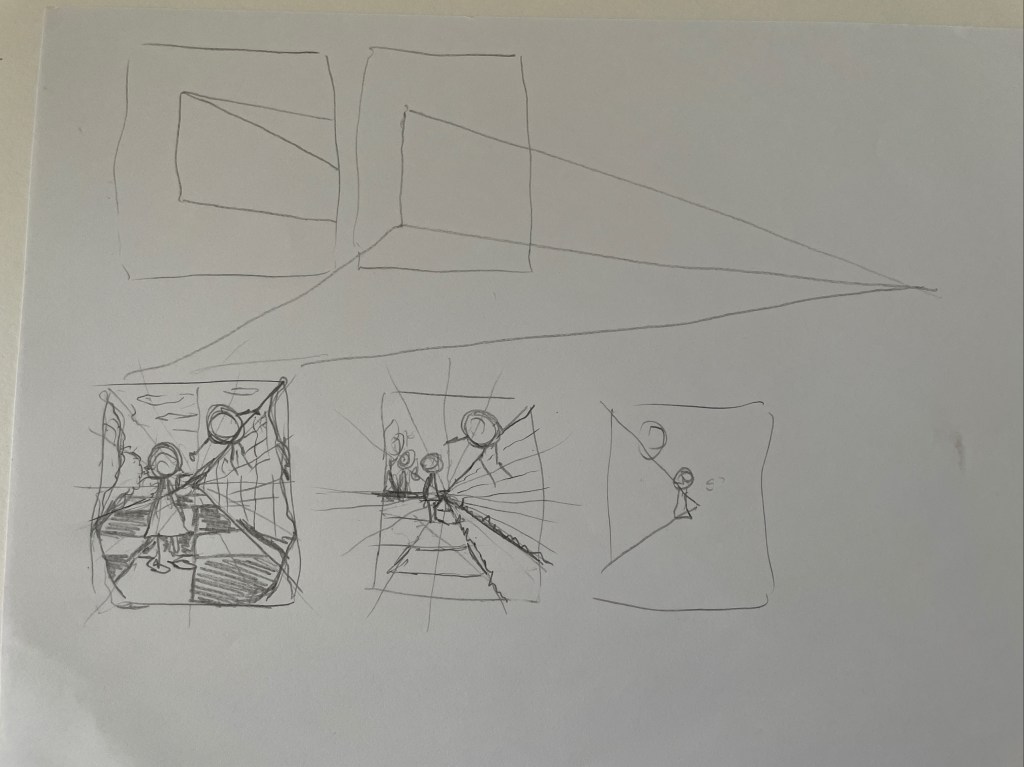
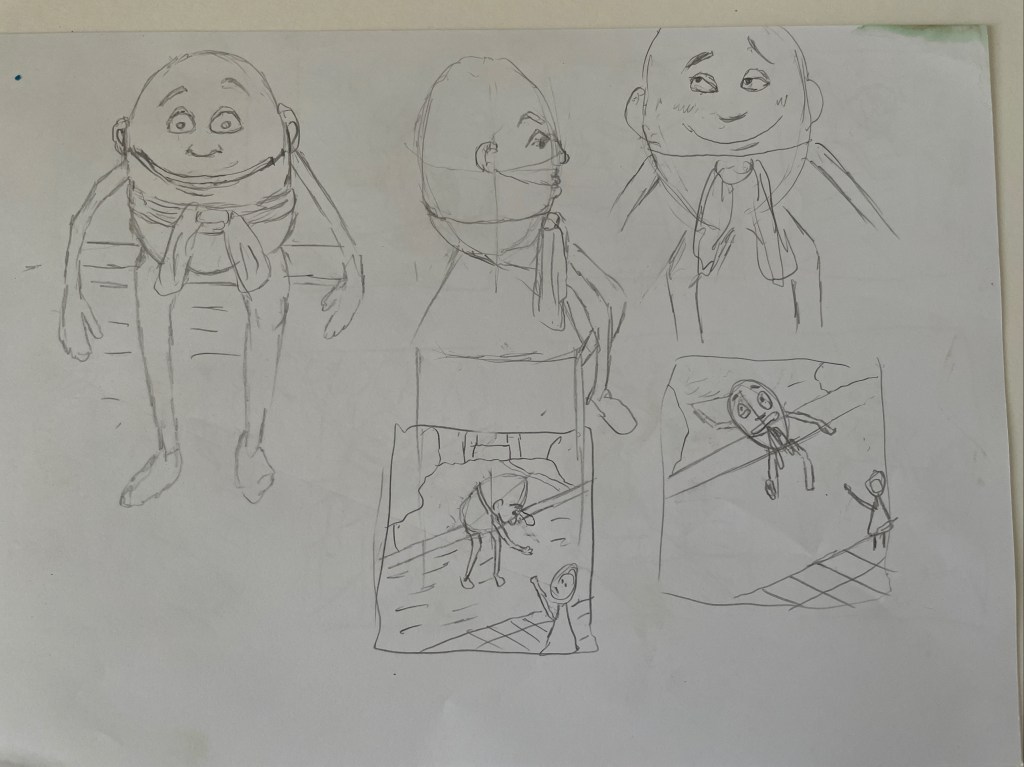
Brainstorming & Thumbnails:
Next, I began creating a series of sketches and notes on the characters, scenes, and themes from Through the Looking Glass that resonate with me and focused on how I can reinterpret these elements in unexpected ways.
Brainstorming slideshow


Thumbnail Slideshow
Research
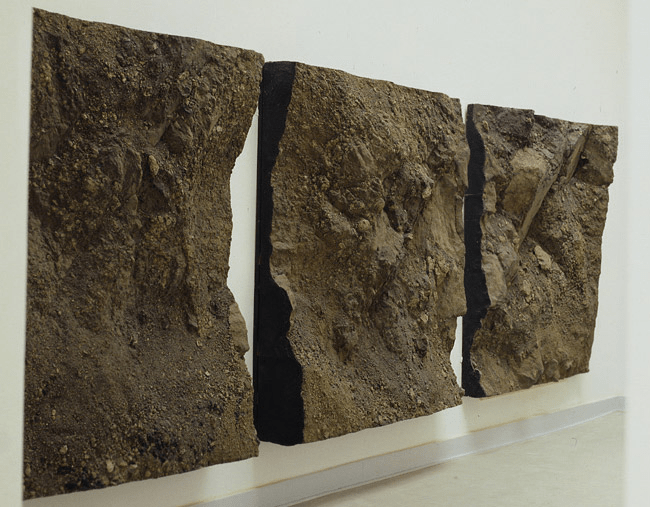
Graham Rawle
Studying the methods of other illustrators and artists is essential for discovering artistic movements and strategies that can inspire my work. To this end, I explored Graham Rawle’s book The Wizard of Oz: An Interpretation, a creative reimagining of the classic story. I began by watching a short animated film by Pete Mellor and Graham Rawle that showcased Rawle’s unique visual style.
You can watch the video below.
After viewing it, I purchased a used copy of his book on eBay to delve deeper into his interpretations. As I spent time examining his artwork, it became clear that Rawle painstakingly assembled numerous elements to craft a surreal interpretation of the story. By merging tactile handmade materials, he has created a work that is both imaginative and captivating. Many of the characters, like Toto, were intricately handcrafted before being combined and edited in Photoshop.
During myresearch, I discovered an interview Rawle did with an editor from The International Wizard of Oz Club. It was fascinating to learn that Rawle had been drawn to the narrative for many years before embarking on his reinterpretation and that he uncovered backstories for each character. This undoubtedly deepened his passion for the project, much like my exploration of Alice in Wonderland.
I was excited to see parallels between his work and my previous creation of 3D sculptures integrated into painted backgrounds for my own interpretation of Alice in Wonderland. This has strengthened my confidence in my creative process and fueled my enthusiasm to continue exploring unconventional mediums.
History of Through the Looking Glass
After studying Graham Rawle’s work and techniques, I decided to delve into the origins and inspiration behind Through the Looking-Glass. As I mentioned in my previous assignment, Lewis Carroll was not just an author but also a brilliant mathematician. He had a fascination with reflection, symmetry, and binary logic, which, for many years, scholars have been analysing alongside his mathematical workings. This, along with his relationship with Alice Liddell, likely inspired the creation of Through the Looking Glass.
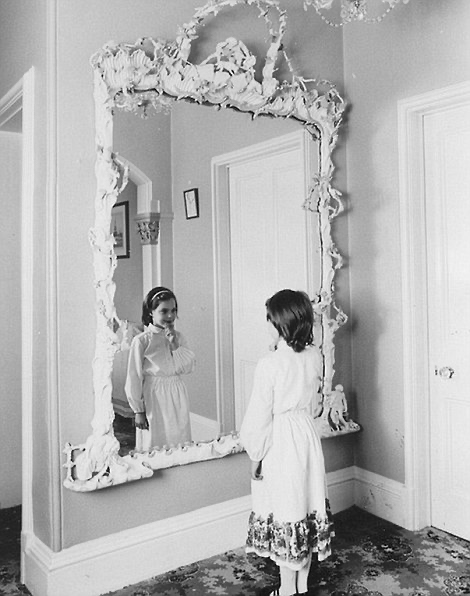
During my research, I was excited to learn Alice Liddel’s grandparent’s home was located in Cheltenham, Gloucestershire (not far from myself), where Carroll visited her for a short time. This home still features a large ornate mirror, which is believed to be the mirror that inspired Through the Looking Glass. This is shown below.
Next, I studied some of the original illustrations by John Tenniel for the book. His artwork is incredibly detailed, with intricate line work that vividly brings Carroll’s fantastyl world to life. Tenniel captures the whimsy and imagination of the story, conveying emotion through the characters facial expressions and body language. This is evident, for instance, when Alice encounters the bewildered Queen and helps her by fixing her messy hair and retying her shawl. This illustration can be seen in the Pinterest folder below.
After looking at his work, I’m hoping to be able to create something that is both original and distinctive, like Gramham Rawles and John Tenniels artwork combined.
Visuals
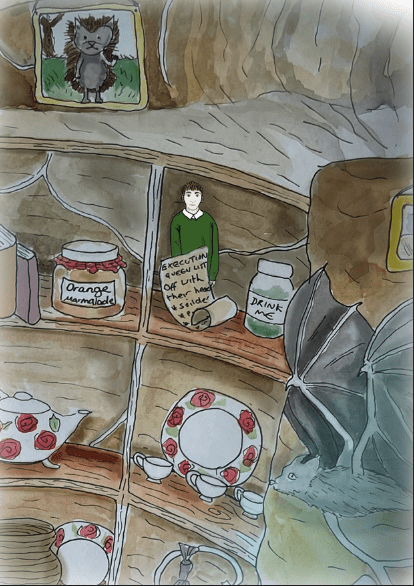
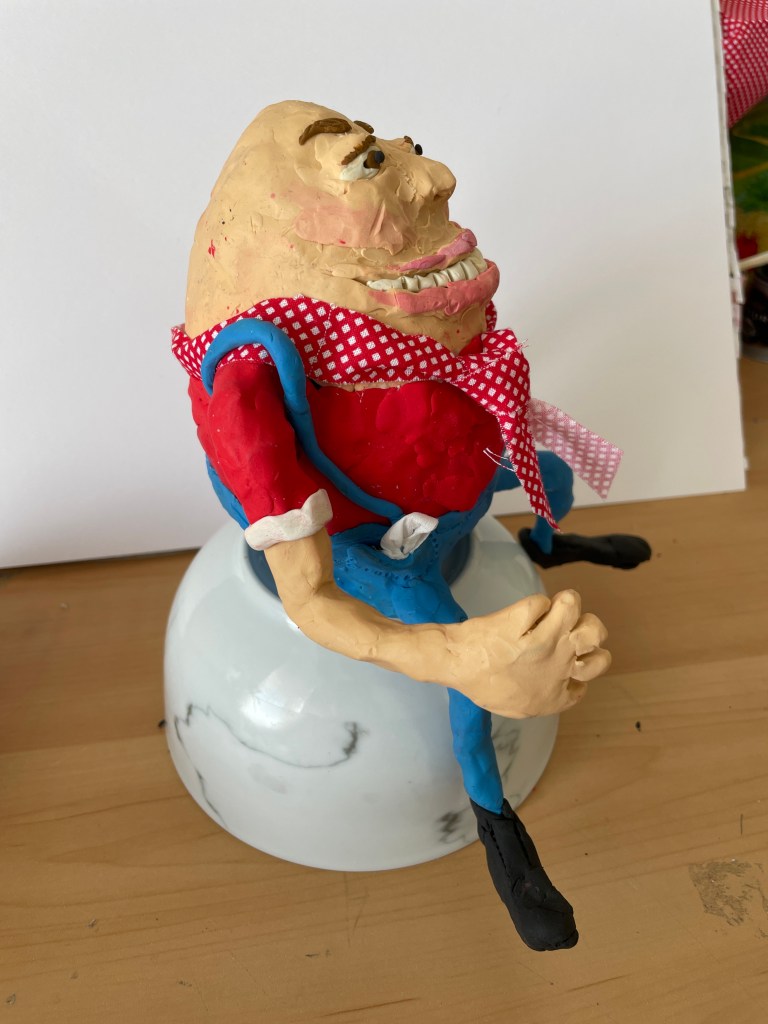
Alice meets Humpty Dumpty
This illustraton it is based on the following paragraph from the book.
‘And how exactly like an egg he is!’ she said aloud, standing with her hands ready to catch him, for she was every moment expecting him to fall.‘(Google.com, 2024)
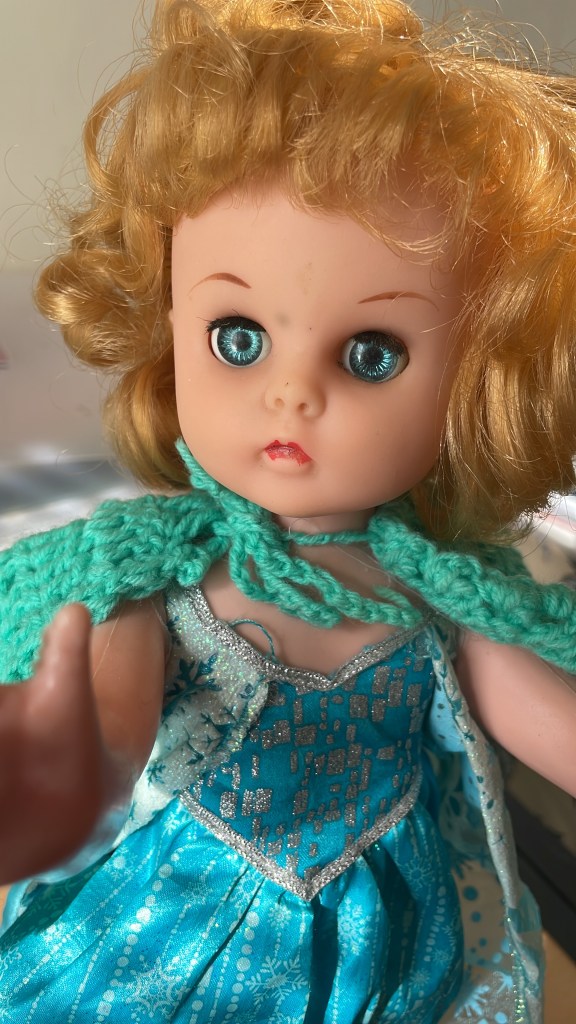
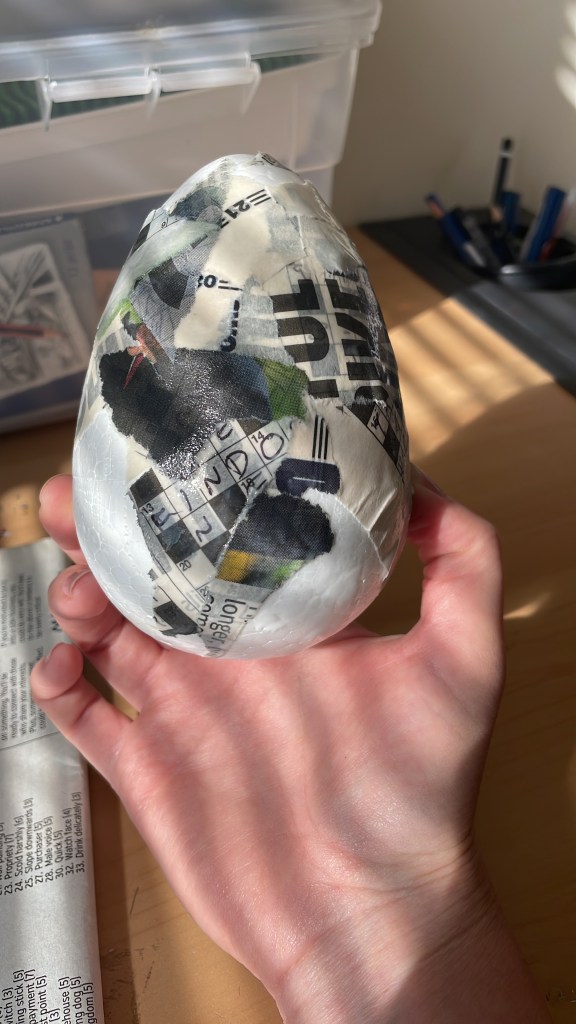
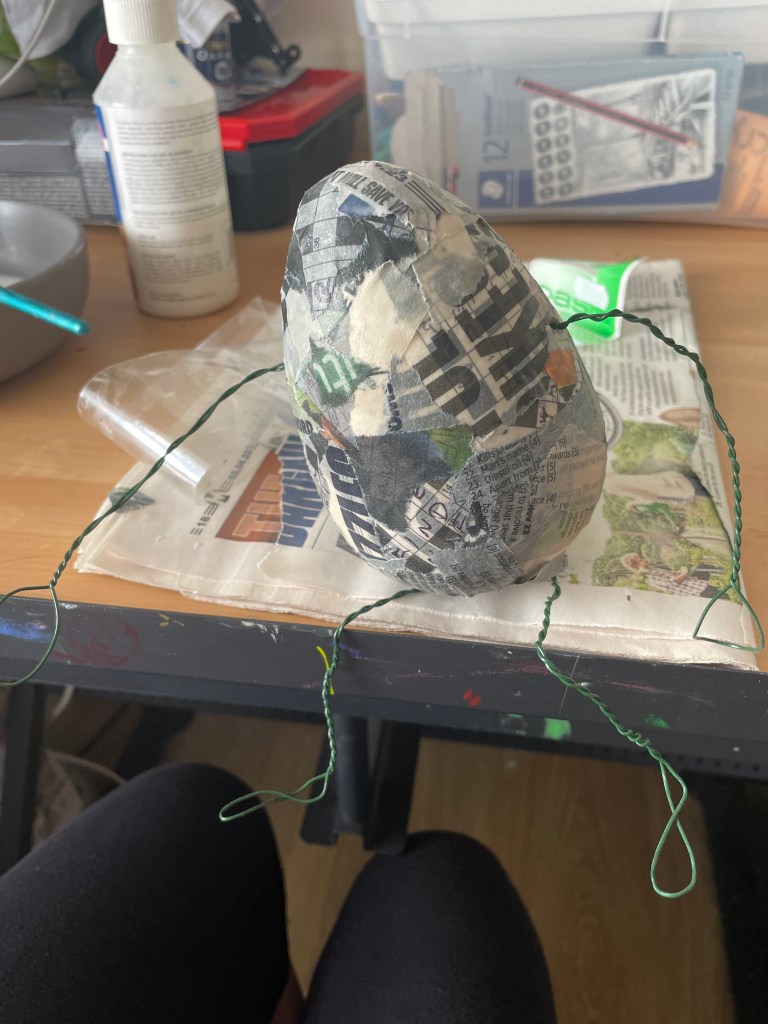
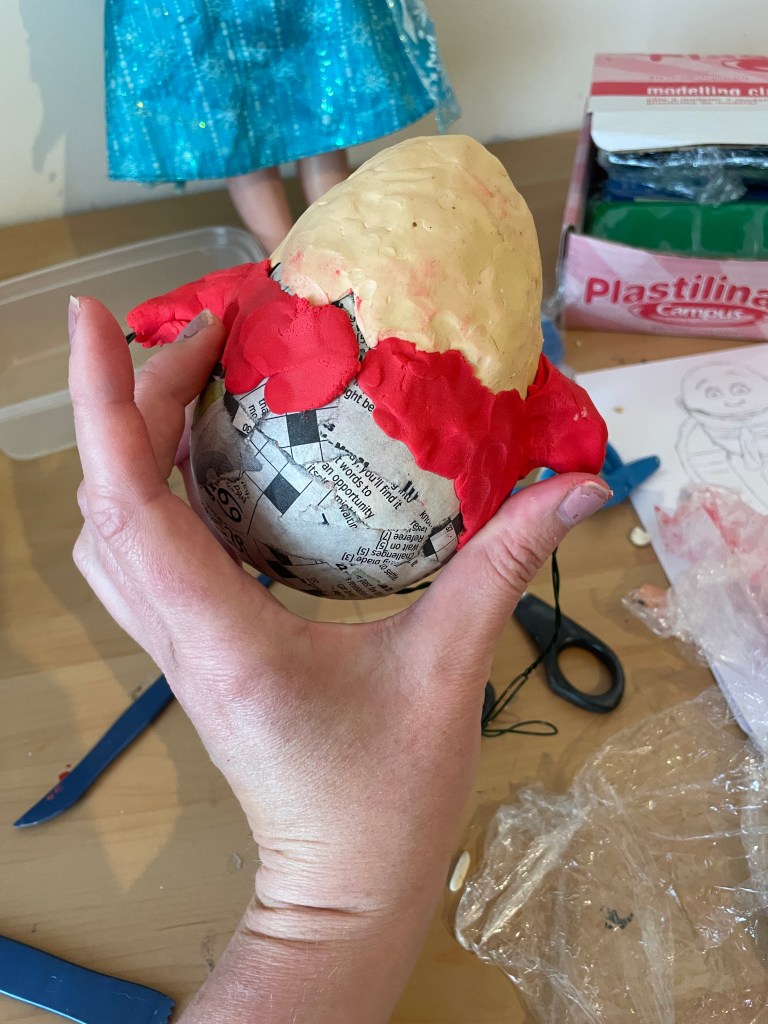
After producing thumbnails and experimenting with various compositions, I started to build a 3D model of Humpty Dumpty, I went to my local recycling centre to check if they had anything I could use for this project. I was excited to discover a Styrofoam egg and an old vintage doll. Both I thought would be good for this project.
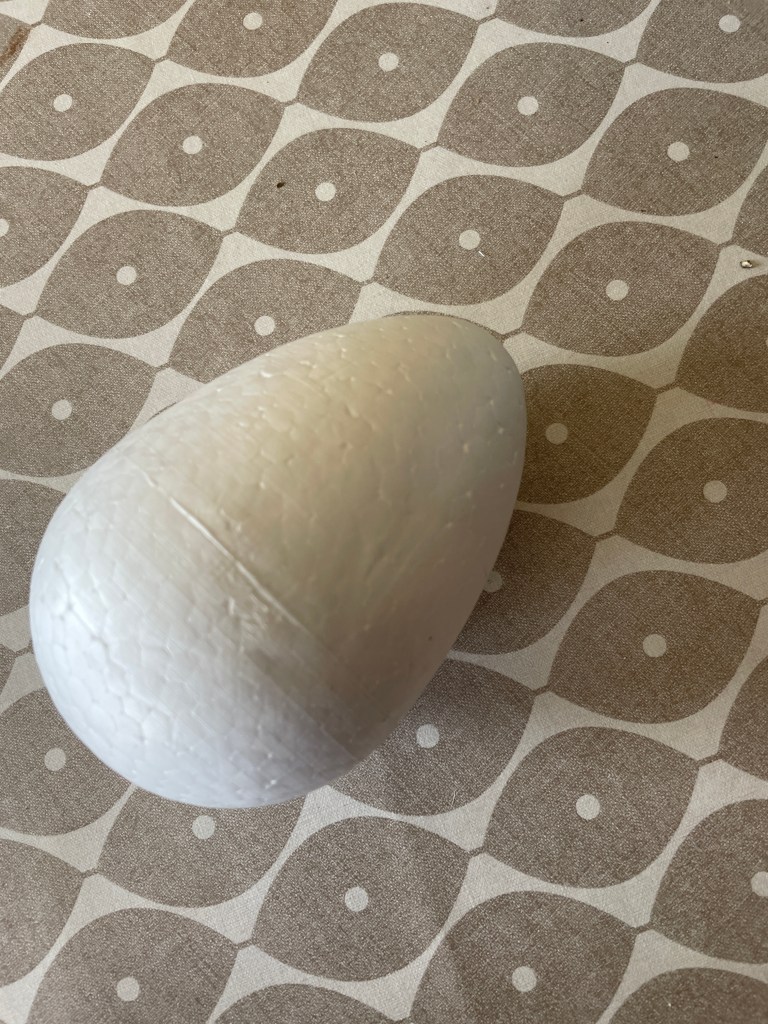
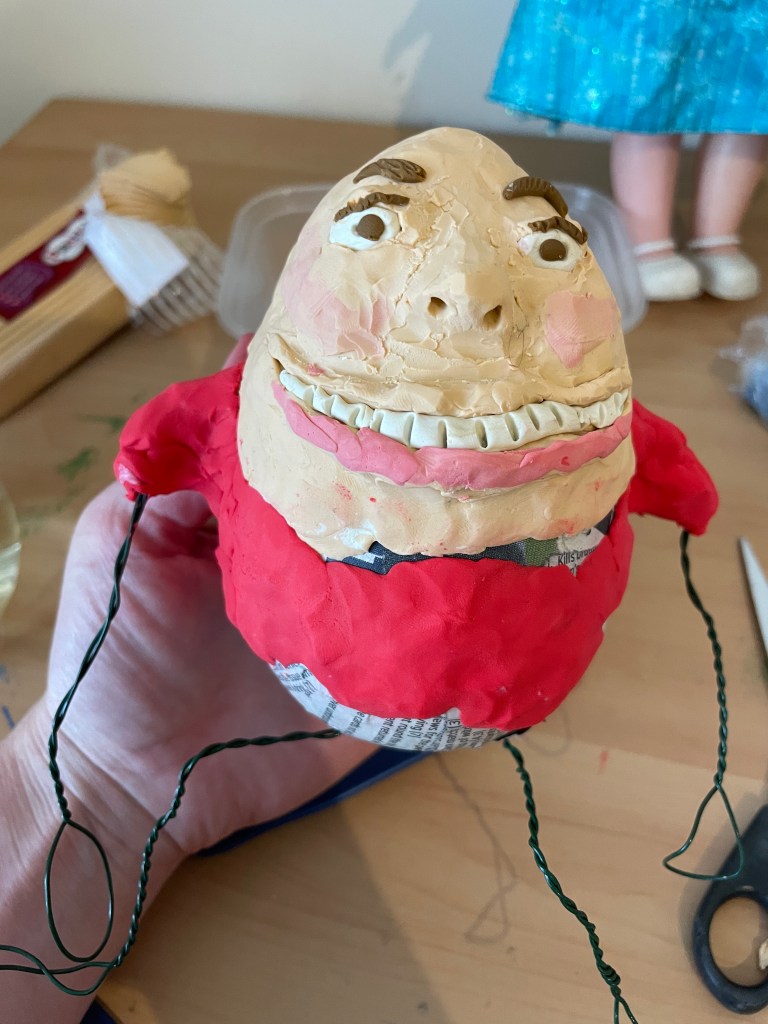
After I bought them, I started sculpting the egg with floral wire for the arms and legs, and I then added plasticine to finish sculpting the area surrounding the egg. When I was done, I added finishing details like a tissue to his pocket and a cravat I created out of some leftover cloth. A slide show of my work in progress is shown below.
Slide show of working process of making Humpty Dumpty


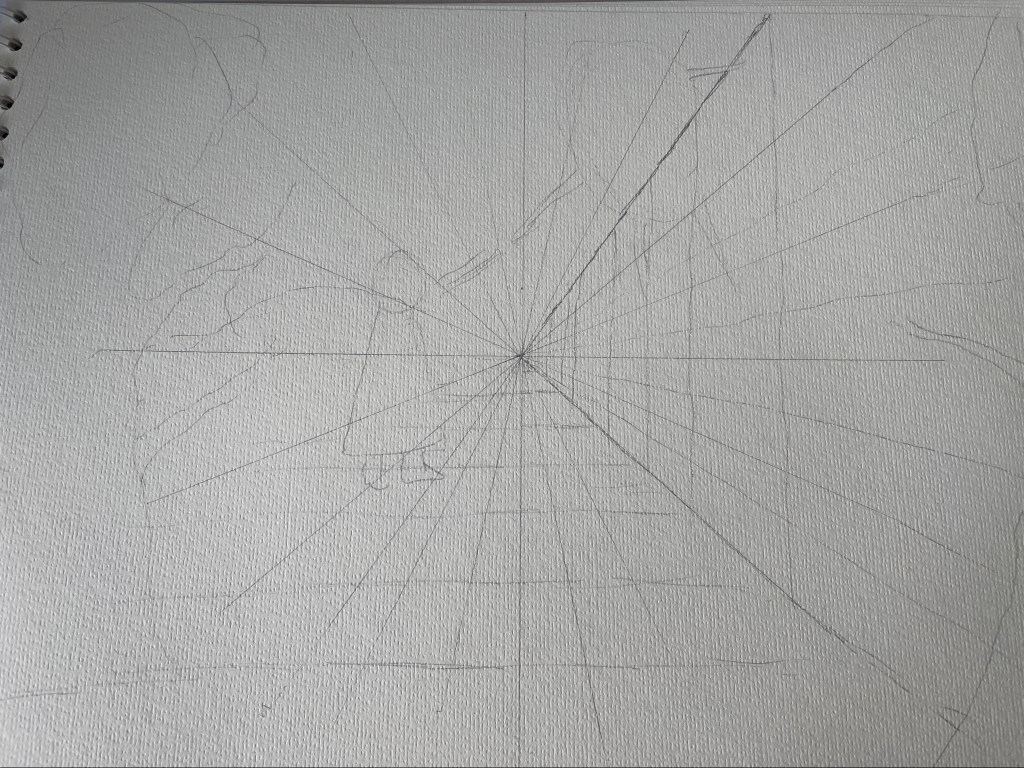
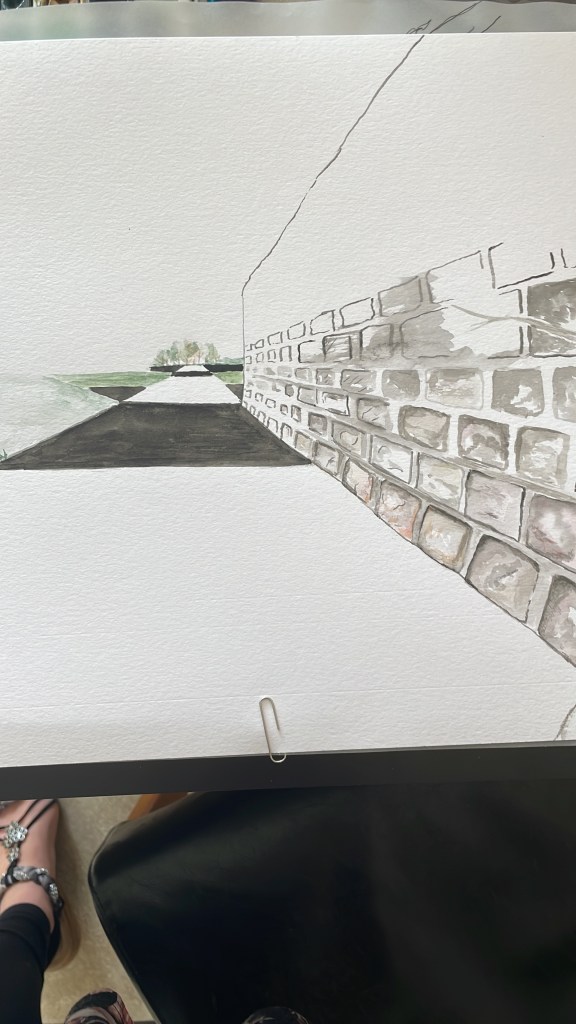
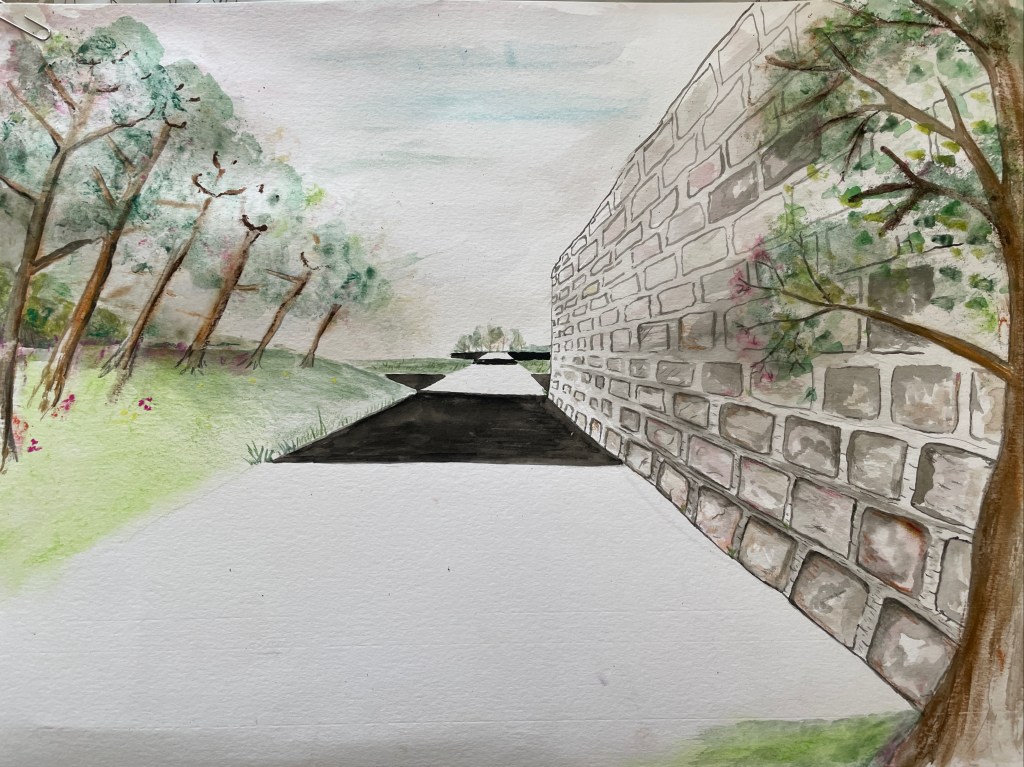
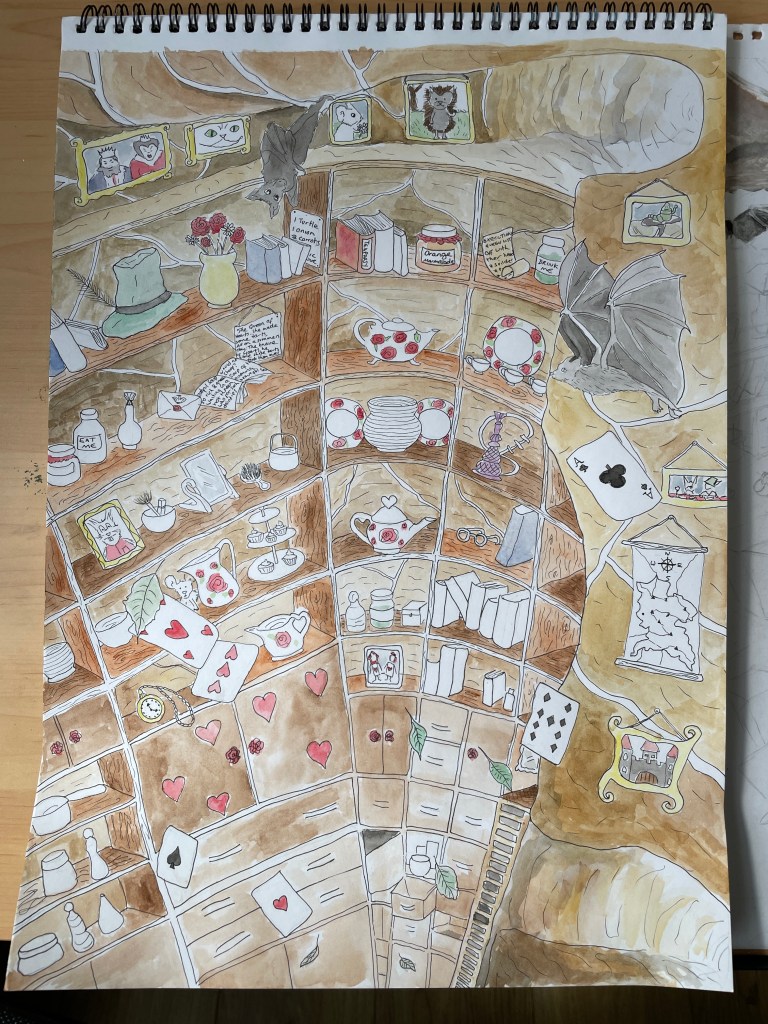
Next, I began drawing and painting the background on an A3 sketchbook. Mixed media was used for this such as watercolour, crayon and pastel some applied with brushes or sponges.
Slideshow of working process of backdrop painting
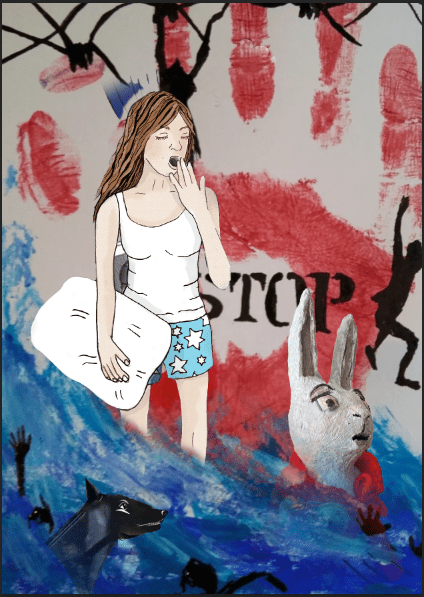
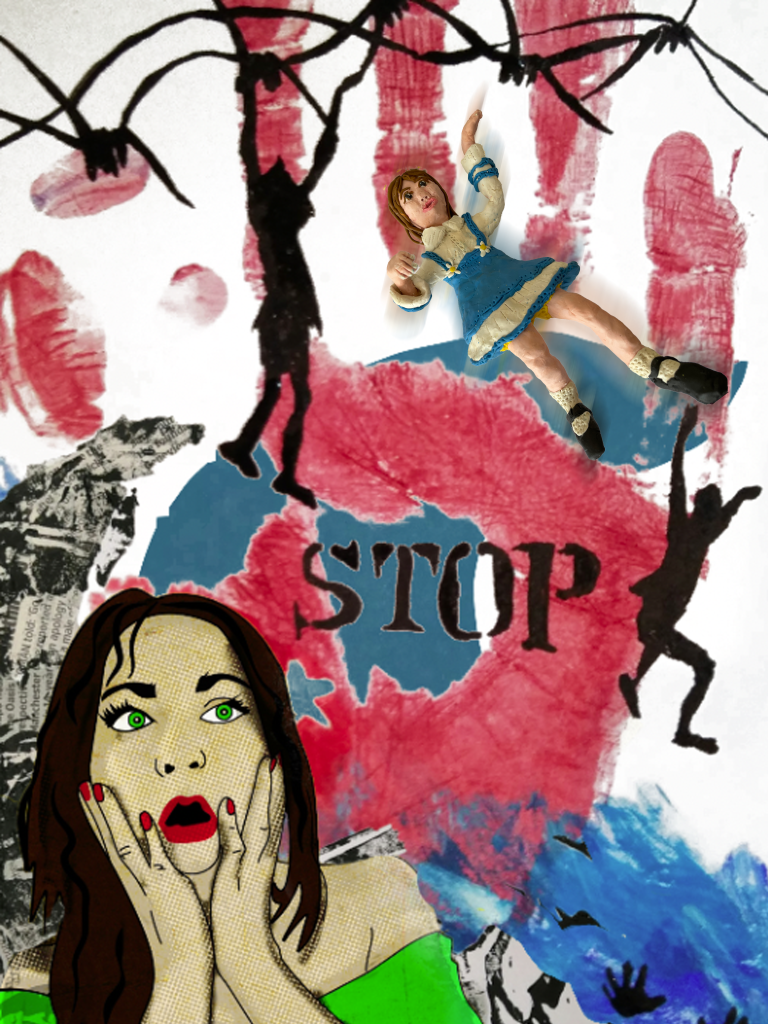
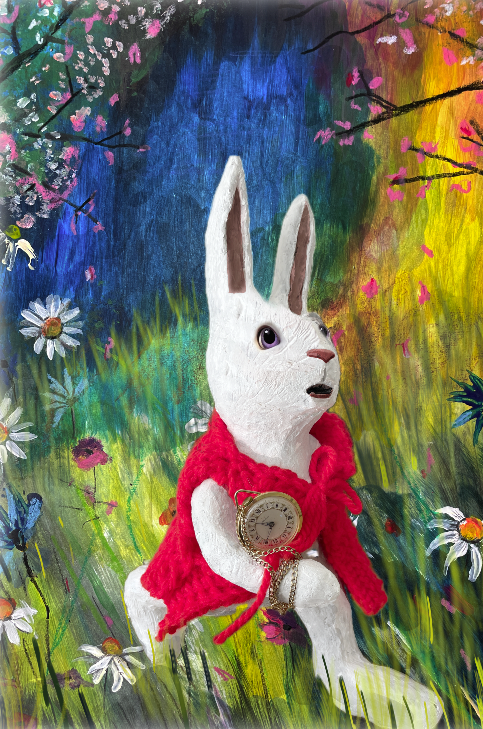
It was now time to use Photoshop to improve the painting and add the characters. This last picture features the vintage doll dressed as Alice alongside phrases from the book “Through the Looking Glass” collaged on top.
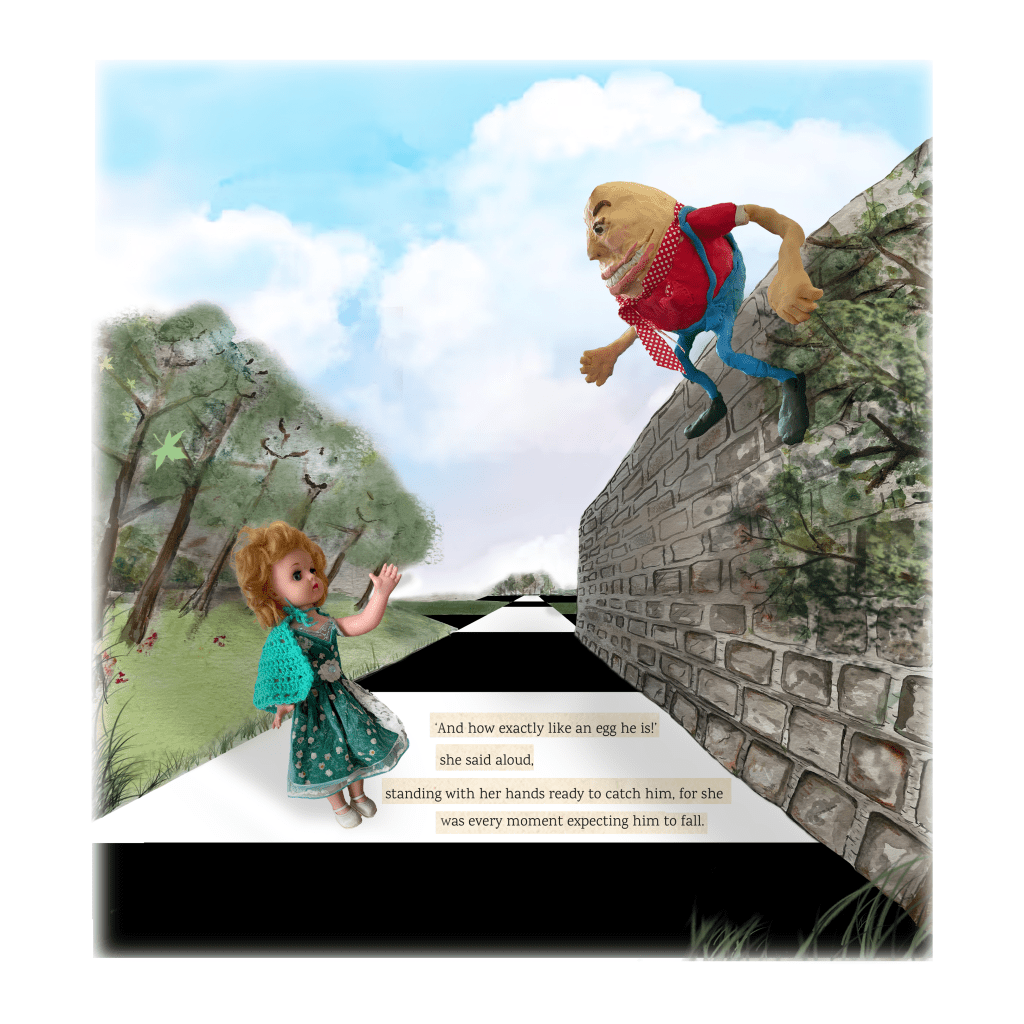
The result was a unique and fresh retelling of the classic story. I was pleased with how the many elements blended to create an appealing and eye-catching image.
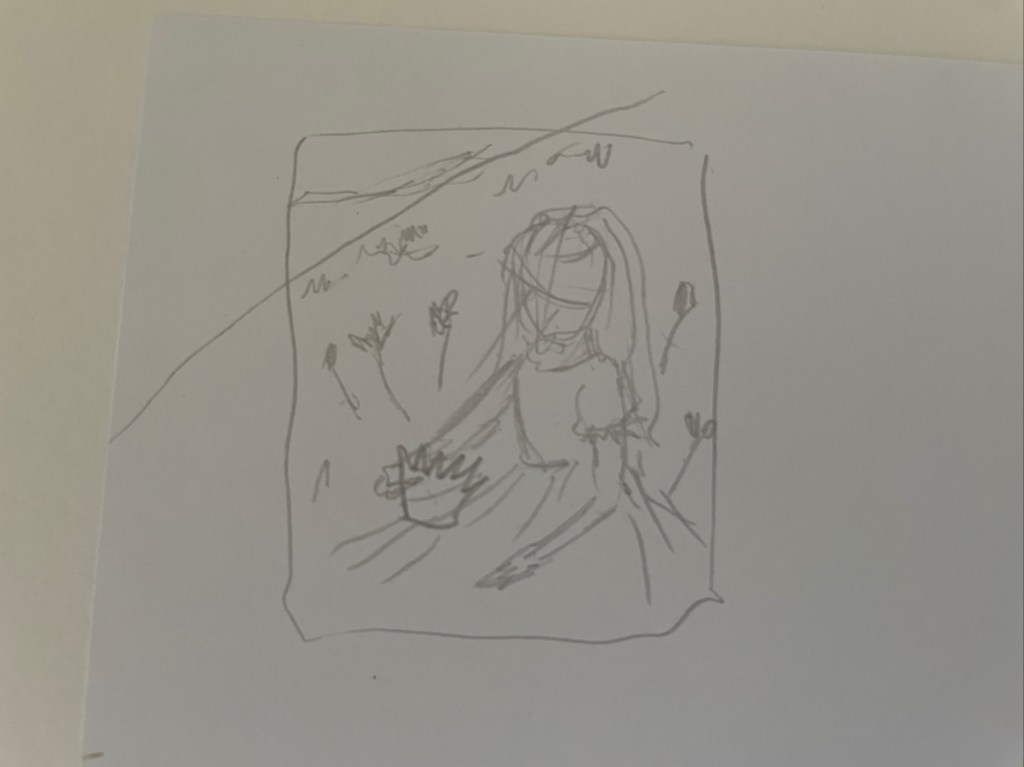
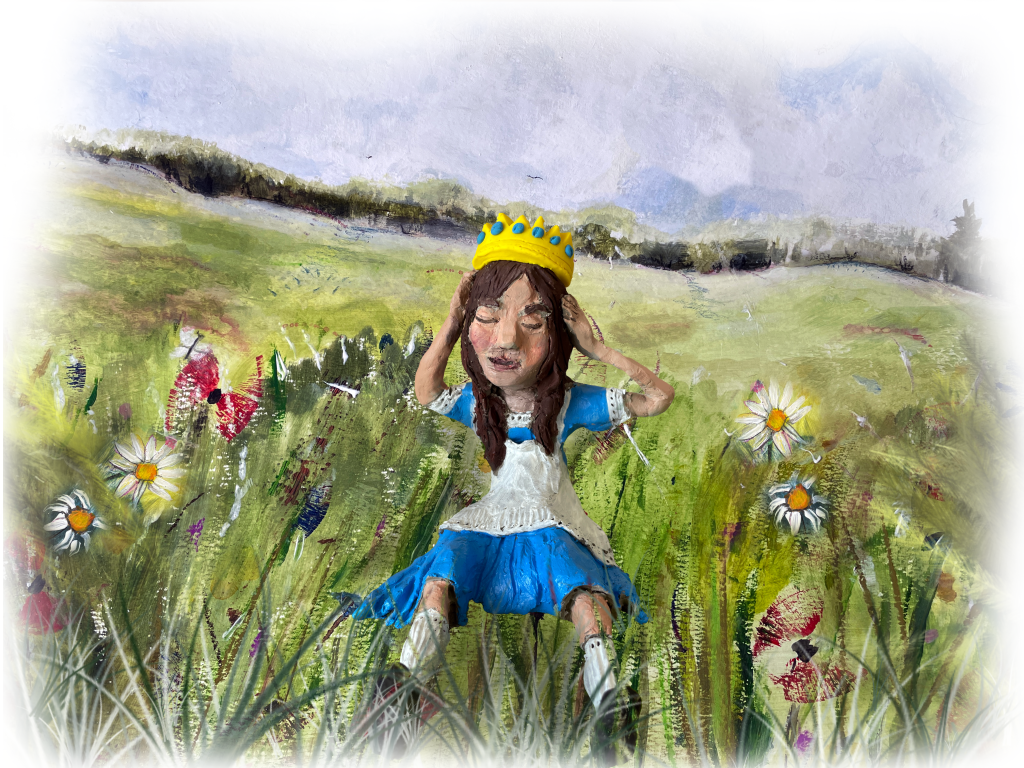
Alice becomes queen
This next illustration is based on the following extract from the book.
The Eighth Square at last!” she cried as she bounded across, and threw herself down to rest on a lawn as soft as moss, with little flower-beds dotted about it here and there. “Oh, how glad I am to get here! And what is this on my head?” she exclaimed in a tone of dismay, as she put her hands up to something very heavy, and fitted tight all round her head.
“But how can it have got there without my knowing it?” she said to herself, as she lifted it off, and set it on her lap to make out what it could possibly be.
It was a golden crown.(Google.com, 2024)
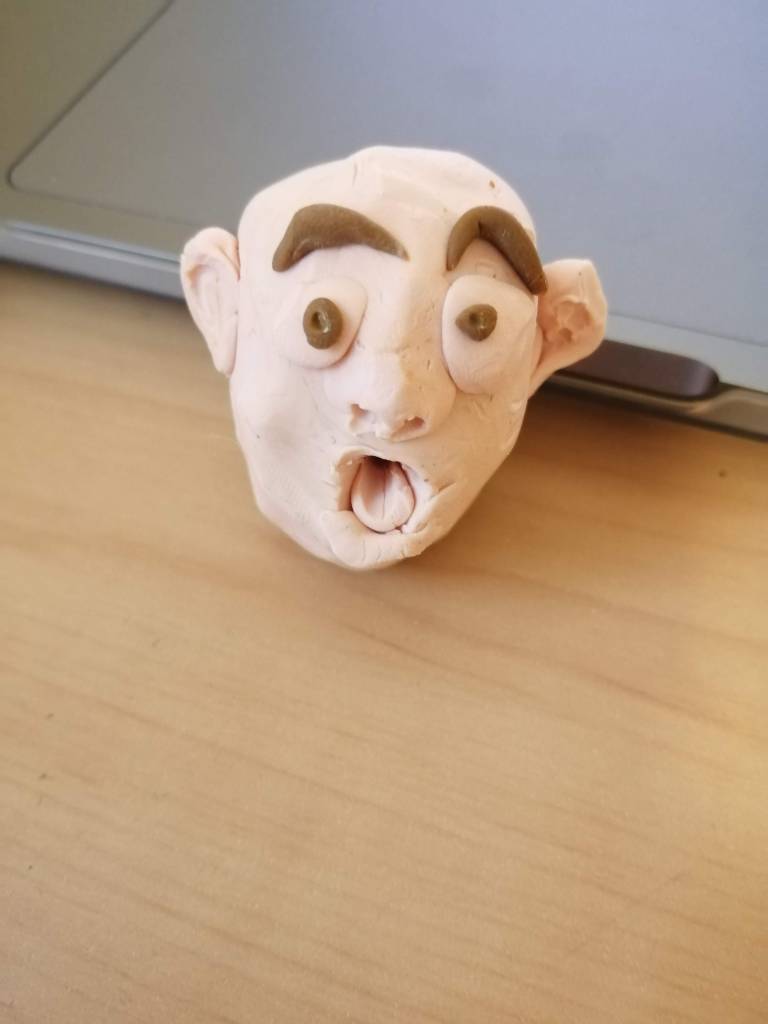
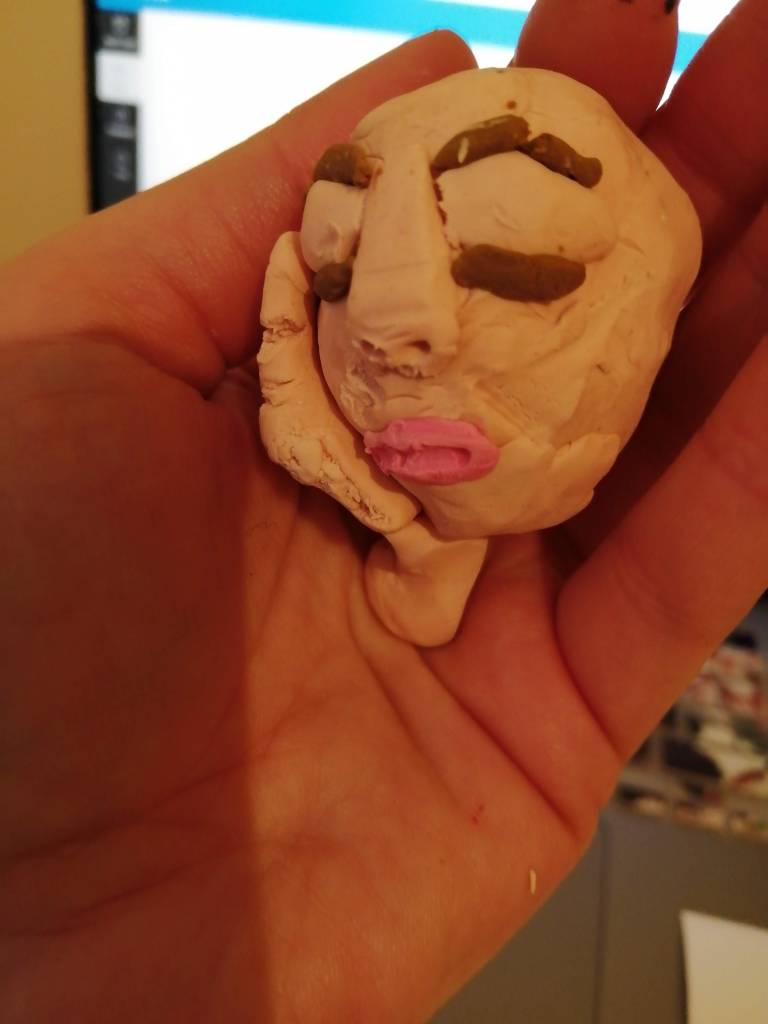
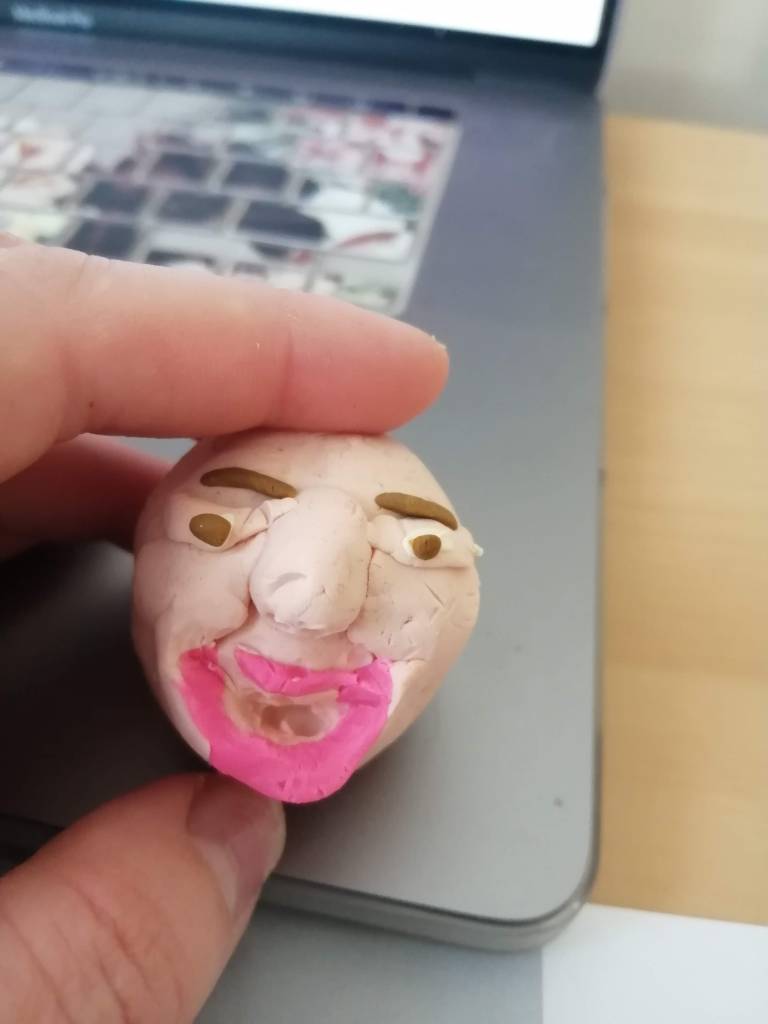
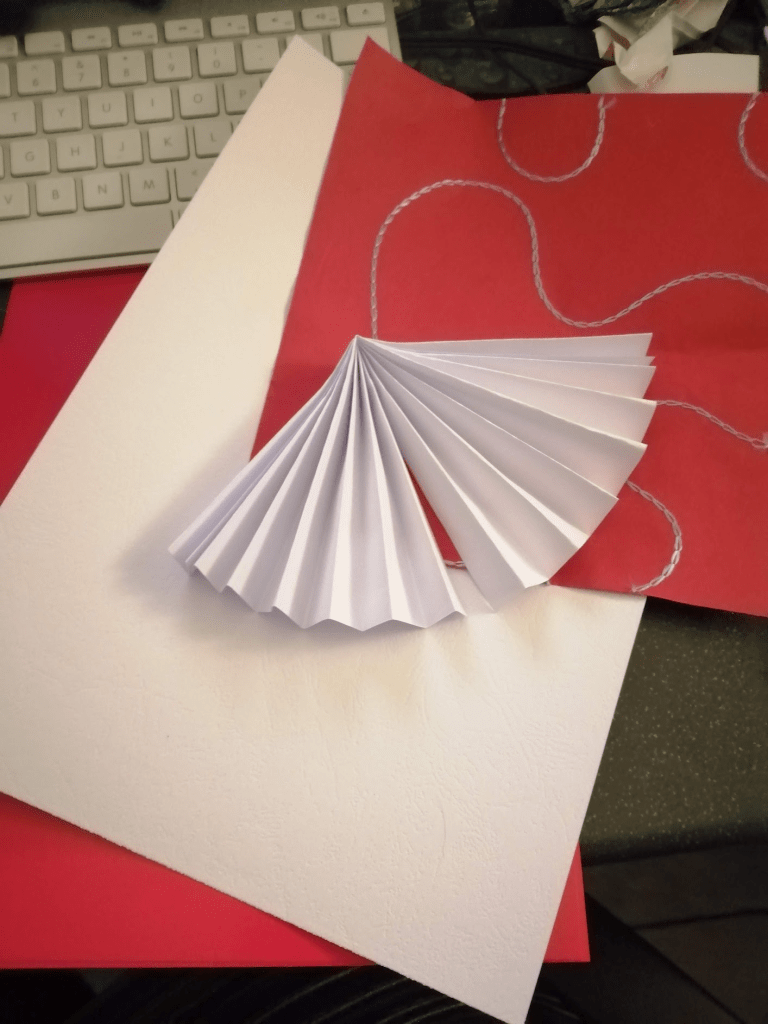
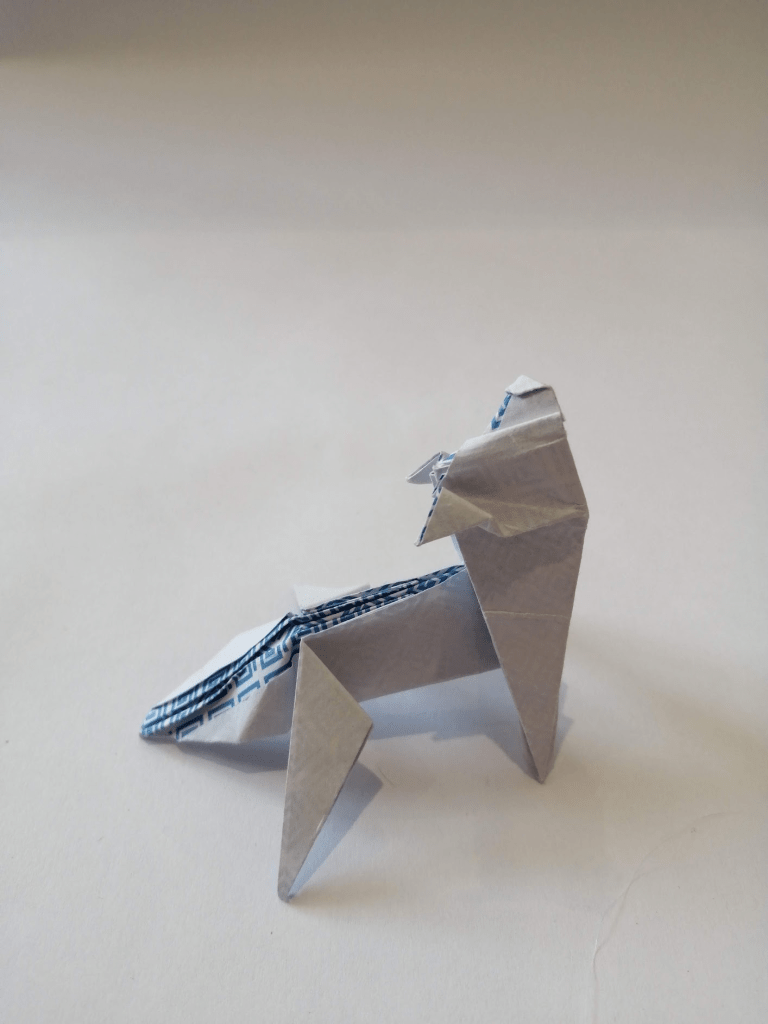
After creating the thumbnail sketches I began considering how to make Alice. I thought of the exercise I had previously completed which was about working small and started trying to make Alice using Fimo clay.

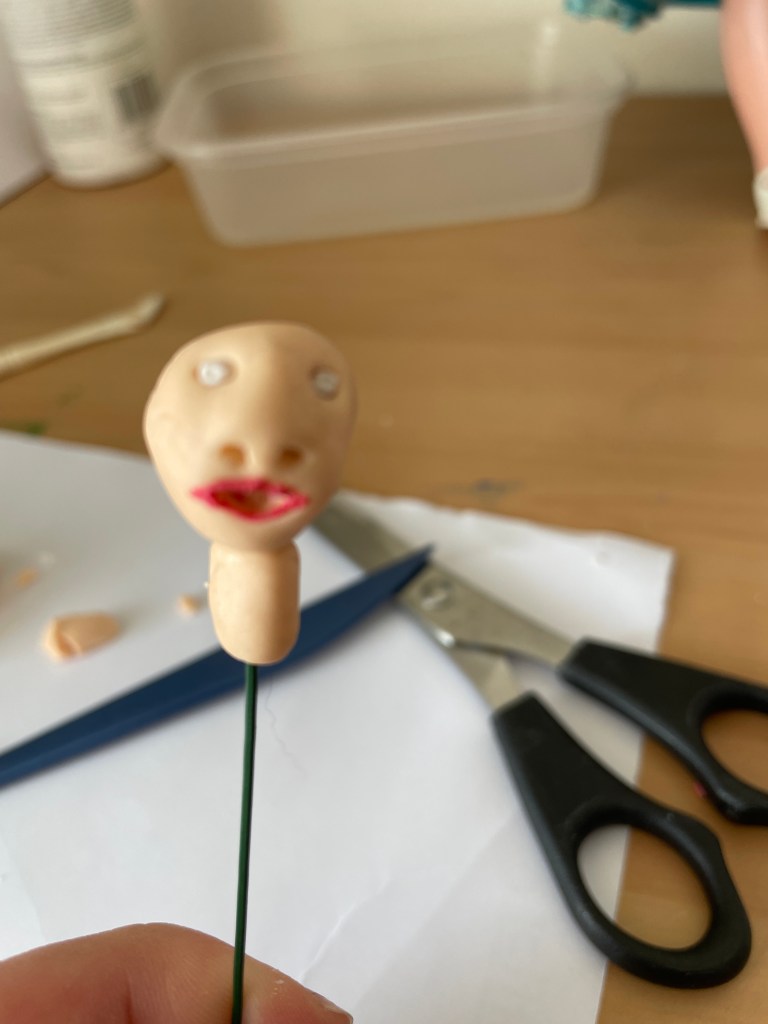
Fig.8 Fimo Experimenting (2024)
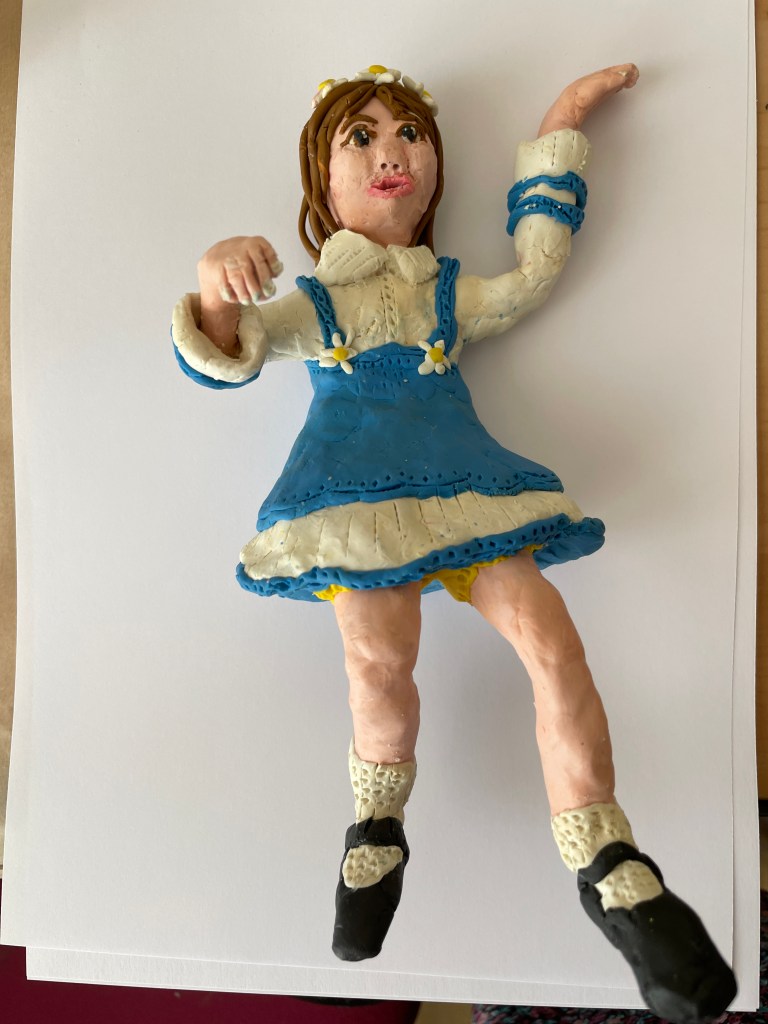
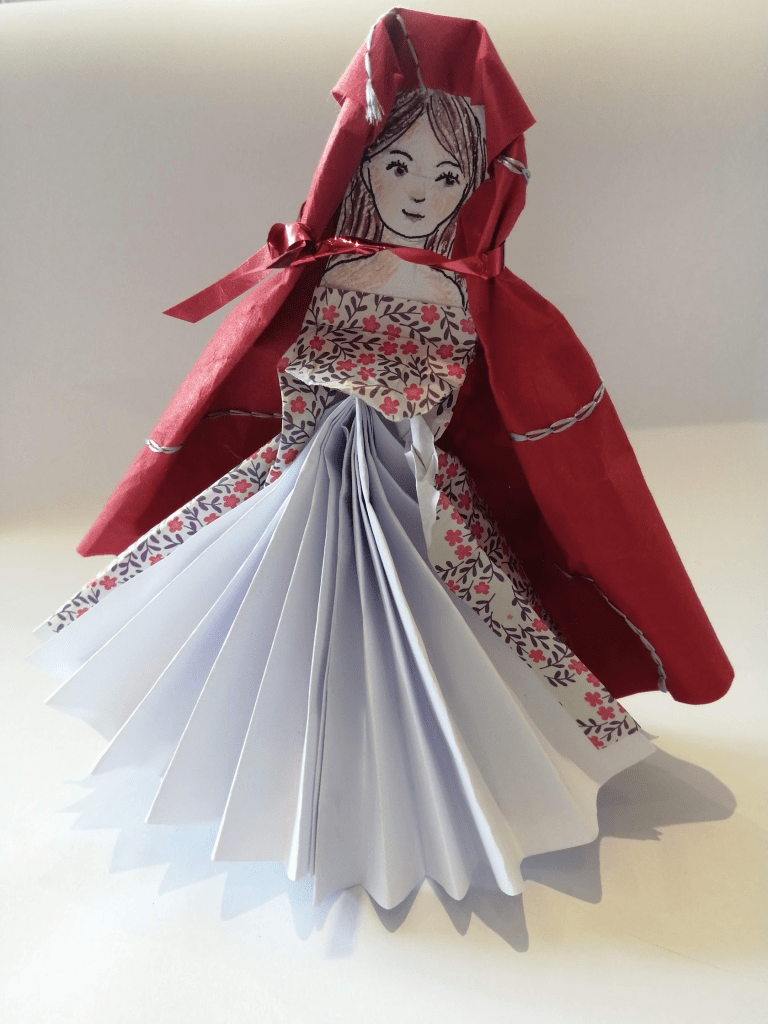
However, I found this difficult and didnt have the right modeling tools for working at such a small scale. Instead I decided to make Alice out of air drying clay. Below is a slide show of my working process.
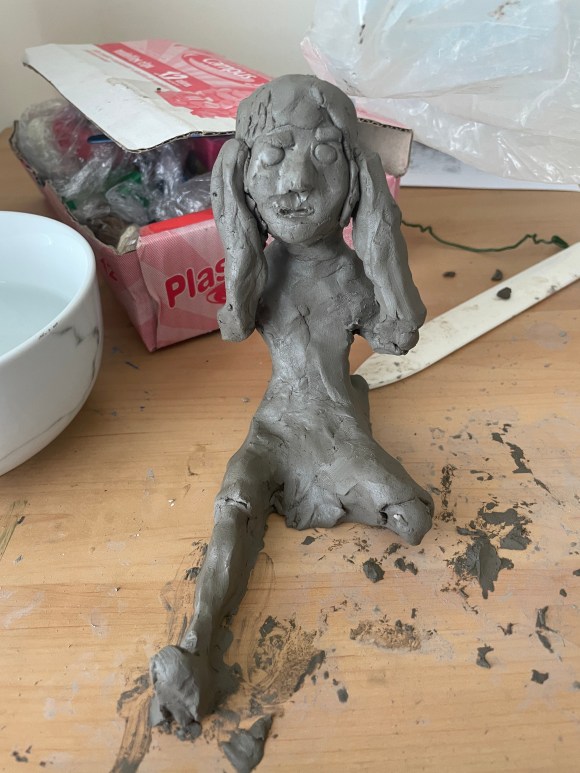
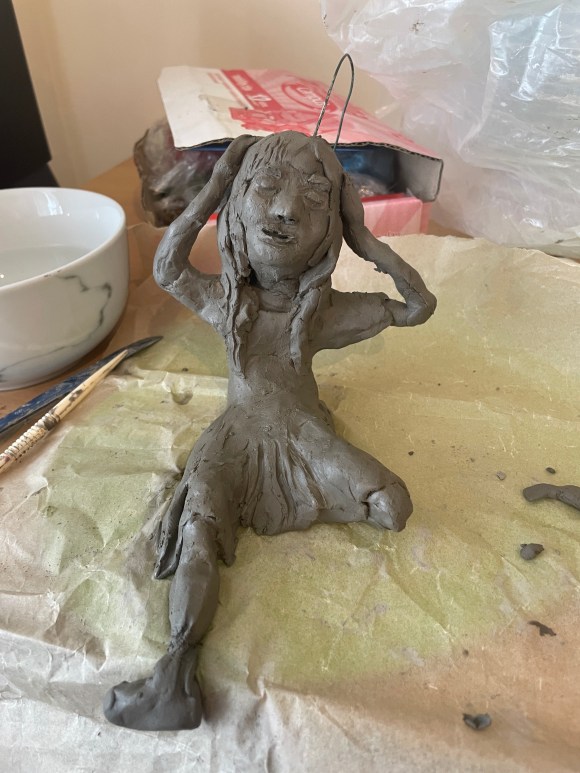
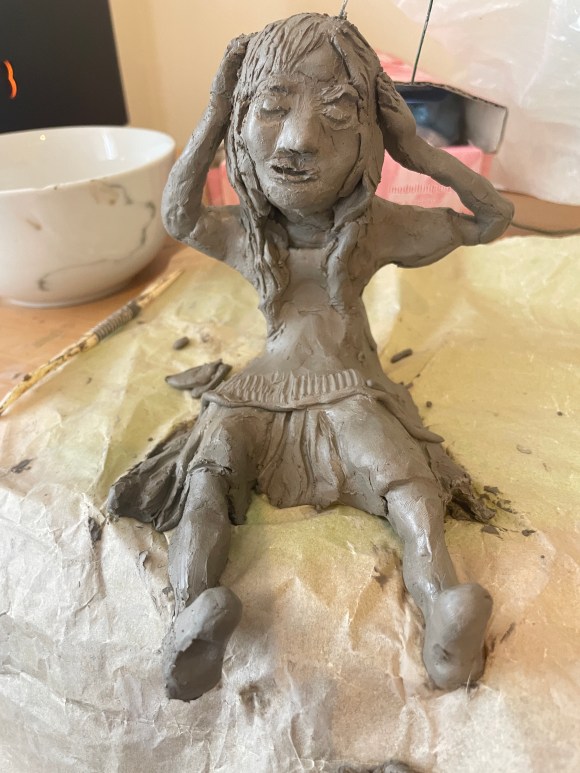
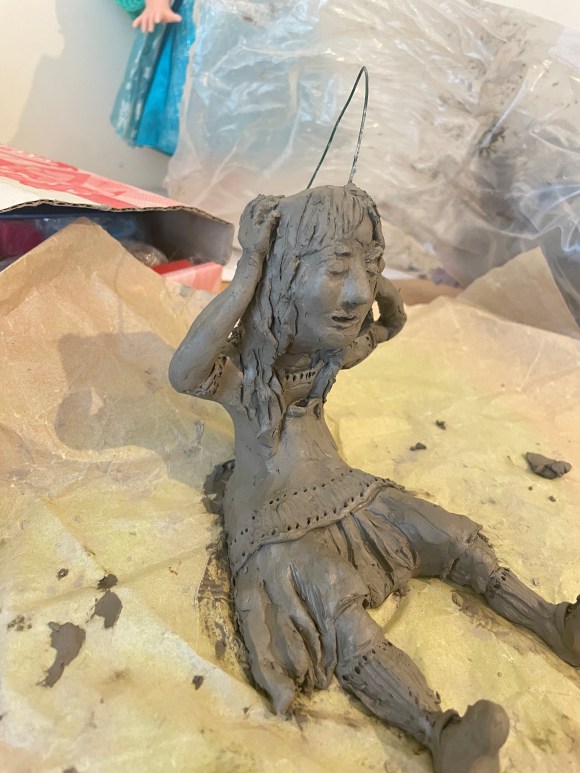
When the sculpture was finished and had dried, I coloured it with acrylic paint and sanded it with a nail file. Finally, I built a plasticine crown and incorporated it into the figure.

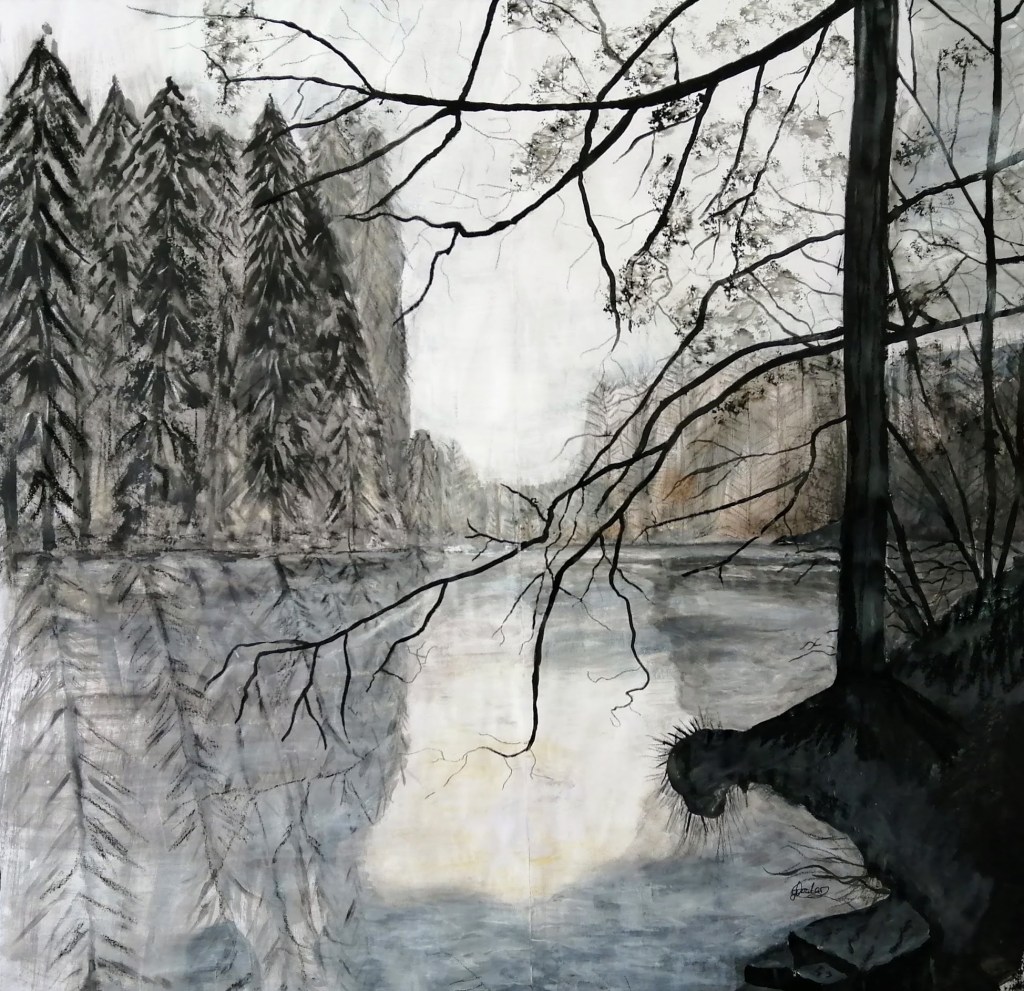
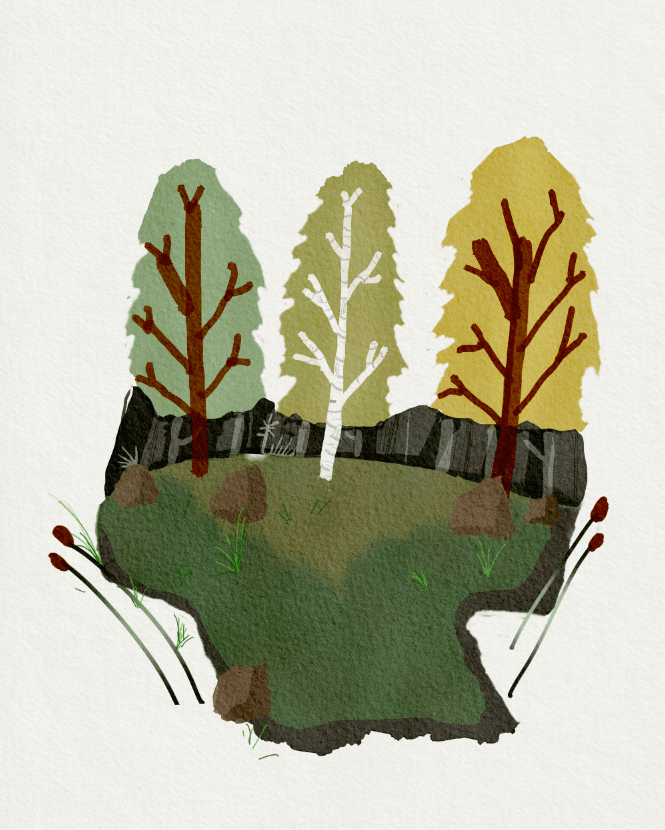
Next, I started drawing a background of a beautiful grassy field in my A3 sketchbook using acrylic paint, pastels and crayons.
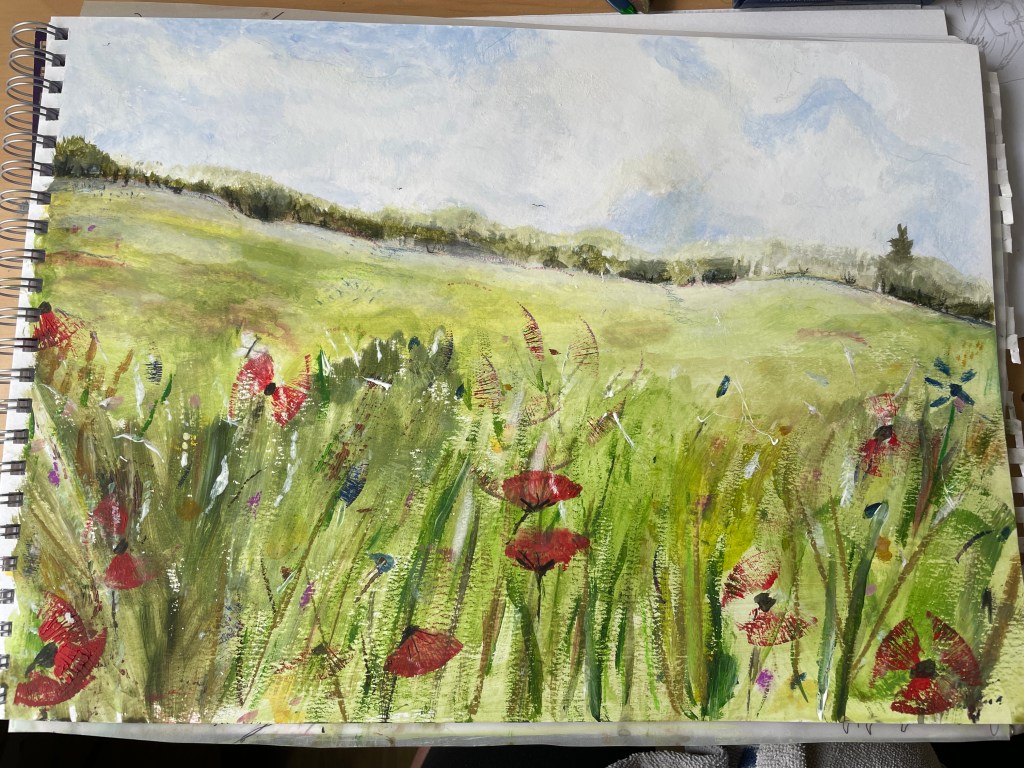
After this had dried, I finished the image by adding the clay sculpture in Photoshop and making some final editing. Whilst editing, I wondered if encorporating the vintage doll somehow would be effective.
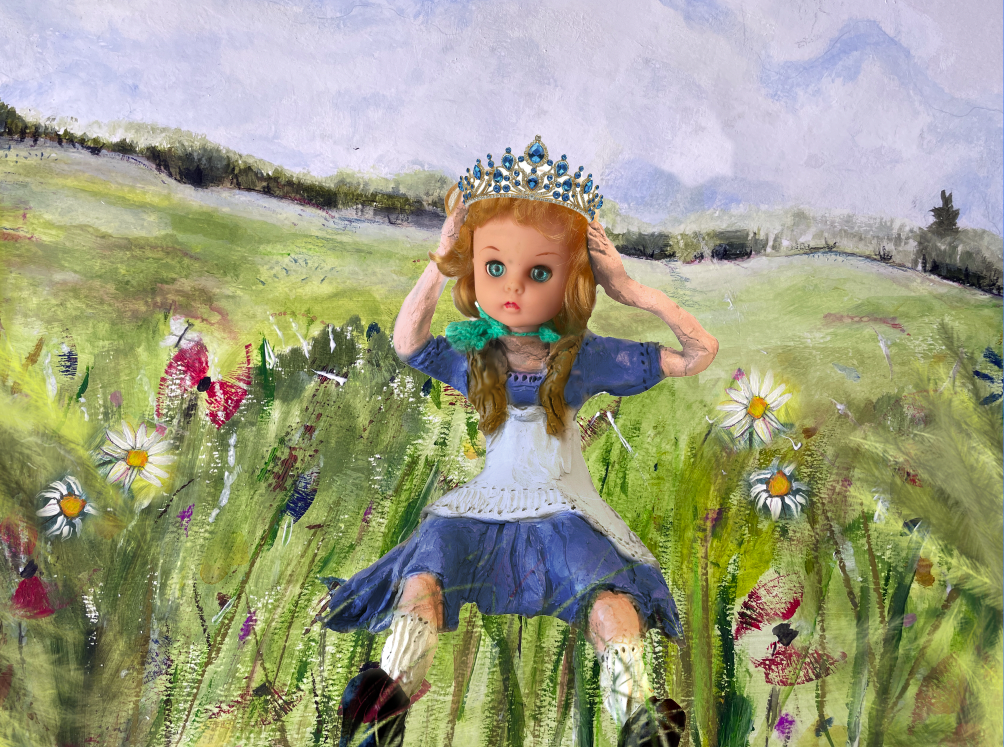
However, I didn’t think it worked in harmony with the hand created elements so went back to my original idea. Below is the finished image.
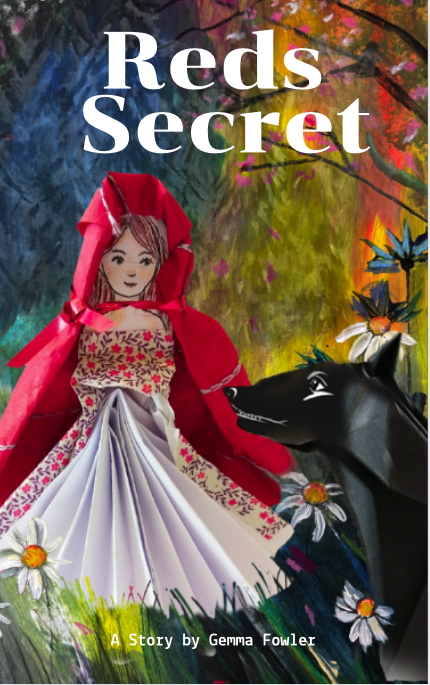
Finally, I created a book mockup for the illustraton.
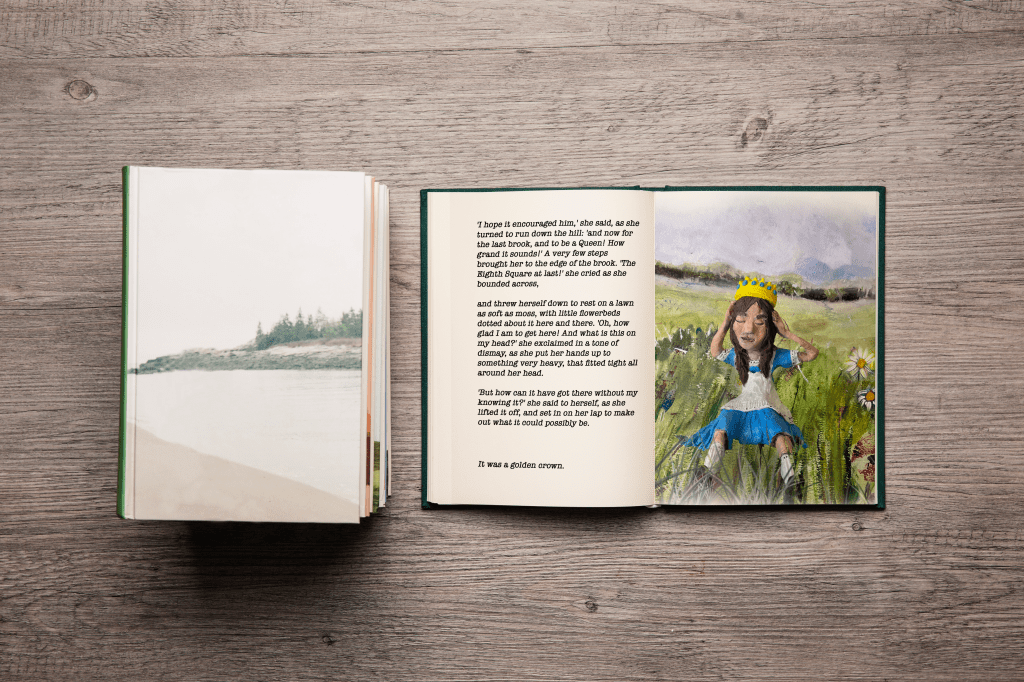
The final resulted in a unique mixed media artwork that I think has brought the story of Alice and the crown to life in a creative way. The combination of traditional and digital art techniques have added depth and dimension to the overall piece. The use of different mediums allowed me to experiment with textures and colours.
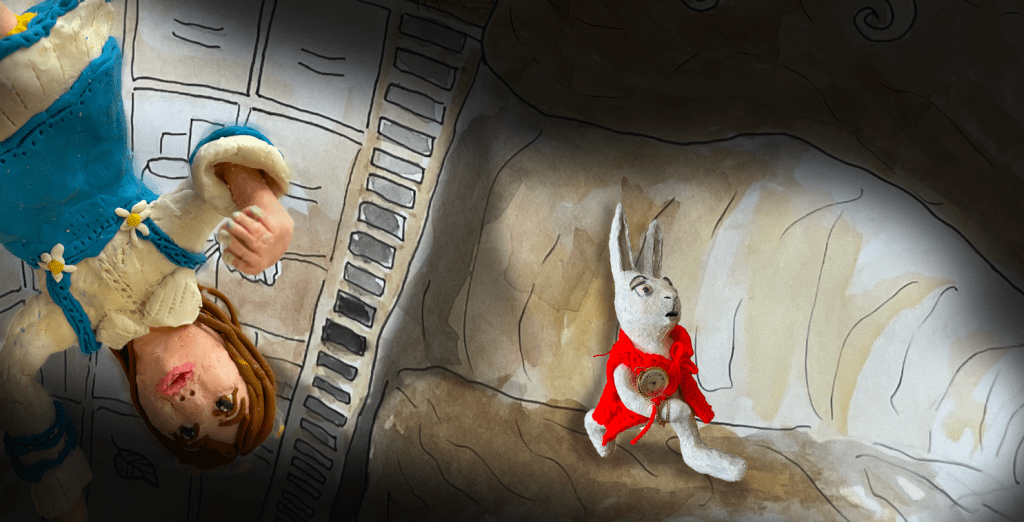
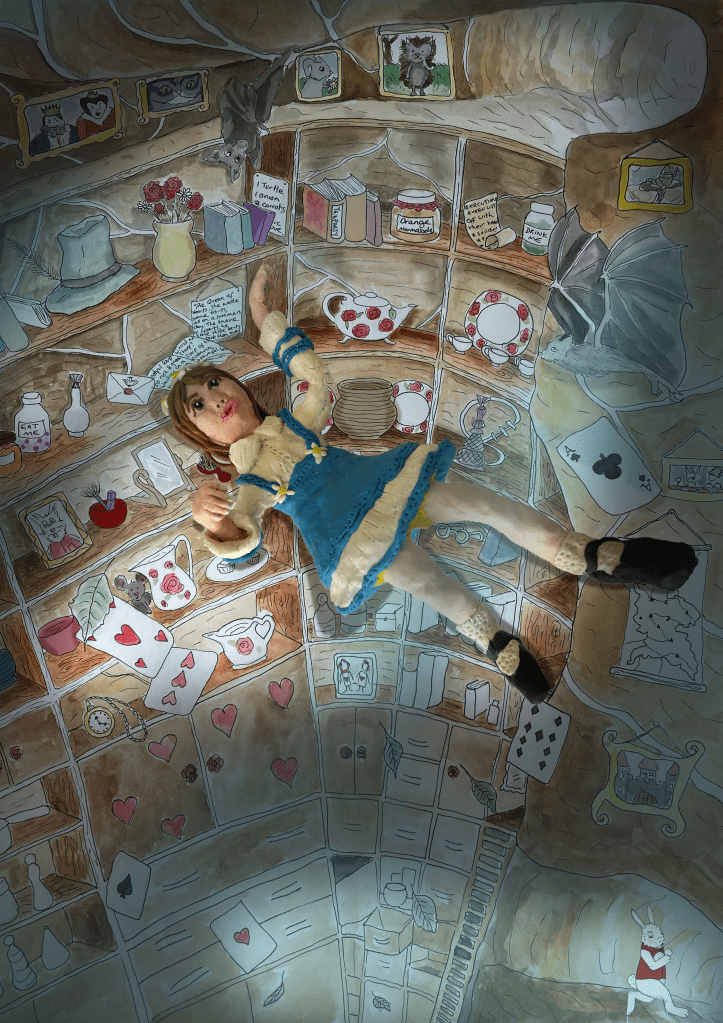
Alice falling down the rabbit hole.
The final image was going to be based on Tweedle Dee and Tweedle Dum. However, there was a change of plan that happed by accident. For research purposes and to hopefully give me more inspiration I researched a book called ‘The story of Alice’ by Robert Douglass and found the only book available was based in a libary twenty minutes away.
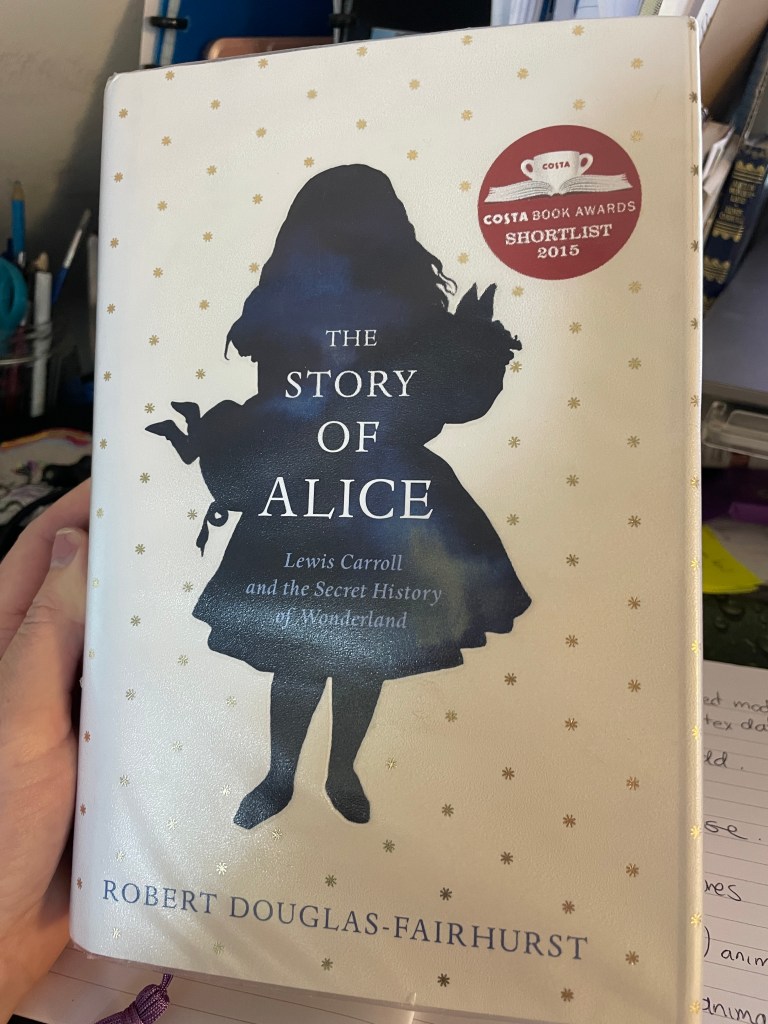
Reseving the book, I drove to the libary with my younger son to collect it. When entering a member of staff was walking around with a VR headset on. Finding this amusing and unusal for the setting I laughed and said what are you doing. He mentioned he was setting up games for a class he was holding for children during the summer holidays. Thinking of my son I asked is there other oppotunitys available at the libary and I was shocked to disover the libary has the following available to use.
- 360° immersive film
- 3D design, print, scanning and prototyping
- Coding & micro-computers
- Virtual & Augmented reality
- Advanced digital design & animation
- Full Adobe Creative Suite
- A design studio for digital design, 3D modelling & animation
- Oculus Quest virtual reality headsets
- 3D scanners & printers
- Podcast recording equipment
- 360° cameras & editing software
- Micro-computers & programmable robots
- Project & Digital Skill support from our Lab Tech teamwhole Adobe suite, camera equipment and 3D laser cutters.
Hearing this I was excited and mentioned my project and showed him some of my work. I had an idea of animating my illustration of Alice falling down the rabbit hole but didn’t know how. He then showed me this could be achieved by scanning and photographing my model and then animating it in a program called Blender.
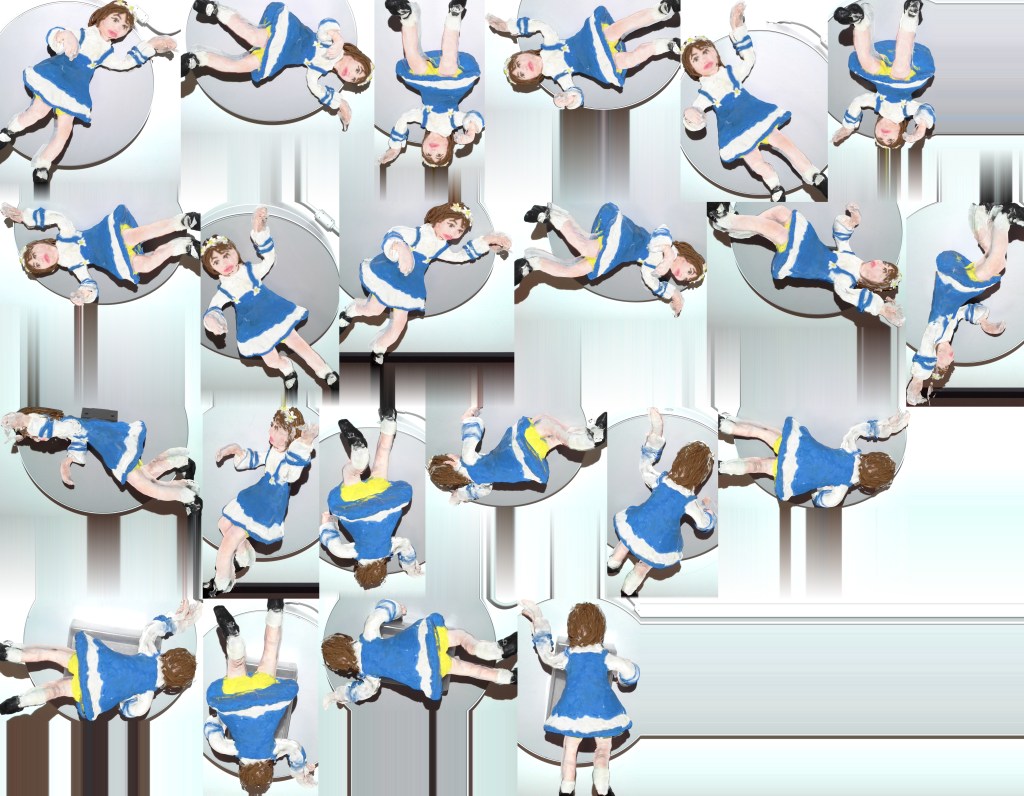
Therefore, I went back to the libary with my model of Alice and used their 360° cameras & editing software.
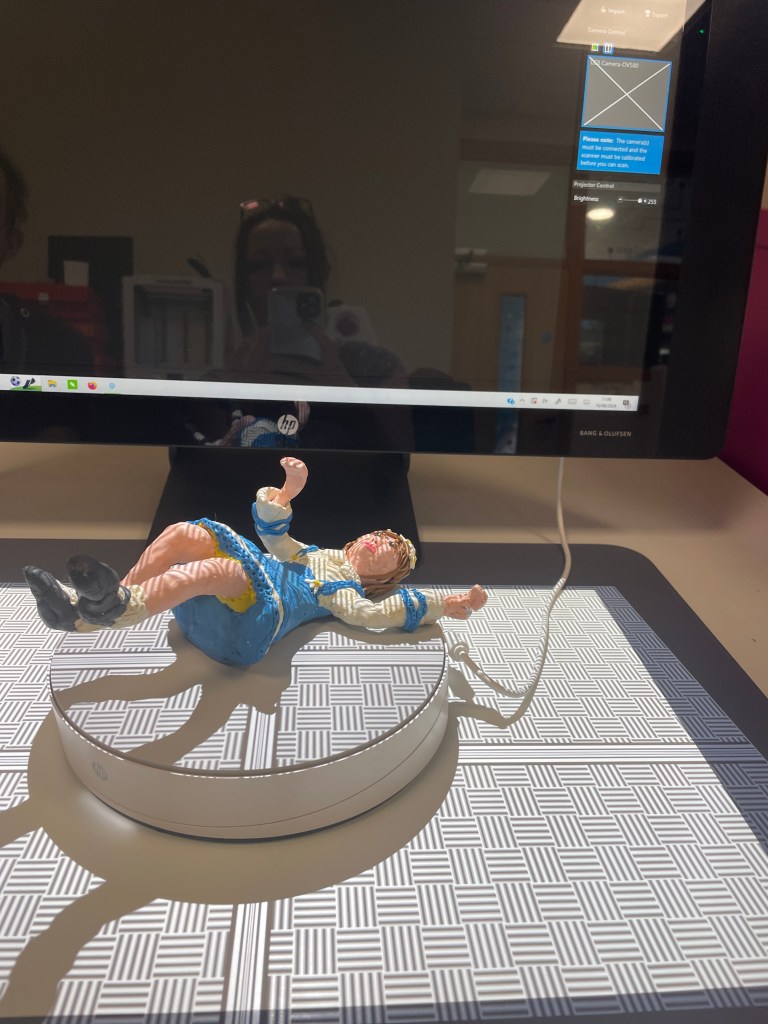
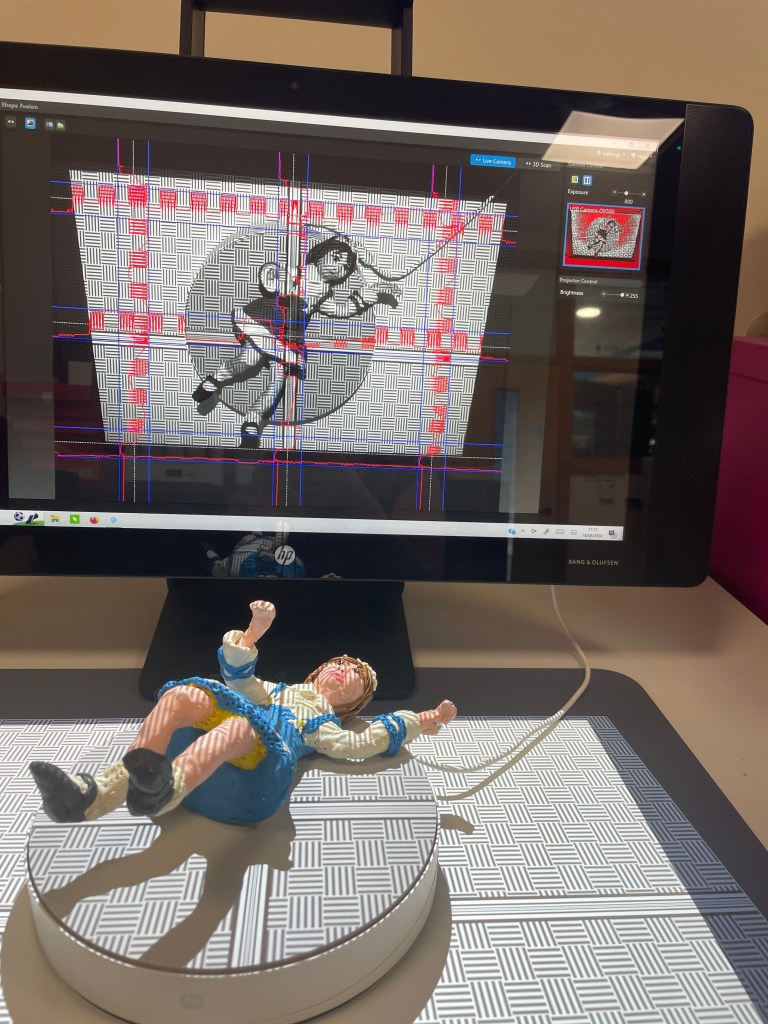
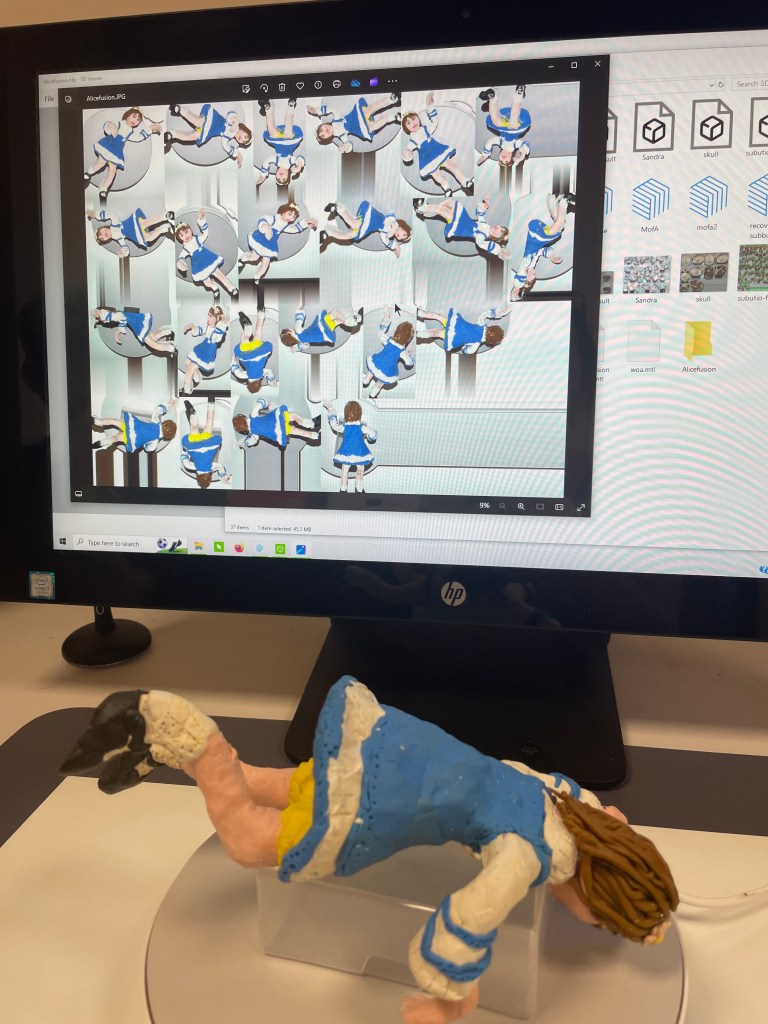
Fig. 15 Photograhing Alice (2024)
Next, I used these photos of my sculpture to create a 3d model in Blender and began learning how to create an armature for the model.
It did feel like I had bitten off more then I could chew as the programe is completely new to me and very complicated! However, I am determined to complete my idea as I think it will be not only taking me out of my comfort zone, but learning new skills, developing my artistic ability and creating something exciting and original. However, I know it is going to take me many hours to learn.
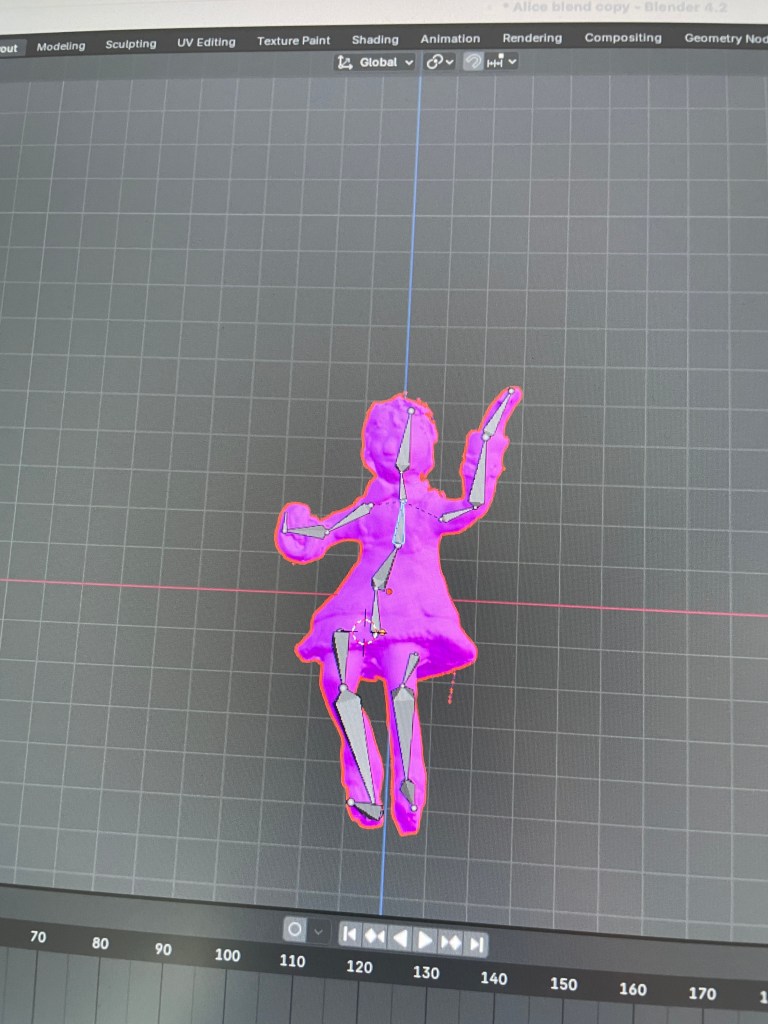
Perservering with Blender, I managed after many attempts to attach the completed rig of armature to the model of Alice.
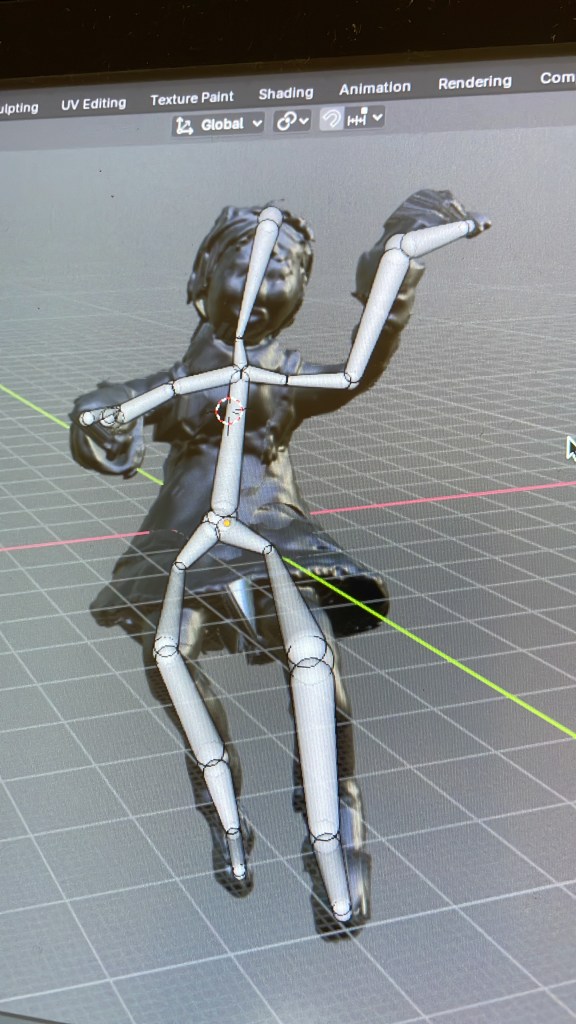

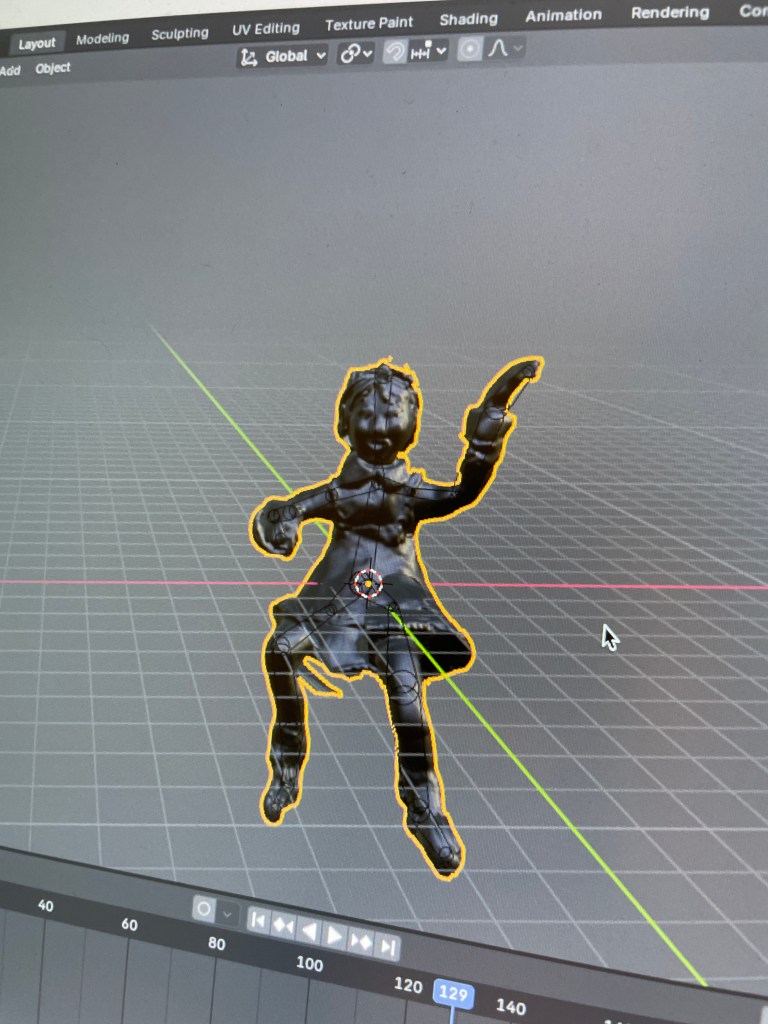
Fig. 17 Armature Alice (2024)
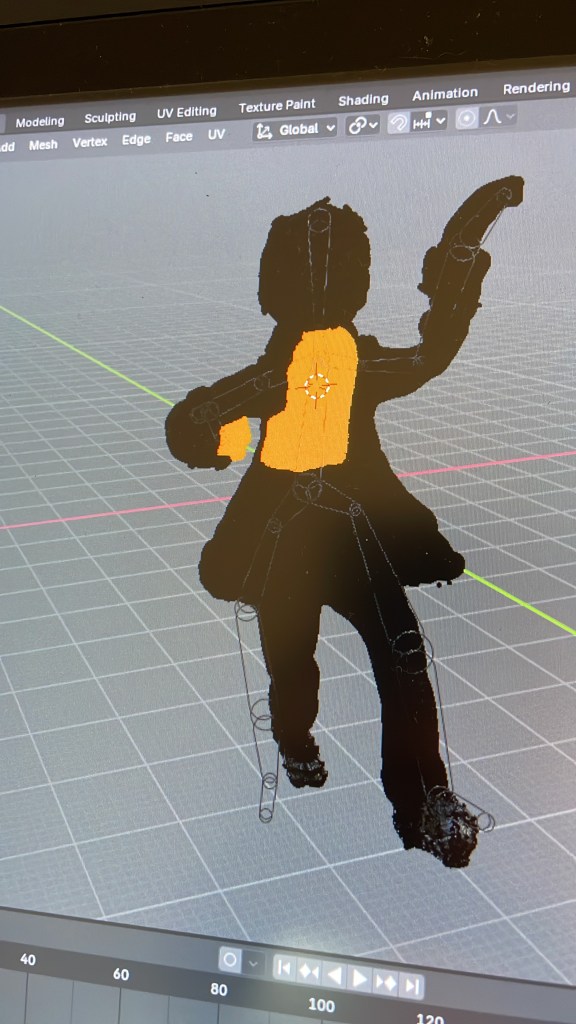
However, when trying to pose the model in different position it was not working correctly as parts of the model were stuck which can be seen in the images below.
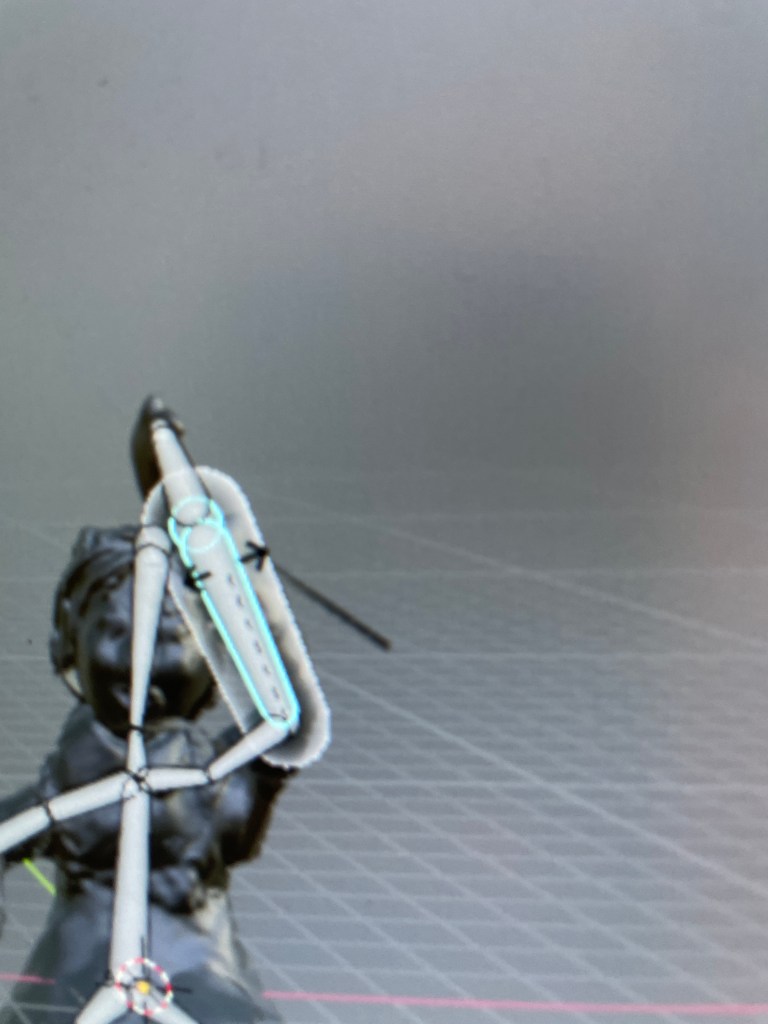
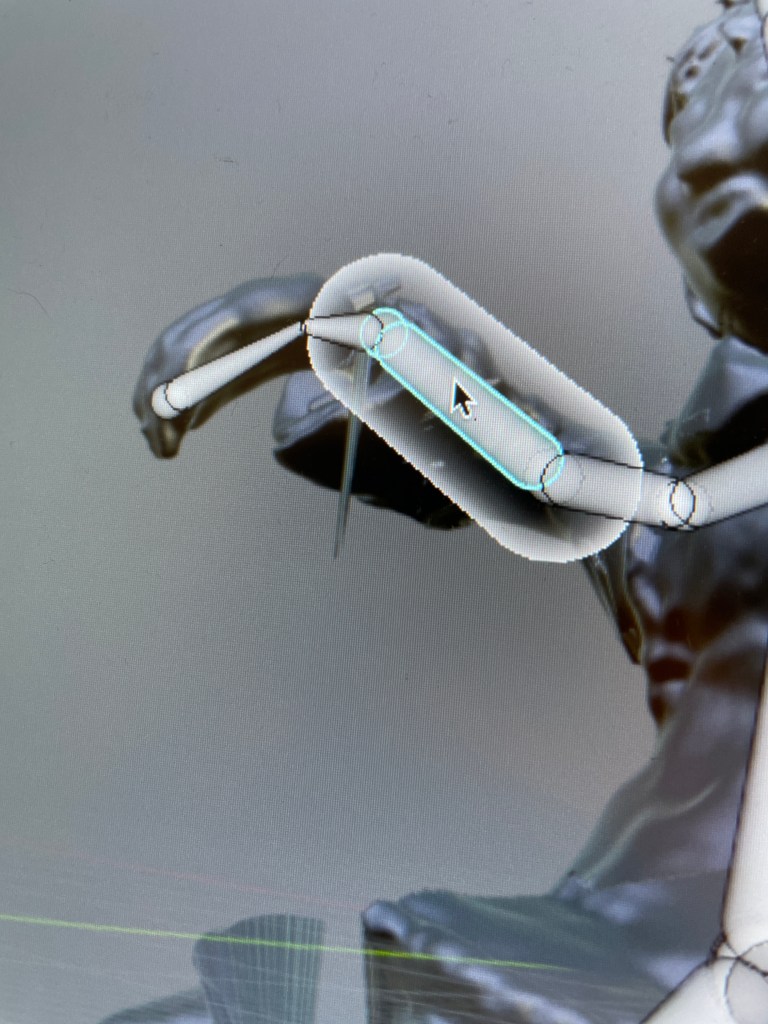
Fig. 18 Armature Problems (2024)
This meant I had to go back through every bone in the armature in edit mode and highlight the mesh that needed to be attached to the bone. This was a very tidious and difficult process.
Yet, after many hours I managed to attach all the bones ready to be posed and ready for animation.
The next stage, is to add back the original textures to the model. Which are ready to be synced to the model.
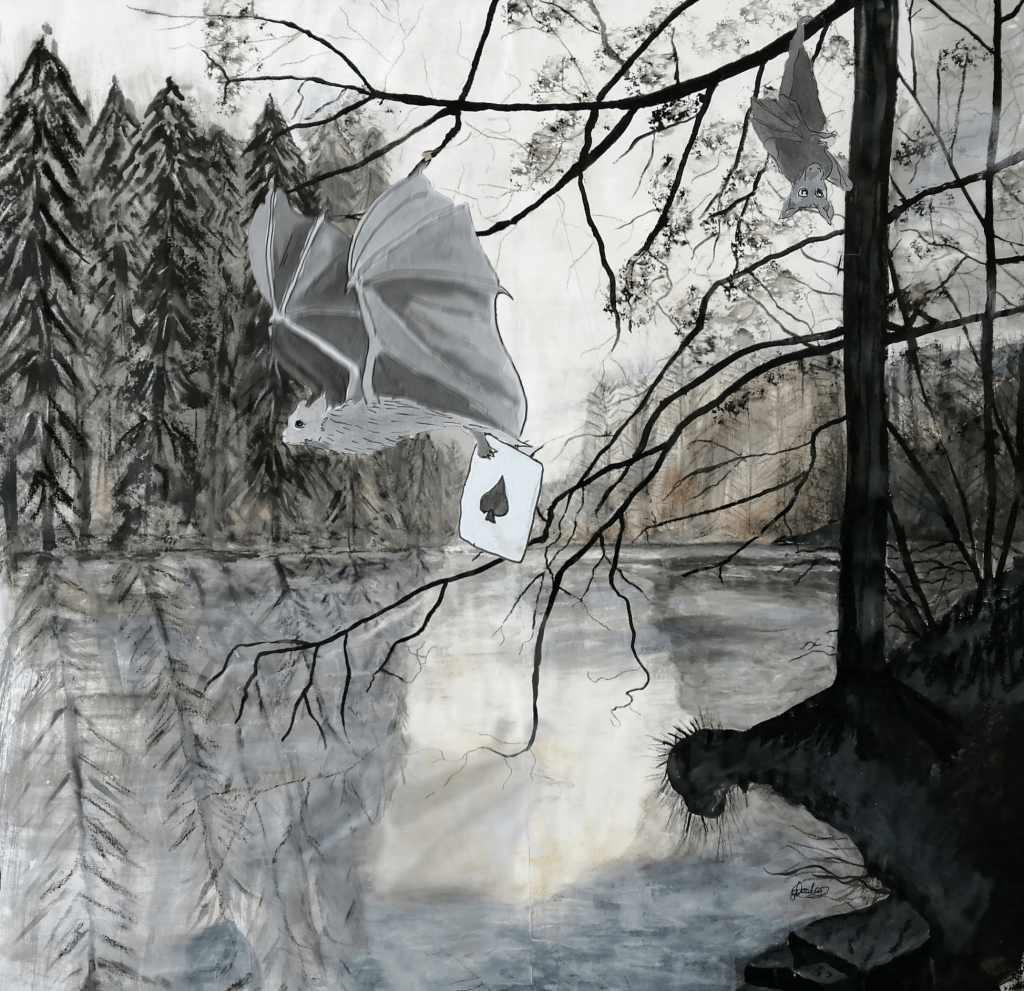
Once this is achieved I will create an animation of Alice falling in Blender, which I have done a short test and am confident in creating. Below is a short clip of me experimenting with the animation side.
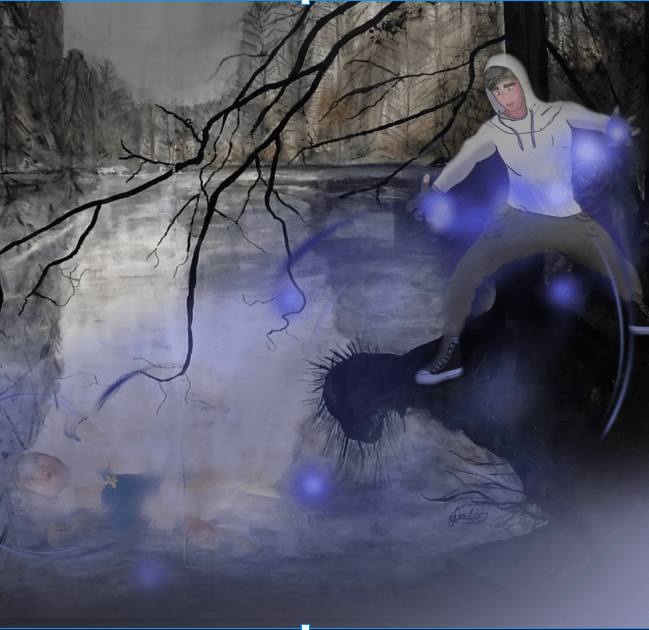
Finally, combine this with the background image below which will be rolling behined. I anticapte this to be completed in After Effects. Unfortunetly, this is a slow process and a giant learning curve for myself so it hasn’t been completed. However, it is my intention to have it completed for assessment.
Reflective Statement
This project has been both challenging and a rewarding experience, blending traditional methods with advanced digital techniques to re-tell “Alice in Wonderland” and “Through the Looking Glass.” From the beginning, I was eager to explore the possibilities offered by the advanced technology available at the library, particularly in animating my illustration of Alice falling down the rabbit hole. However, the journey took me far beyond digital exploration, as I also experimented with sculpting and mixed media illustrations.
3D Modeling and Animation
Learning Blender, a program entirely new to me, was perhaps the most daunting aspect of the journey. It is evident it has been a steep learning curve as I struggled with rigging and weight painting my model of Alice. There were moments of frustration, especially when the model didn’t respond as expected during the posing phase. However, each challenge presented an opportunity to deepen my understanding of 3D modeling and animation. The satisfaction of finally seeing the armature function correctly was a significant milestone, reinforcing my determination to continue.
Experimenting with the animation itself, although time-consuming, provided a glimpse into the possibilities ahead. The short test clip I created gave me confidence that I could eventually bring my vision to life. Also, the prospect of combining the animated model with the background in After Effects is exciting. This experience has tested my patience but most importantly, expanding my artistic abilities and I am excited to see what else I can create.
Humpty Dumpty and Alice Sculptures
Aside from my work in Blender, I undertook a hands-on project to create a 3D model of Humpty Dumpty. The process of sculpting Humpty Dumpty, using floral wire and plasticine, was both challenging and fun. I hope my attention to detail, from the tissue in his pocket to the cravat made from leftover cloth, added a personal touch that brought the character to life.
Next, I experimented with mixed media in my A3 sketchbook to create colourful backdrops. The use of watercolors, crayons, and pastels allowed me to explore different textures and effects, which I later enhanced in Photoshop. This combination of traditional and digital media allowed me to refine and perfect the background while maintaining the handmade feel of the original work.
Creating Alice was another important moment. Initially, I struggled with sculpting in Fimo clay due to the small scale, but rather than giving up, I adapted by switching to air-drying clay where I was able to mold and paint Alice more effectively.
Integrating these elements into the final image required careful thought. While the vintage doll initially seemed like an interesting addition, I ultimately realised that it didn’t harmonise with the hand-crafted elements. Returning to my original idea, I was able to create an image that felt more unified and true to my artistic vision. The creation of a book mockup allowed me to see how these illustrations might function in a published format.
In reflection, this project has pushed me to think creatively, adapt to challenges, and blend various artistic techniques to achieve a final result that I am proud of. The experience has been invaluable in helping me grow as an artist, and I look forward to applying these skills to future projects.
Reflection on verbal tutor feedback
“Completing my project based on Through the Looking Glass and receiving feedback from my tutor was both a nerve-wracking and a rewarding experience. I often feel apprehensive about how my work will be received and whether I’ve done enough to meet expectations. However, I was delighted to hear that my tutor was blown away by my efforts, particularly in handmade crafting, the stunning illustrations I created, and my integration of technology. She also recognised my initiative in learning Blender, expressing eagerness to see the animation I am currently working on. My tutor has also encouraged me to start marketing myself, and playfully adviced me to display my sculptures at home rather than sell them. This feedback gave me a renewed sense of confidence in my abilities. Hearing her say, ‘ If you don’t have confidence now you never will, well done Gemma,’ and that she was impressed and blown away by my work was incredibly affirming, and it’s a reminder to trust in my creative instincts moving forward.”
Continiation of Blender animation after tutor feedback.
Knowing my animation hadn’t been finished due to the complexity of the software was frustrating, especially given the effort and time I had invested in it. Throughout the process, I learned new skills in 3D modeling, animation, and video editing, and I was eager to see a completed result I could be proud of.
Determined to finish, I continued working on the animation. After many late nights and setbacks, I was finally able to complete it and share it with others.
To bring the character of Alice to life, I first adjusted the model’s mesh in Blender to ensure smoother movements. I then created keyframes in Pose mode, meticulously positioning each part of the model in various poses across frames. This involved detailed adjustments to ensure that Alice’s movements appeared natural and expressive.
Next, I tackled the challenge of installing a camera in Blender to record the animation. This part of the process took several attempts, as setting up a dynamic camera angle that captured Alice’s descent effectively required careful placement and experimentation.
After exporting the animation, I moved on to After Effects, a new software for me, to create a scrolling backdrop. Learning After Effects was initially daunting, but with time I managed to create a background that complemented the movement of the character. Finally, I added music to enhance and bring the animation fully to life.
While the very short animation is not perfect, I believe it captures my creativity, dedication, and willingness to take on new challenges to improve my skills in both illustration and animation. I hope you enjoy watching.
References
Alice in Wonderland: Which places inspired Lewis Carroll’s classic? (2015). BBC News. [online] 10 Aug. Available at: https://www.bbc.co.uk/news/uk-england-33694931.
Douglas-Fairhurst, R. (2015). The story of Alice : Lewis Carroll and the secret history of Wonderland. Cambridge, Massachusetts: The Belknap Press Of Harvard University Press.
Frank Joslyn Baum (2008). The Wizard of Oz (Collecter’s Edition). Atlantic.
Frodelius, B. (2008). Wizard’s Wireless: Interviews With Artists Inspired by Oz. [online] Frodelius.com. Available at: http://www.frodelius.com/wirelesstelegraph/rawle.html [Accessed 1 Sep. 2024].
Google.com. (2024). Through the Looking Glass, And what Alice Found There – Google Play. [online] Available at: https://play.google.com/books/reader?id=i2MCAAAAYAAJ&pg=GBS.PA1.
http://lenscratch.com/author/aline-smithson (2009). Graham Rawle – LENSCRATCH. [online] LENSCRATCH. Available at: http://lenscratch.com/2009/02/graham-rawle/ [Accessed 1 Sep. 2024].
Reads, N. (2024). – YouTube. [online] Youtu.be. Available at: https://youtu.be/X_BFCpGm2sY?si=4Re6S9T65DDT4t00 [Accessed 15 Aug. 2024].
Robinson, M. (2014). Charlton Kings house where the real Alice in Wonderland lived is on the market. [online] Mail Online. Available at: https://www.dailymail.co.uk/news/article-2591691/Five-bedroom-three-storey-house-real-Alice-Wonderland-lived-market-time-three-decades-1million-complete-looking-glass.html [Accessed 1 Sep. 2024].
Sutherland, J. and Gundry, D. (2004). The Project Gutenberg eBook of THE LIFE AND LETTERS OF LEWIS CARROLL (REV. C. L. DODGSON) by S. DODGSON COLLINGWOOD. [online] http://www.gutenberg.org. Available at: https://www.gutenberg.org/files/11483/11483-h/11483-h.htm.
Illustration list
Fig. 1 Fowler, G.(2024) Annotations [Photograph] In possession of the author: Forest of Dean, Glos.
Fig.2 Fowler, G.(2024) Possible ideas [Photograph] In possession of the author: Forest of Dean, Glos.
Fig.3 Fowler, G.(2024) Asking Friends [Photograph] In possession of the authr: Forest of Dean, Glos.
Fig. 4 Fowler, G.(2024) Alice looking in the mirror [Photograph] At: https://www.dailymail.co.uk/news/article-2591691 (Accessed 31/08/24)
Fig. 5 Fowler, G.(2024) Egg [Photograph] In possession of the auth0r: Forest of Dean, Glos.
Fig. 6 Fowler, G.(2024) Vintage Doll [Photograph] In possession of the auth0r: Forest of Dean, Glos.
Fig. 7 Fowler, G.(2024) Alice meeting Humpty Dumpty [Mixed media Illustration] In possession of the auth0r: Forest of Dean, Glos.
Fig.8 Fowler, G.(2024) Fimo Experimenting [fimo sculpture, photograph] In possession of the auth0r: Forest of Dean, Glos.
Fig. 9 Fowler, G.(2024) Painted Alice [Clay sculpture, Photograph] In possession of the auth0r: Forest of Dean, Glos.
Fig. 10 Fowler, G.(2024) Field Painting [Acrlic painting] In possession of the auth0r: Forest of Dean, Glos.
Fig. 11 Fowler, G.(2024) Alice Doll in field [Mixed media] In possession of the auth0r: Forest of Dean, Glos.
Fig. 12 Fowler, G.(2024) Alice sculpture in field [Mixed media] In possession of the auth0r: Forest of Dean, Glos.
Fig.13 Fowler, G.(2024) Mockup [Digital mockup] In possession of the auth0r: Forest of Dean, Glos.
Fig. 14 Fowler, G.(2024) The story of Alice [ Photograph of libary book] In possession of the auth0r: Forest of Dean, Glos.
Fig. 15 Fowler, G.(2024) Photographing Alice [Photographs] In possession of the auth0r: Forest of Dean, Glos.
Fig. 17 Fowler, G.(2024) Armature Alice [Blender photograph] In possession of the auth0r: Forest of Dean, Glos.
Fig. 18 Fowler, G.(2024) Armature Problems [Blender photograph] In possession of the auth0r: Forest of Dean, Glos.
Fig.19 Fowler, G.(2024) Fixing mesh [Blender photograph] In possession of the auth0r: Forest of Dean, Glos.
Fig. 20 Fowler, G.(2024) Alice Fusion [ Jpg] In possession of the auth0r: Forest of Dean, Glos. Alice Fusion (2024)
Fig. 21 Fowler, G.(2024) Rabbit Hole [Watercolour painting] In possession of the auth0r: Forest of Dean, Glos.